Should have started the review last Saturday (December 24th) since the color of this item is completely ideal for Christmas, but I got lazy because of the rainy days. ^^; You know, when it rains, the best place to be is in your own bed. XD
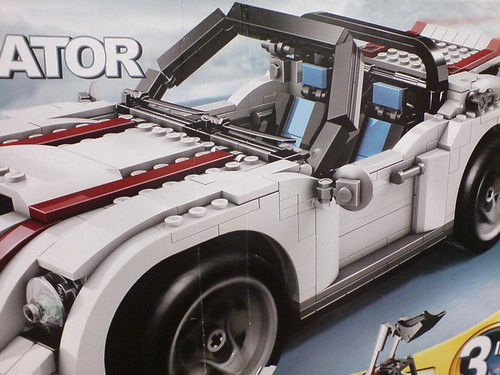
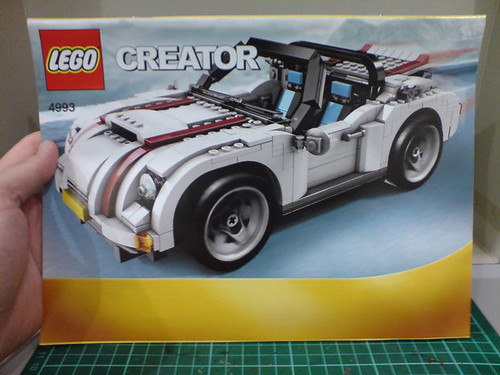
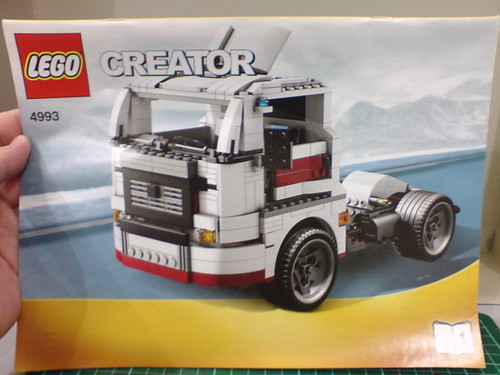
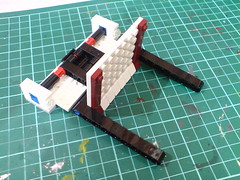
Anyway, it's back to bigger-sized bricks after Nanoblock Maneki Neko and Kinkaku-ji - the return of Lego brick set to my blog after over-half-a-year hiatus. ^^ This is Lego Creator No. 4993 Cool Convertible, which was released in 2008 with 648 pieces in total.

You can see why I called it suitable to be reviewed during Christmas. Its main colors of white and red are just perfect associates with the festive season. ^^ Then again, I didn't buy it specifically for Christmas. Like HGUC Sazabi, it's something I got quite some time ago, and as with the previous Lego Creator No. 4997 Transport Ferry, it's the gimmicks that attracted me in getting this Lego set.
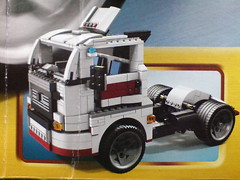
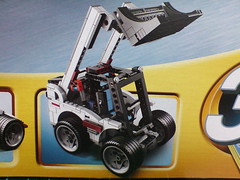
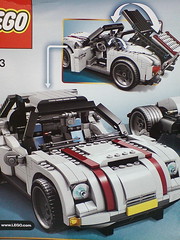
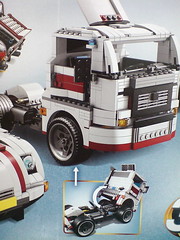
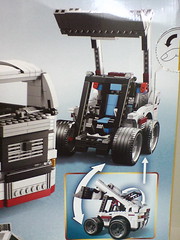
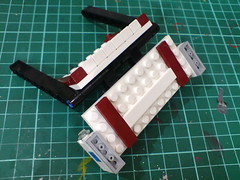
As you can see from the images above, the main model of this set is of course the convertible - hence the name. It can be reassembled into either a flat nose truck or a mini loader, and both alternate vehicles have almost no resemblance to the main model at all. ^^ With Creator Transport Ferry, at least the transport hovercraft (one of the two alternate models) is still somewhat close to the former. Not for Cool Convertible though. ^^ Such "creative" design was what fascinated me about this Lego set before getting it.
Another very interesting feature about the car is the linked action to open and close the convertible roof. I watched some video reviews of this Lego set, and that gimmick really made Creator Transport Ferry's opening and closing of its door and gates seem like child play. ^^; You will definitely see that in this review. ^^
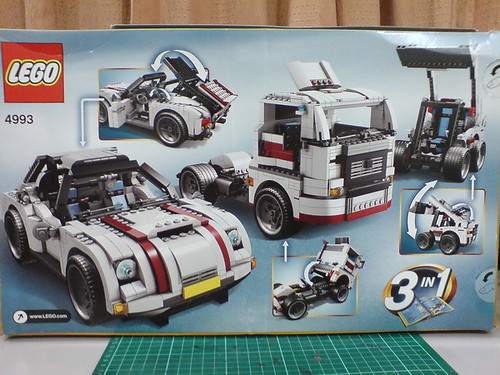
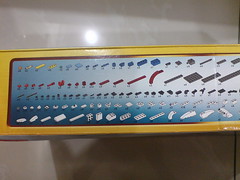
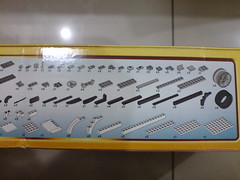
The back of the box has pictorial introduction on all the models and their gimmicks.
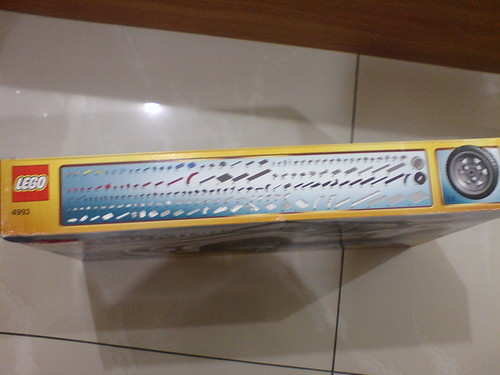
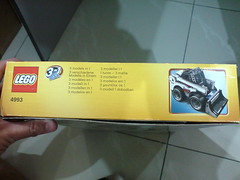
The top of the box shows you the piece count of the entire set.
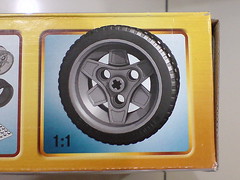
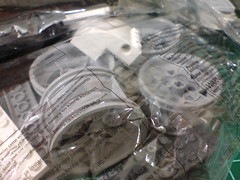
Actual scale image of the wheel in this set. ^^
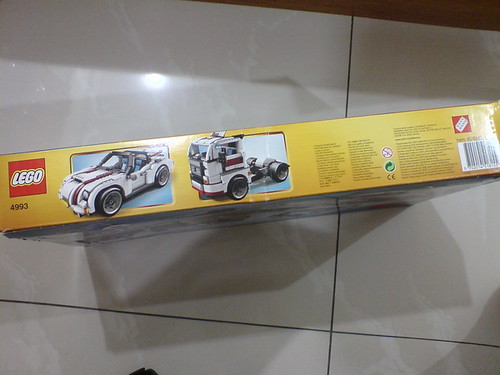
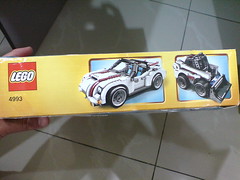
Images of all the models on the other box side.
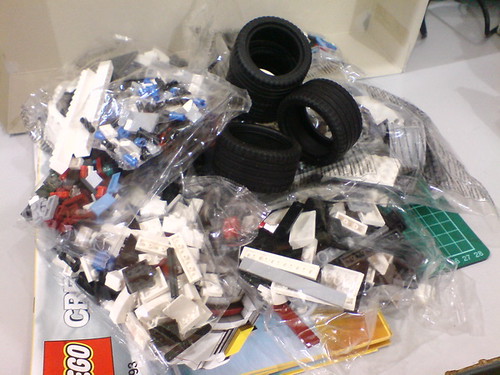
Content.
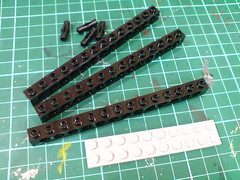
The tires and a few large bricks are not sealed inside any plastic packages.
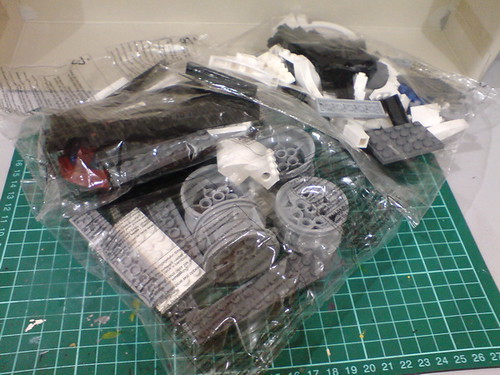

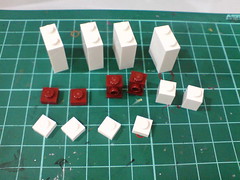
The large and medium-sized bricks ...
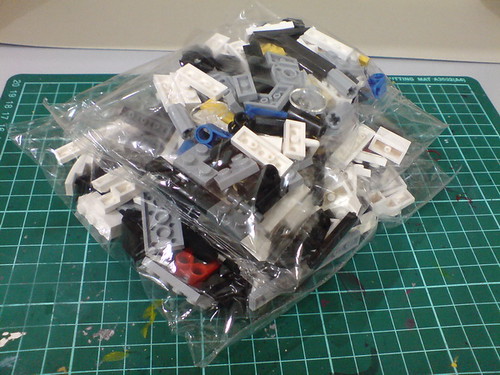
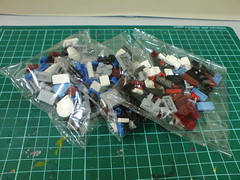

... and the smaller ones.
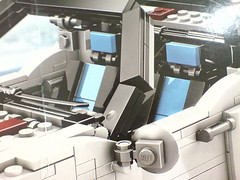
The special part with printed details for the dashboard can be seen. ^^

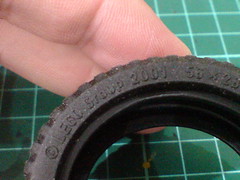

Tires that are made of real rubber, with markings and thread details to add to their look of authenticity. ^^
Just one manual for the main model.

(Left) Simple pictorial warning on organization of the bricks.
(Right) Only one manual for Cool Convertible, but it's 74 pages in thickness. ^^
Two dedicated pages showing a much clearer part count of the entire set on the back of the cargo plane's manual.
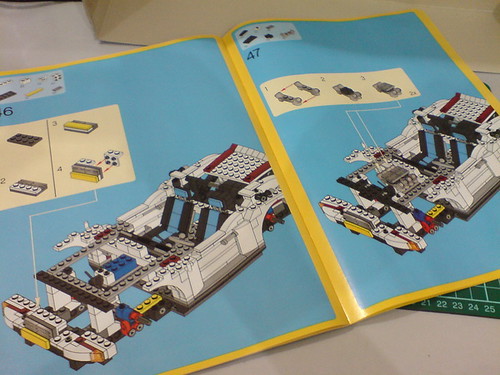
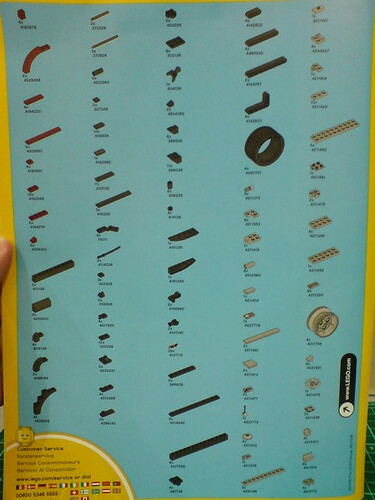
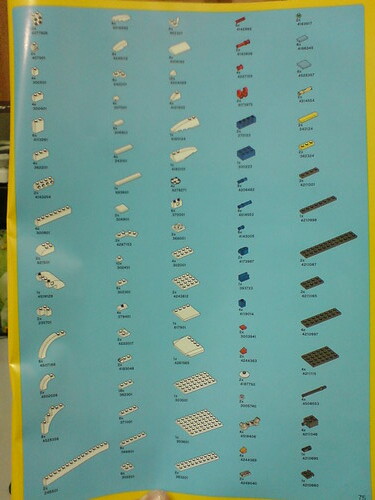
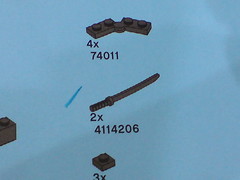
Some pages from Cool Convertible's manual.

Two manuals for the flat nose truck, with about 100 pages in total.

Preview on several other sets from the Creator series, which is completely the same as the one shown in Creator Transport Ferry's manual.


Just one manual for the mini loader.
Four books for one Lego set. ^^ The manuals are quite a contributor to the who box's weight. ^^
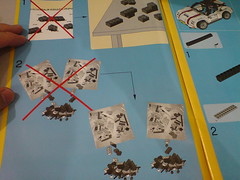
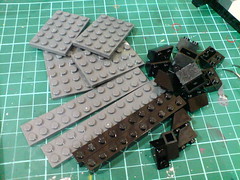
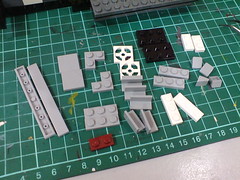
The main model will be assembled first, but before building anything, a bit of organization of the bricks is necessary. ^^
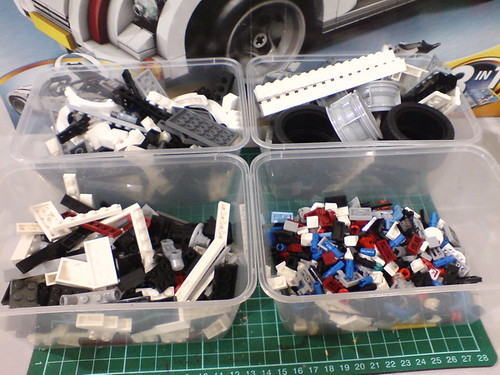
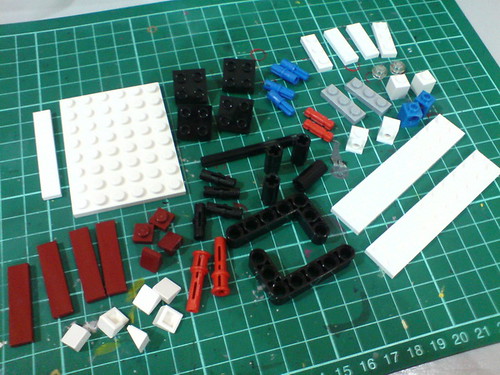
All the bricks are categorized into four containers according to their sizes. ^^

While sorting out the parts, two special ones were found and I almost thought they were "stray" parts wrongly packaged into this set (XD), until I checked the part list and confirmed that their inclusion.
What are two little katanas doing on a Cool Convertible? This is no Transformers Alternity Megatron XD

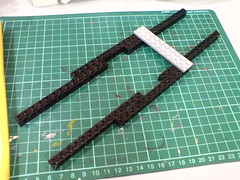

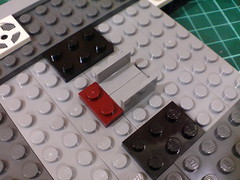
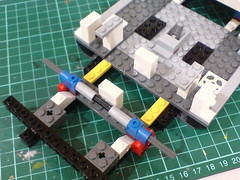
Starting on the base of the car.
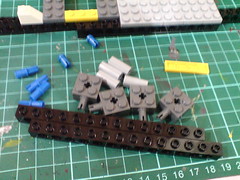

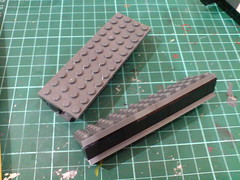
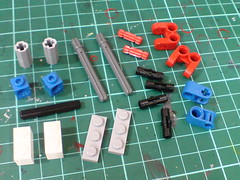
More parts coming in.

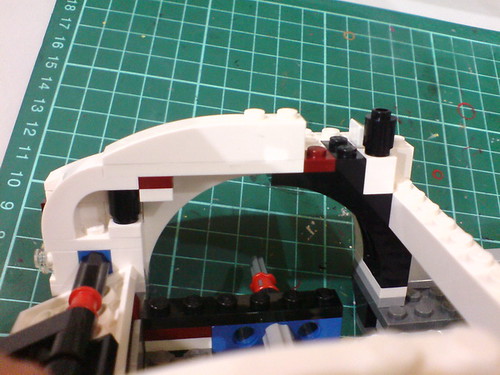
Some detailed components like the gear box and exhaust pipes are starting to appear.

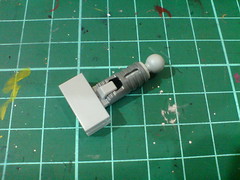
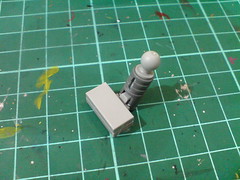
The gear knob, which can actually be moved via a simple ratchet joint it's connected to. ^^

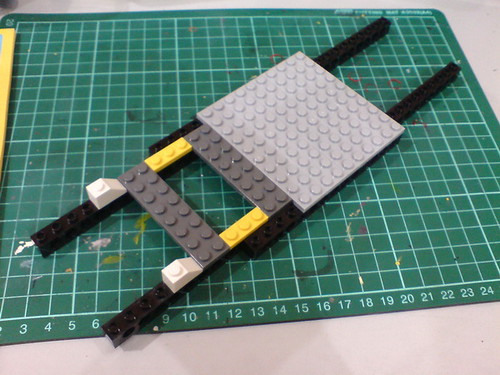
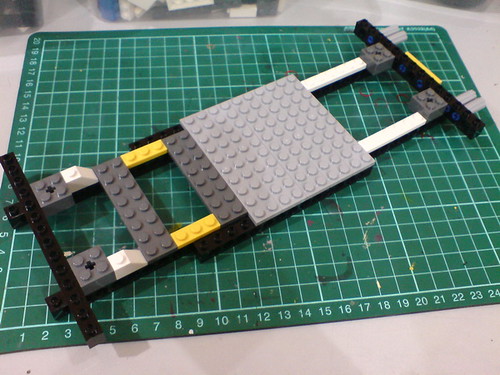
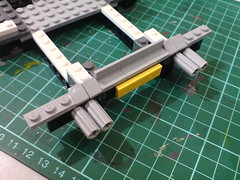
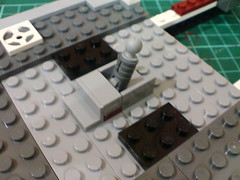
Progress so far.


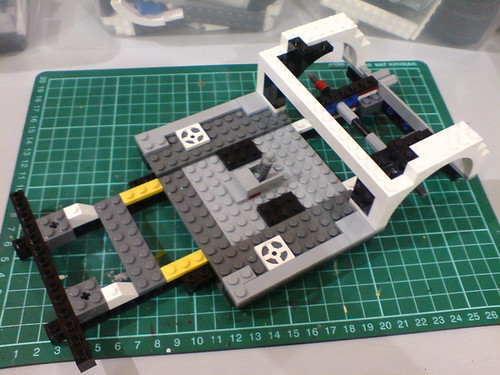
Building up the rear portion of the car.
The trunk lid.
Doesn't look much right now, but it will become important (and interesting) for the convertible's main gimmick. ^^

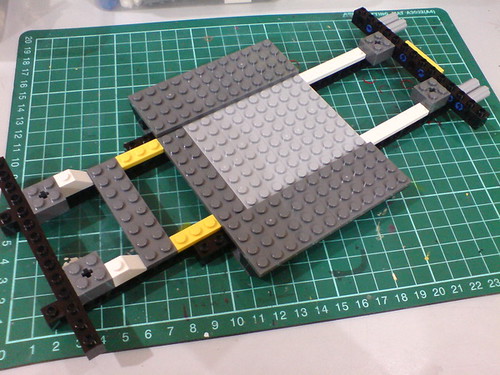
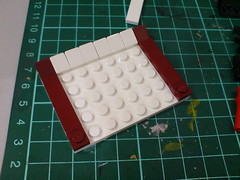
Attached the trunk lid to the back of the car.


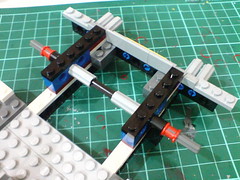
Adding in more parts to conceal most of the studs for the car's finished look.
Several very small simple stud parts inside the rear wheel arch that probably won't be seen at all when the whole model is done. ^^
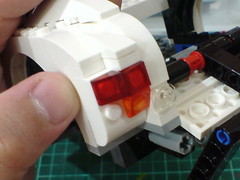

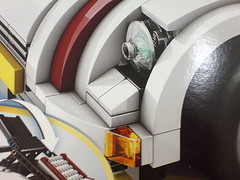
Clear red and orange parts for the tail lights.

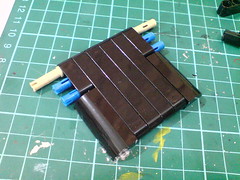
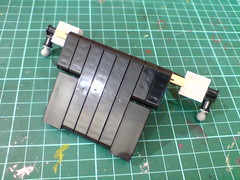
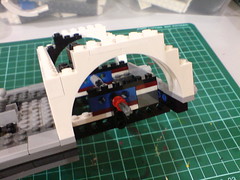
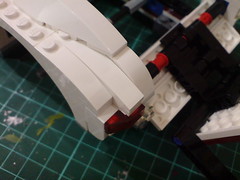
The convertible roof.

Attached the roof to the back of the car.

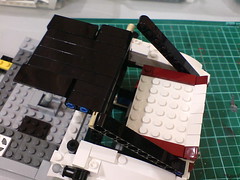
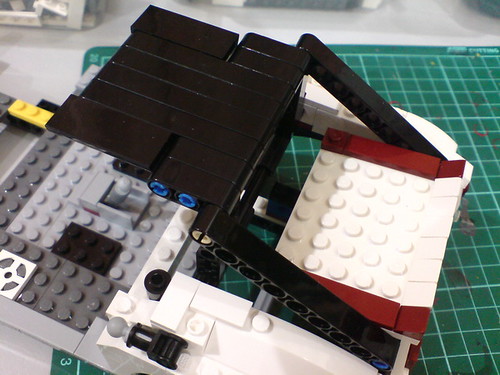
With the roof and truck lid now connected.
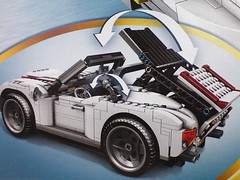
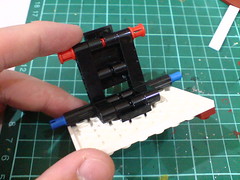
Convertible roof gimmick! ^^
Just a swing of the handle on the side and the gimmick will fire. ^^
Video clip is from Youtube. Follow this link to the website if you can't see anything.

Starting to assemble the front portion of the car.
The convertible roof gimmick is indeed very awesome. The truck lid and roof certainly didn't seem all that complicated when you assemble them parts and parts following the manual, but the outcome of the gimmick is brilliant. ^^
And very accurate to the design of an actual convertible too. ^^

Convertible roof function on a Mercedes SLK.
Image is from CDX Online eTextbook.
Very cool! ^^


1 comment:
I think the katanas are the wipers from your first photo? :P
Post a Comment