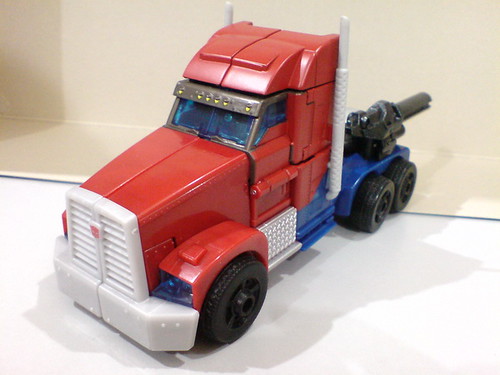
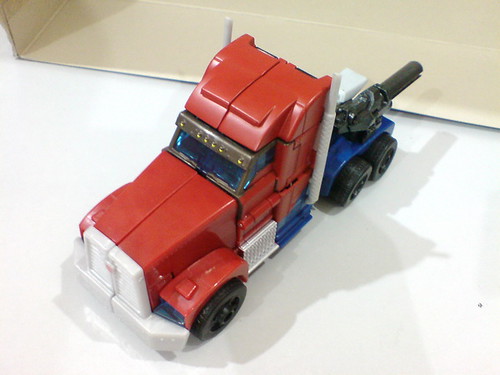
As mentioned in the previous posting, I'll do a reverse transformation for Transformers Prime's Voyager Class Optimus Prime in this review, so without explaining the transformation sequence first, here's a collection of images of the Autobots' leader in his vehicle mode:

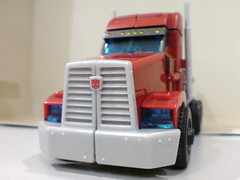


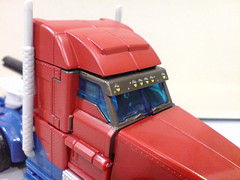
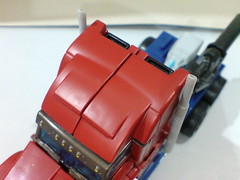
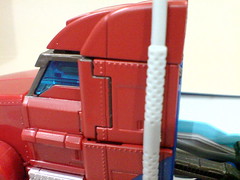
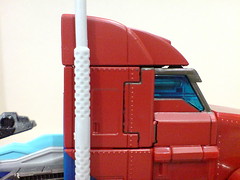
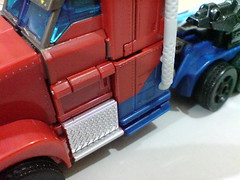
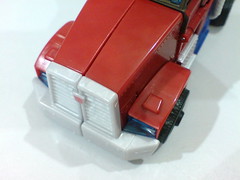
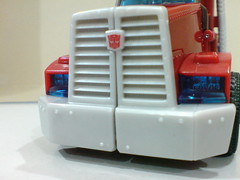
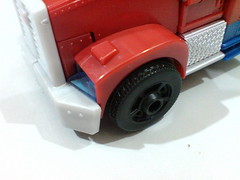
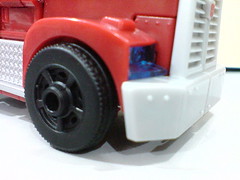
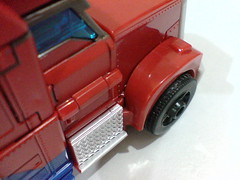
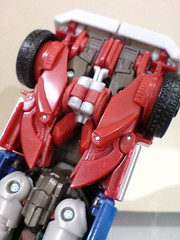
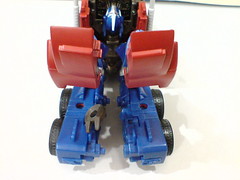
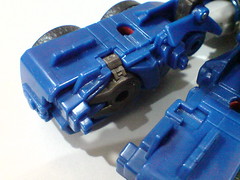
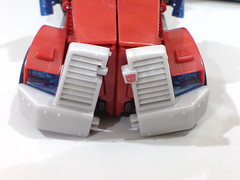
Closeups on the details:


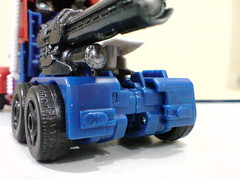


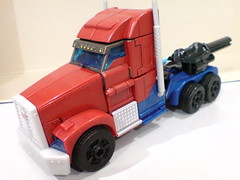
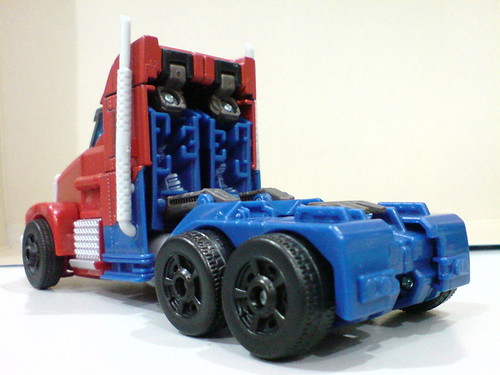
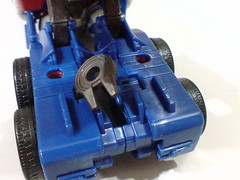
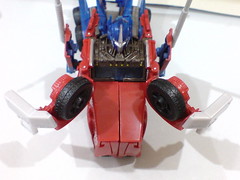
Without any weapon attached:

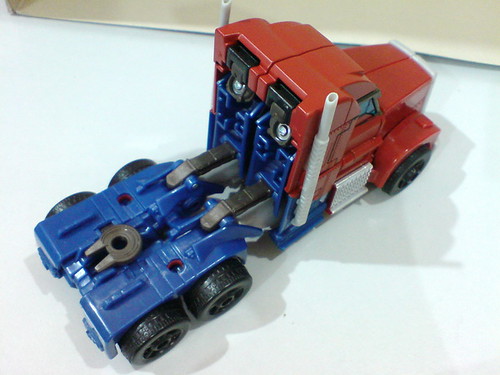
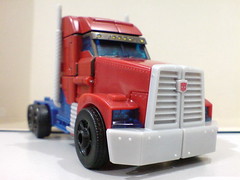
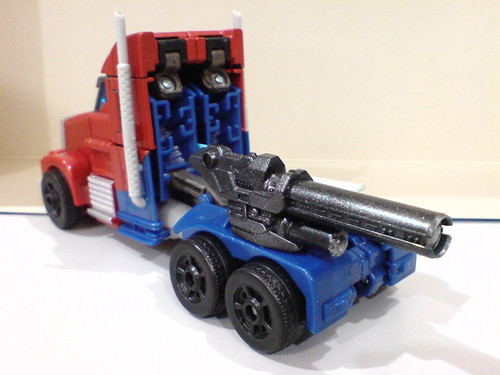
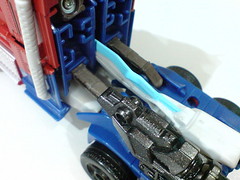
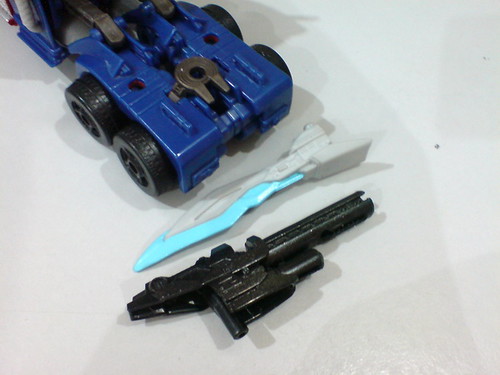
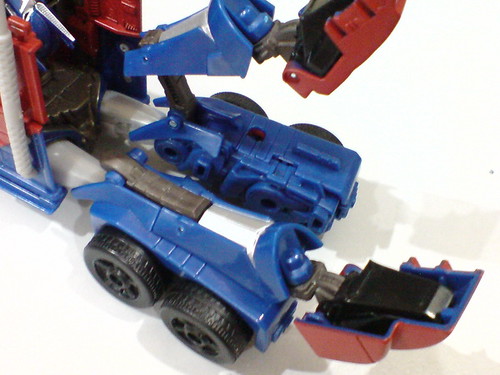
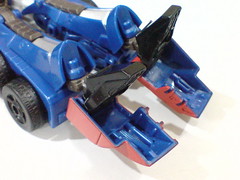
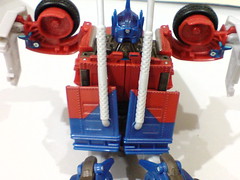
You can also mount the two weapons onto any of the three slots behind the truck:
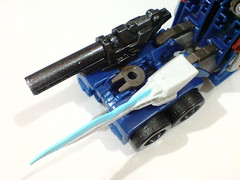
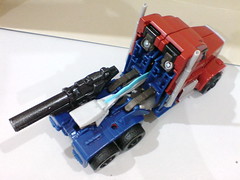
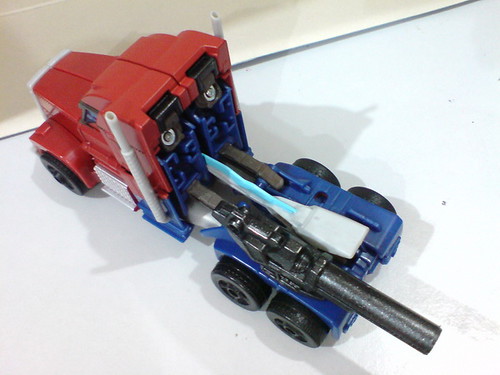
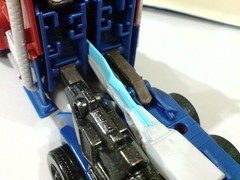
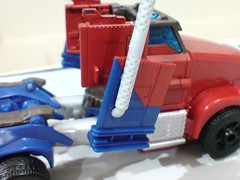
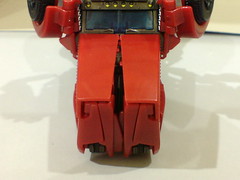
Even though there are options for the weapons arrangement, I think having the sword's blade facing inward by mounting it onto the fifth wheel coupling is the best way to store that weapon in truck mode. The split in the middle of the truck's back helps to keep the soft blade in place as well. I really dislike the look of the sword poking out that much on the truck's tail as shown in the image above. ^^; On top of that, the sword gets deformed very easily given its soft rubber material. ^^;
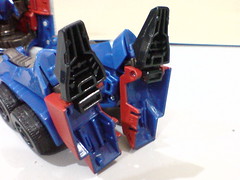
Not much can be done for the blaster though. It has to be positioned to the opposite face of the truck's tail as there's insufficient space between its handle and the truck's back to accommodate the barrel, and I don't want a shorter or smaller blaster for Optimus Prime. ^^;
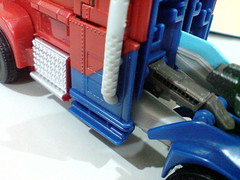
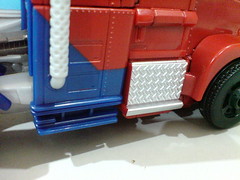
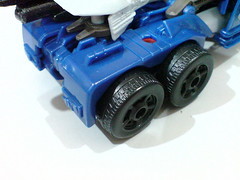
All in all, it's a very nice vehicle mode. ^^ The paint work and detailing are really well done. While the color scheme is evidently very simple - mainly just red and blue, but specific details like clear blue parts for the window, windshield and headlights, lights above the windshield that were painted yellow, realistic-looking chain pattern and shiny silver paint work for the side step boxes and molded details of the tires really add a lot of nice features to be seen on the semi-truck.
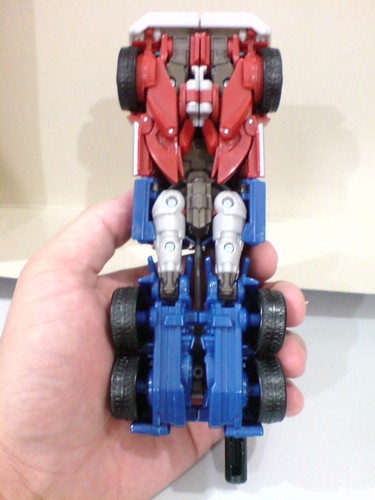
Another great design point I really like the vehicle mode, which I consider the same point for the robot mode is how well all the robot features are hidden in various parts of the truck. Even in its bottom view shown earlier on, the only obvious robot components are the thighs. ^^ You will see how well the vehicle's features are hidden in robot mode later on. ^^
This is my first Voyager Class Transformers figure, but I have to say that I'm thoroughly impressed with its vehicle mode's design and details, especially when its price is a lot lower than the Leader Class, Binal-Tech and Alternity series (I used to treat the last two to be of the same series ^^).
Onto the most interesting part of this figure, the transformation sequence. ^^
The blaster and sword must be detached first.
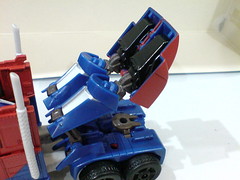
(Left) The roof is released from their locks that are located on both sides of the vehicle's wall.
(Right) The entire back of the truck is separated from the vehicle as the feet (truck's roof) is folded to the back.
(Left) The fifth wheel coupling is lifted, releasing the lock between the legs.
(Right) The tail is split in half.
The fifth wheel coupling is bent downward to snap to the right leg's inner face.
Each half of the truck's back is tabbed onto the tail to form the latter's shin guard.
The feet are bent out from the roof's interior. The latter becomes the heels.

The legs are done.
The roof is now hidden behind the feet, and the tail's top view is concealed beneath the shin guard.
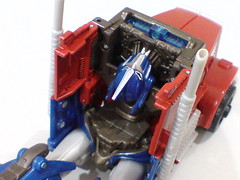
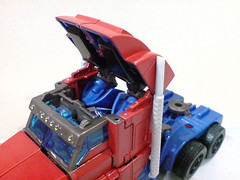
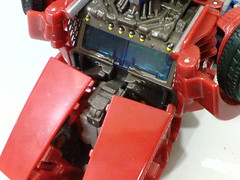
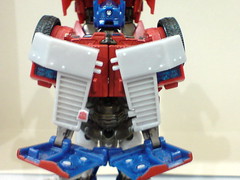
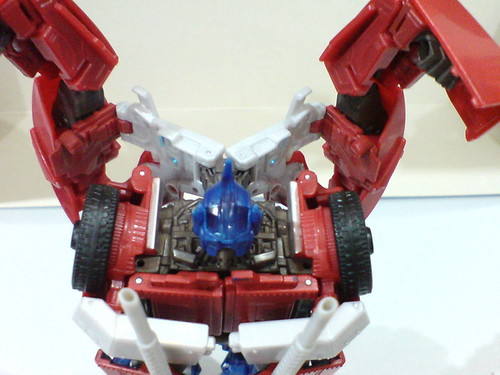
With the back of the truck removed, you can see Prime's head hidden inside the cab. ^^

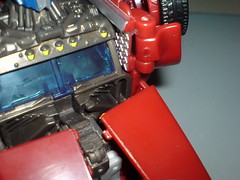
(Left) The lower half of the sleeper's walls are separated from the body and then lifted upward.
(Right) Because of joint design, the separated wall pieces appear slightly bent to front.

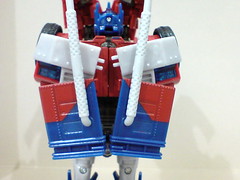
The head is flipped out from inside the cab.
In front of the truck, the grill is split in half.
You can see the sets of tabs that lock the two halves in place in vehicle mode.


180-degree upward flip for the truck components on the side that include the separated grills, front wheels and step boxes.
The upper sleeper walls are folded inward to formed the immediate back of Prime, and just for convenience and easier management of the next few transformation steps, the lower walls are flipped inward as well. ^^
Just like the tail and grill, the truck bonnet is split in half.
Release the split bonnet pieces from their respective groove located near the lower outer edge of the windshield.

The step that is a little bit confusing to follow in the manual: ^^; the front half of the engine is flipped downward to the front (follow the bonnet's movement).
Next, the entire combined component featuring the chest pieces and arms is flipped upward for 180-degree, until the joint is entirely in front of the truck's windshield.
With enough clearance in front of the truck with the arms flipped upward just now, ...

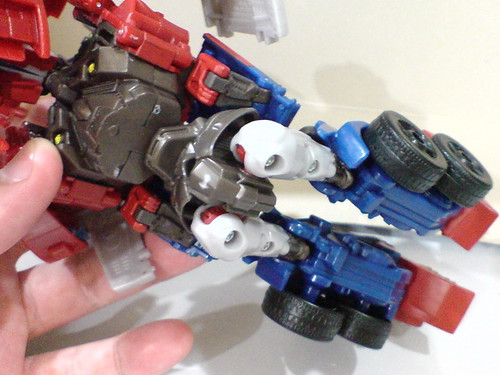
... the lower body is swung to the front after the legs are bent downward.

To complete the back's assembly, the lower sleeper's wall is flipped downward first.
(Left)The lower truck component is tilted inward until the wheels sit on the side of the shoulder and the grill is completely tucked to the back. Like the lower sleeper's wall, the shoulder's design forces the grill piece to be positioned in such a "up-right" angle. ^^
(Right) The lower sleeper's walls are flipped upward (again) to hide the grill pieces. There's no tab to hold the pieces together actually. Everything just stay in place depending on its joints.
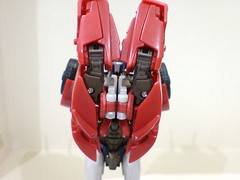
This is front and rear views of the chest piece and arms before the next set of transformation steps.

Each half of the arm sets is flipped outward from the chest piece.
The chest piece is split, allowing each arm set to move closer to the side of the body.

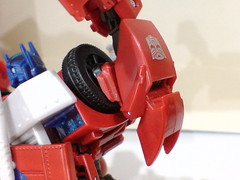
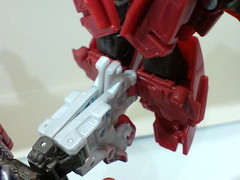
A peg joint near the the shoulder is tabbed into the wheel's center cap.

The entire arm is flipped downward.

Front view of the chest piece transformed just now.
The chest piece is sitting on top of the "real" windshield. ^^
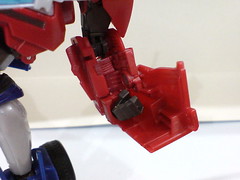
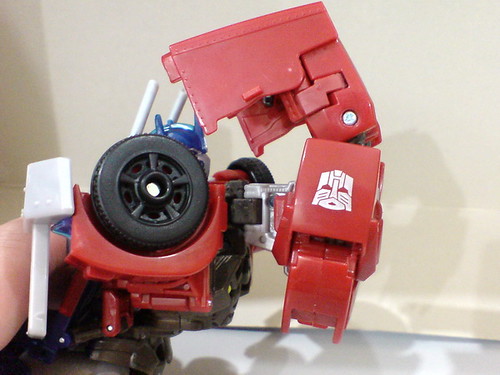
For complete the arm's transformation, the bonnet piece is flipped outward for 90 degrees first.

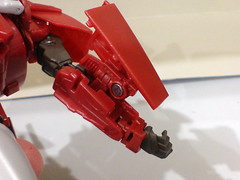
(Left) The wrist and hand unit are flipped downward.
(Right) Via another joint, the bonnet piece is tilted upward for 90 degrees.
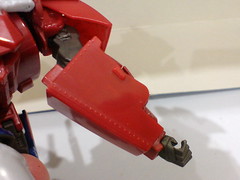
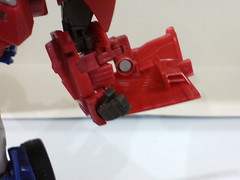
(Left) The bonnet piece is folded inward until it wraps around the forearm to form some sort of armor. ^^
(Right) At elbow level, the forearm is rotated for 180 degrees.
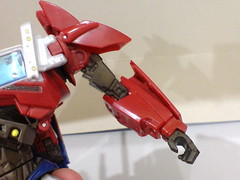
From the instruction manual, the shoulder plates should be lifted upward as well, ...
... but seeing that isn't how that component is shown in the anime, as well as on the official product image, I didn't bother following that step. ^^

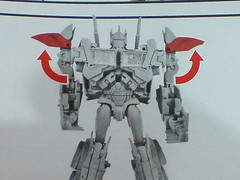
Optimus Prime is robot mode is completed. ^^
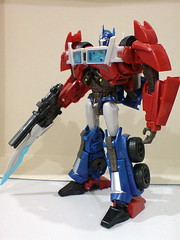
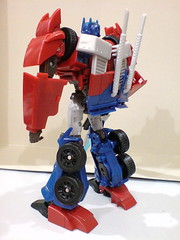
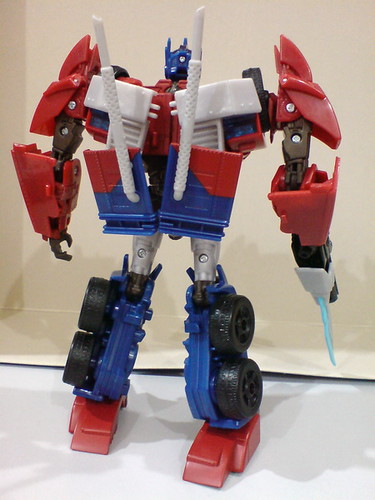
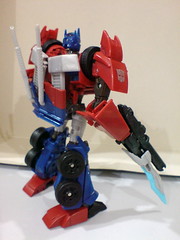
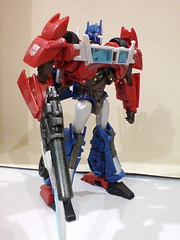
More images of the Autobot leader in robot mode in the next posting. ^^


2 comments:
Too bad the U.S. release mold didn't keep the trailer hitch in a single piece. Pegging it together from halves makes it too loose to really hold anything.
I missed out this First Edition Optimus Prime as I thought the releasing later will be better and so far it is getting from bad to worst. At least this prime get the correct color theme of his body. The latest one only part of it is red while the rest is grey....
Post a Comment