Moving on with another batch of work on HGUC Geara Zulu after the previous posting. ^^
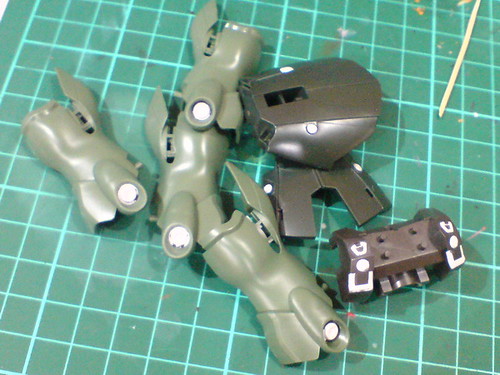


All the painted parts from the previous posting.

Excessive white paint on the chest part is scratched away using a pen knife.
Some minor excessive paint is "hidden" by applying panel lines over it.
The little "pin" that links with the white hook is painted gray using Gundam Marker for a little bit of extra details. ^^
The border between the front and rear body parts is painted black using normal marker.
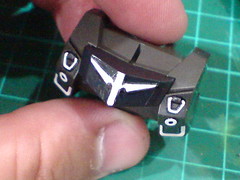
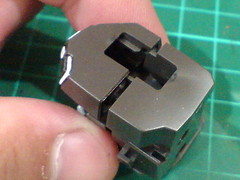
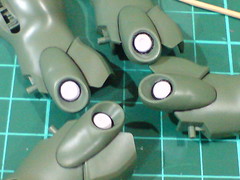
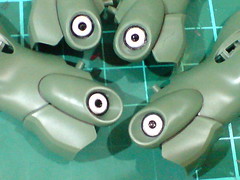
Test fitting the parts to see how the chest would look like when the parts are assembled. ^^
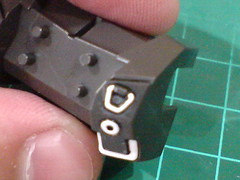
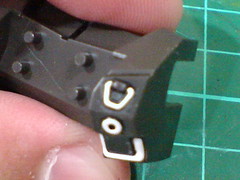
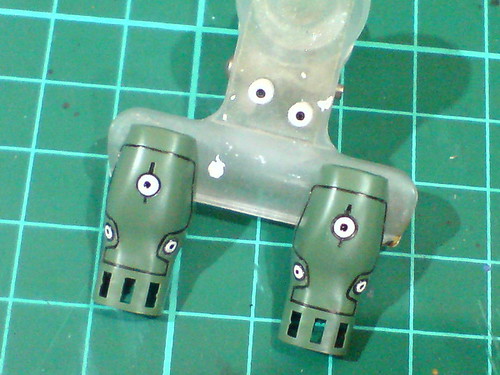
Same paint treatment for the collar emblems as the wrist and chest parts shown in the previous posting: panel lines are applied to highlight the emblems first, the rest of the parts are then painted black using Gaia Color 022 Semi Gloss Black.
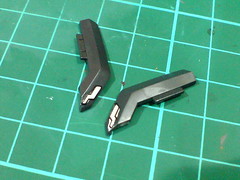
(Left) For the side vents, excessive white paint is scratched away using knife and toothpick.
(Right) Panel lined the vents' interior.
The border between the left and right leg parts is painted black using normal marker.
The shorter border behind the knee is painted black as well.
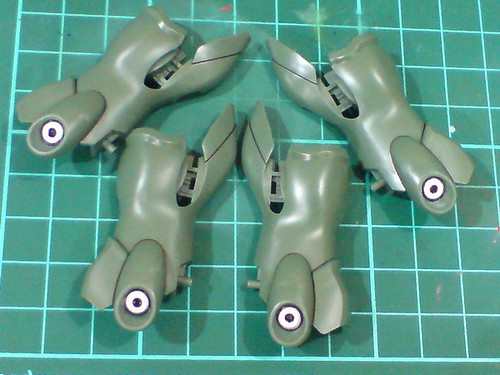
Other line details on the surface of the leg parts are panel lined.
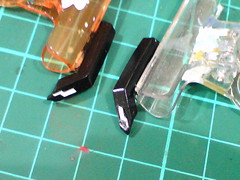
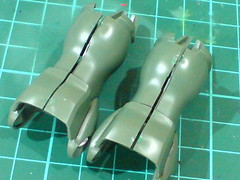
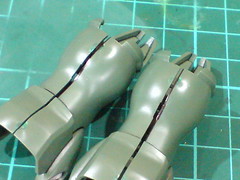
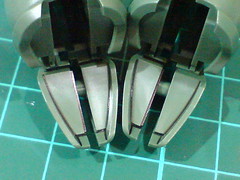
Excessive paint on the forearm parts is scratched away using a knife before panel lines are added.

Sunken borders at the edge of the forearm parts are painted black.
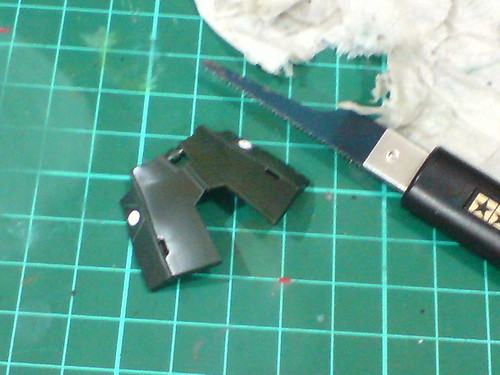
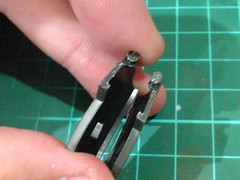
For the straight assembled version, the front skirt armor pieces are split, albeit very rough work as I just used nippers and knife if I remember correctly. ^^; For this kit, a more professional tool, Tamiya Handy Craft Saw is used instead. ^^
the front skirt armor pieces are separated.
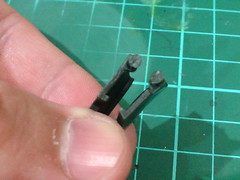
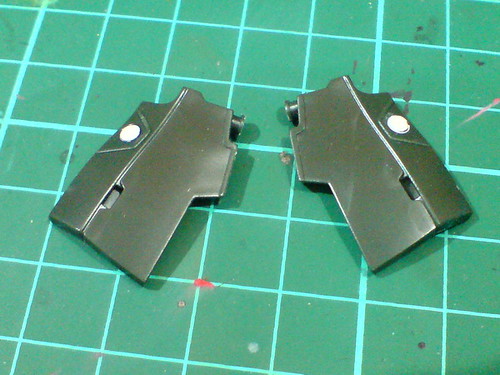
The rough edges between the parts are cleaned using paper files 800 and 600 in order.
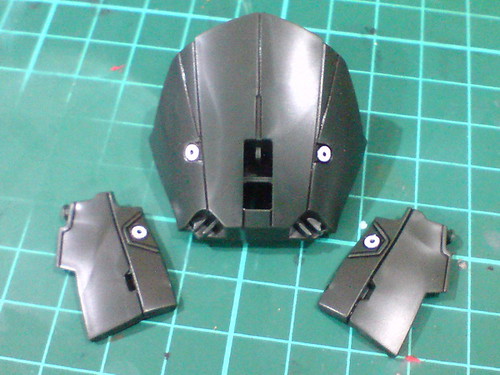
Panel lined the line details on the front and rear skirt armor parts.
Most parts that require paint work are now done after this and the previous posting. ^^ Will move on to some regular panel lining work next.


No comments:
Post a Comment