Rolling out another Gunpla after the work on BB Senshi Sangokuden Rikuson Z Plus. ^^ This one has been sitting in my closet waiting to be assembled since mid January: 1/100 scale Zaku Warrior with Blaze Wizard and Gunner Wizard packs.
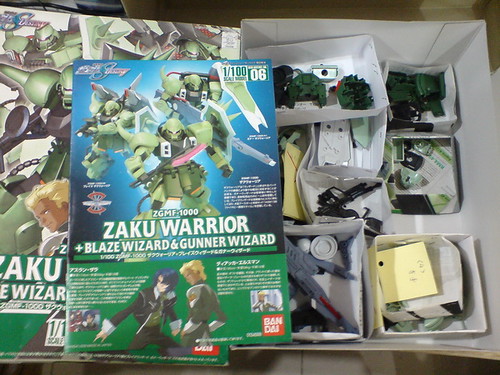
On a separate note, it would seem like a streak of green Gundam-related reviews is going on on my blog. XD This is the third green guy after Robot Damashii [Side MS] Geara Zulu and HG 1/144 Cherudim Gundam. ^^ I can assure you that this is unintentional, but it's pretty fun to see anyway. ^^
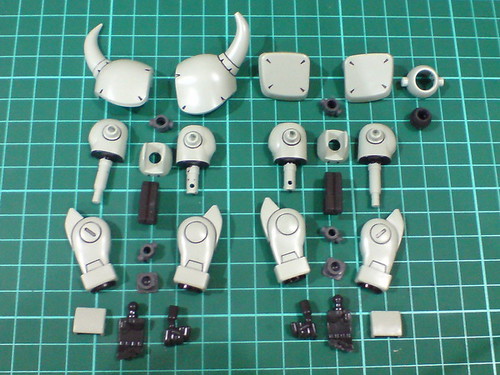
Parts for both arms.
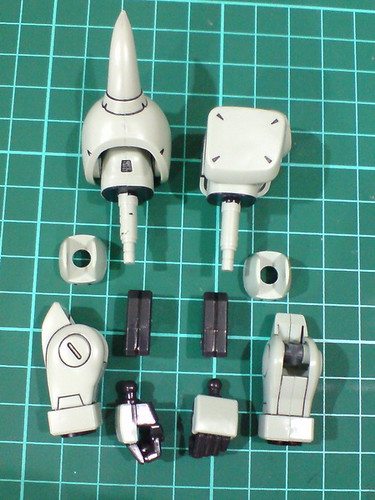
Separable components of the arms before the final assembly.
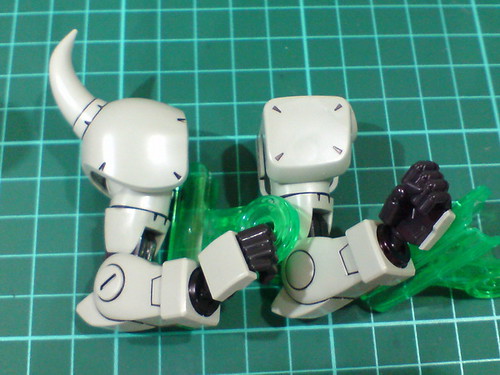
Done for both arms.

The black wrist joint was painted in Part 4.
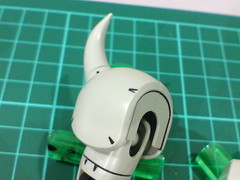

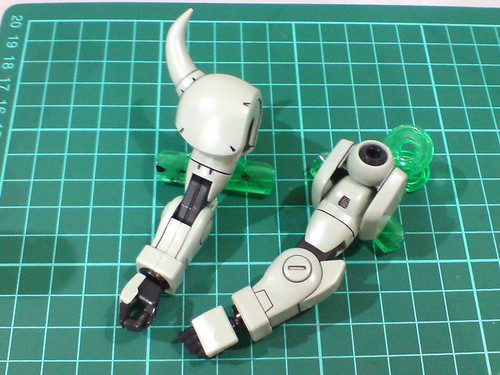
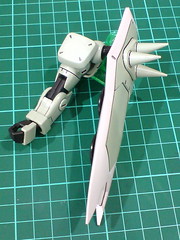
The right armor with a horn is assembled directly onto its upper arm, ...
... while the right shoulder shield can be treated as a separated component to be assembled later.

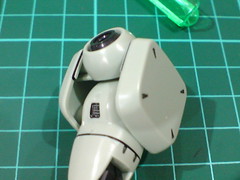
Pretty standard articulation for the elbow.
The upper arm has a separated joint that allows the former to rotate from side to side.
The parting segment is all too mightily obvious. ^^;

The interior of the upper arm was painted in in Part 4.
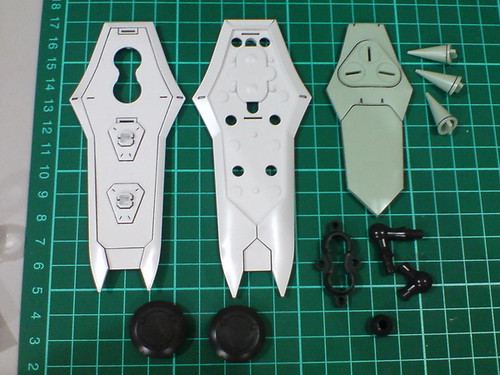
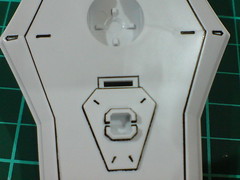
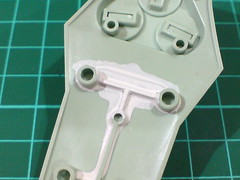
Parts of the left shoulder shield.
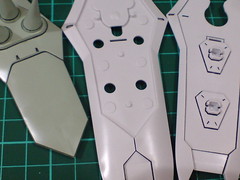
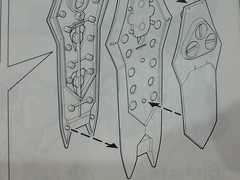
The shield is consists of three solid, large and relatively heavy parts. A large chuck of white part that will be sandwiched between the bottom and surface pieces can be omitted I think. Getting to the said area is going to be a challenge as it's between the shield's frame, which obviously mustn't be damaged at all.
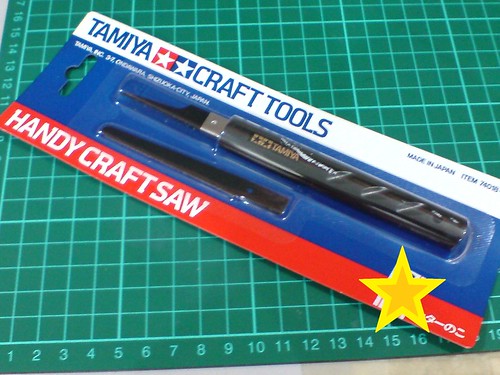
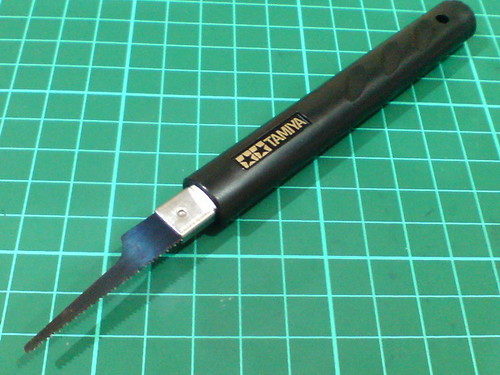
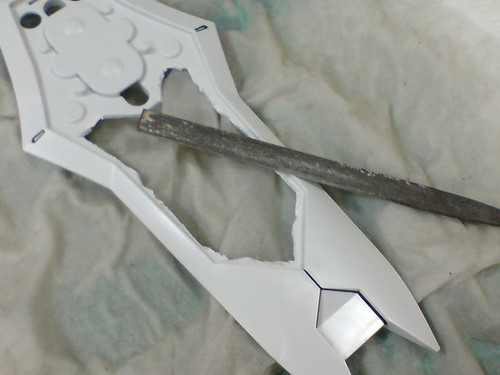
Unlike similar work on MG Crossbone Gundam Full Cloth's Murasame Blaster where the targeted area can be removed simply with a metal file, this special tool will be needed for the task on Zaku Warrior's shoulder shield: Tamiya Handy Craft Saw.
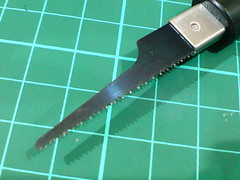
The long yet small tip of the saw is most useful in reaching into tight spot to start the cutting work. ^^
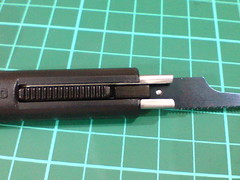
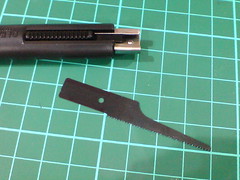
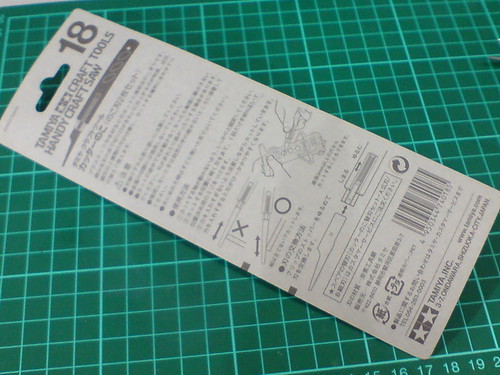
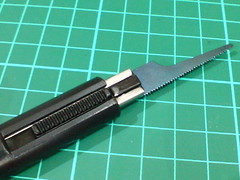
Removal of the saw blade is easier than that of a snap knife. ^^
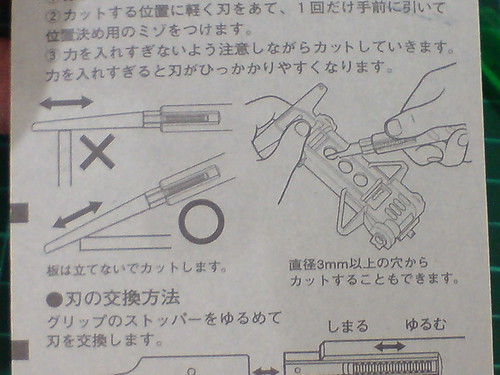
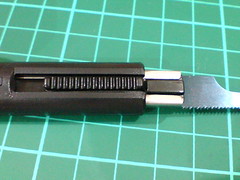
Cut with the saw blade in an angled position, not flat straight. ^^
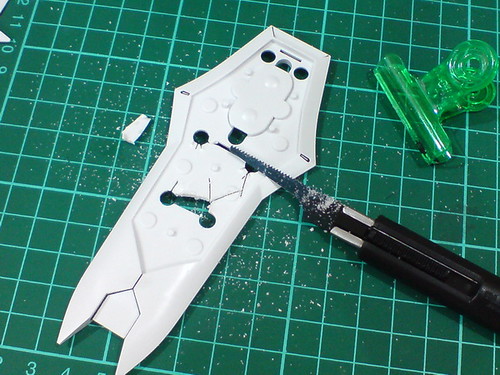
Cutting into the white shield area is extremely easy with the craft saw, ...
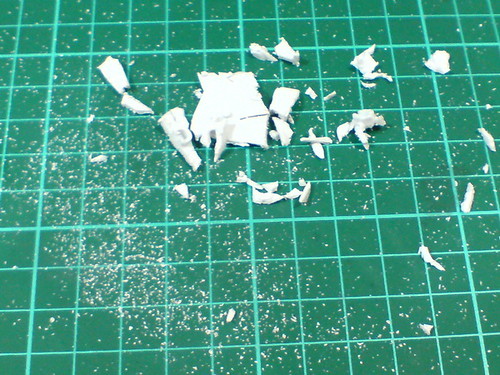
... but be prepared for all the plastic dust unleashed from the work. ^^;
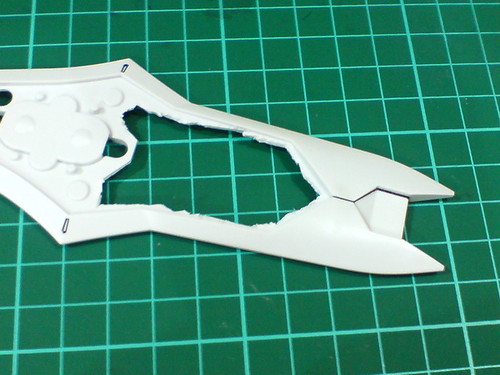
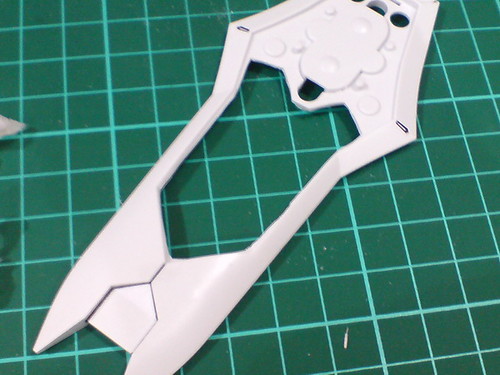
A very rough temporary result. ^^;
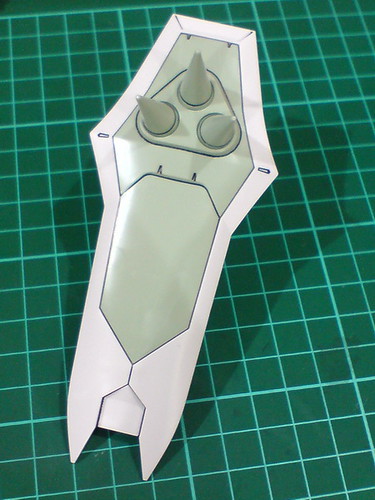
Test fitting the parts to have a preview of how the completed shield would look like.
Not one bit of the "shaven" middle portion of the shield is exposed, so I guess I can cut off some more of it. ^^
A connector on the middle part to fit through the square slot on the bottom part has been cut away. ^^; A bit of paint work will be required to "hide" that "mistake". ^^;
The rough edges inside the shield is smoothened with a metal file.
Not letting go of any bit of excessive part inside the shield's frame that I can get rid of, some more of it is been shaved off with a pen knife.
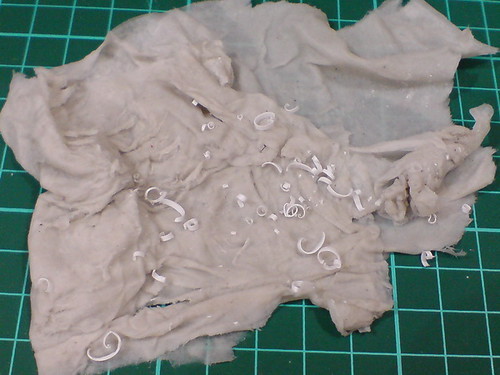
All the plastic "peels" from the last stage of this intensive weight loss scheme on the shield. XD
The center area of the green surface part's rear face is painted with Gundam Marker White. It will act as the "camouflage" for the cut connector piece mentioned earlier on.
Since I have no idea how much of the painted area is going to be exposed through that tiny slot when viewed from various angles, a wide area on the green part is painted to make sure everything is covered. ^^
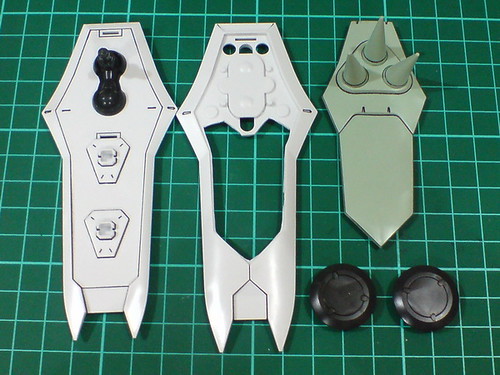
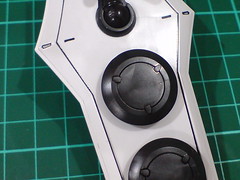
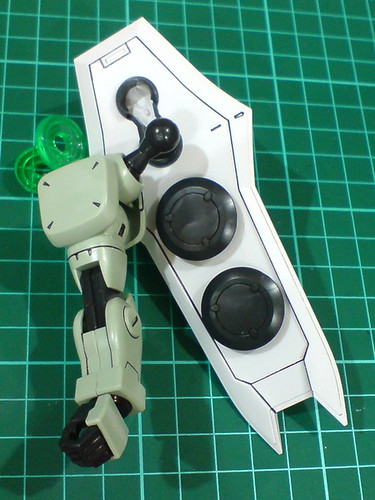
All components of the shield.
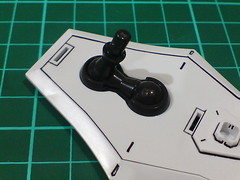
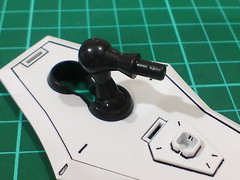
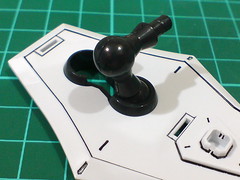
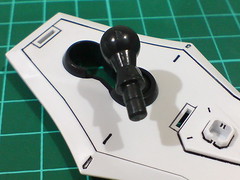
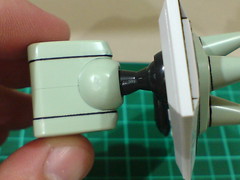
While it seems like there are two ball-type joints installed, only one is workable. ^^;
When popped from its base, the joint has a fairly wide angle of articulation, which is kind of obvious given the nature of the joint type.
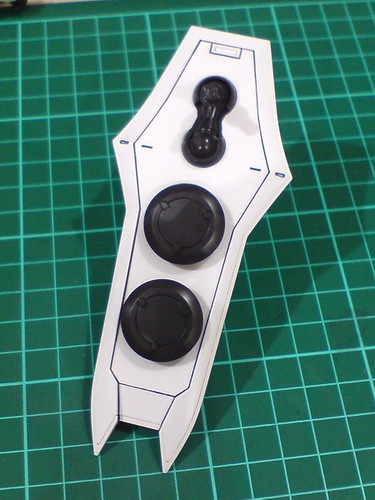
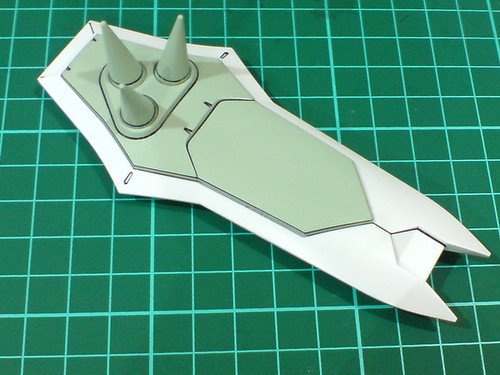
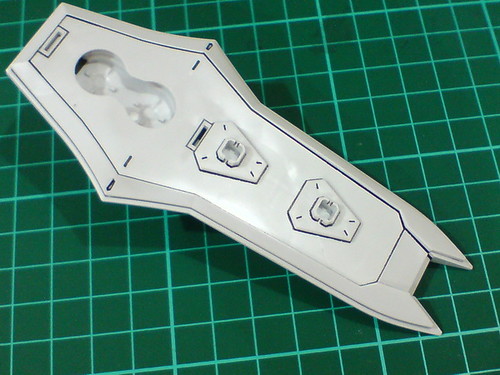
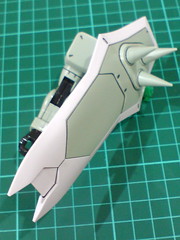
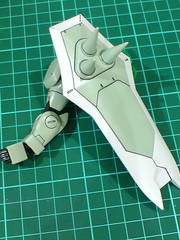
The completed left shoulder shield.
Direction and position of the markers on top of the parts determine the placement of the beam rifle's spare magazines behind the shield.
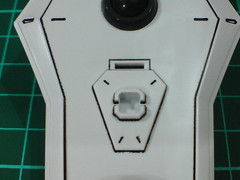
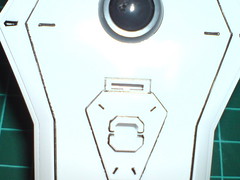
Cutting off the white connector is quite a false alarm for panic really, since almost none of the blankness is going to be exposed. ^^;
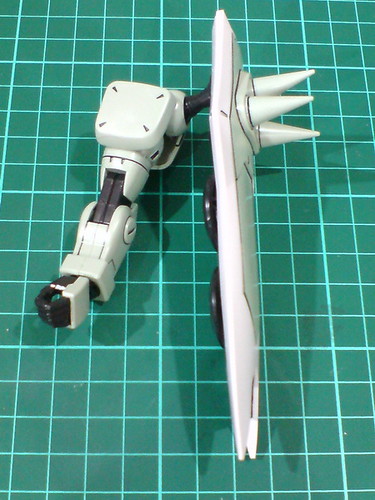
With the shield mounted onto the left shoulder.
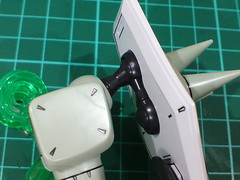
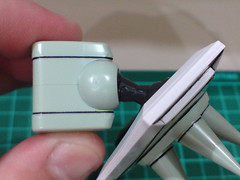
A ball-type connector inside the left shoulder allows the shield to be bent in various directions.
Application of the two joints for the shield's movement. ^^
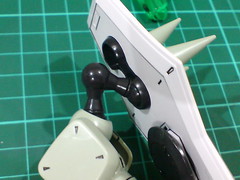
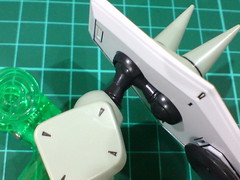
With the joint popped out from its base, ...
... the shield can even be bent to the back of the arm. ^^
The shield's movement is definitely an improvement over the design of its distance ancestor from another universe: the original Zaku II. ^^ Still, in terms of flexibility, it's not as awesome as Tieren Space Commander Type's twin shoulder shields - the plamo kit design to be exact. ^^
Moving on to assembling the legs of Zaku Warrior next. ^^


1 comment:
I never thought that assembling gundam units are overly meticulously. Putting a hole to that shield would cost me a lot of time. (>_<), I'm planning to get gundam models in the future cause I saw awesome models on my boss's desks which is cool to look at. The only thing that is stopping me is that Gundam units are costly here in the Philippines
Post a Comment