First order of model kit related business to attend to in this new year is actually something from last year. ^^; From the very long running review series on Keroro Plamo Collection God Keron, there are still a few things to be taken care of because I'm satisfied enough to start assembling it. ^^
Back in mid October last year when the work on the last mecha of the team, Dororo Robo Mk-II came to an end, I didn't feel that the entire work was "genuinely" completed before the final assembly. Some parts just didn't feel right - the sloppy paint work on Keroro Robo Mk-II's and Dororo Robo Mk-II's respective shields was definitely on my mind at that time. It still bugs me every time I look at the box of the kit, even though I didn't bother picking up the work until now. ^^;
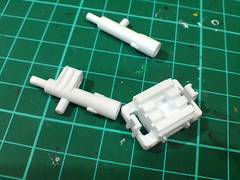
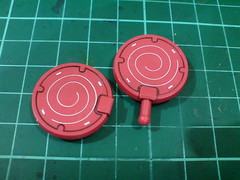
Panel lined the large beam saber and display stand connector part.
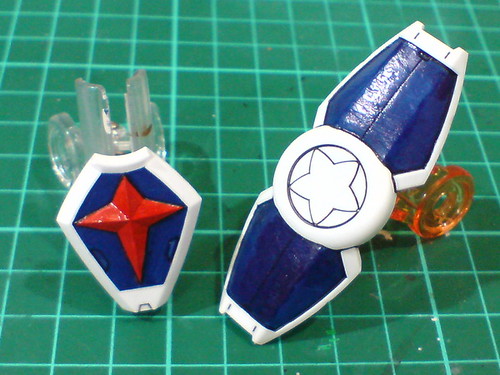
Returning to face the dreadful paint work done on Keroro Robo Mk-II's and Dororo Robo Mk-II. ^^;
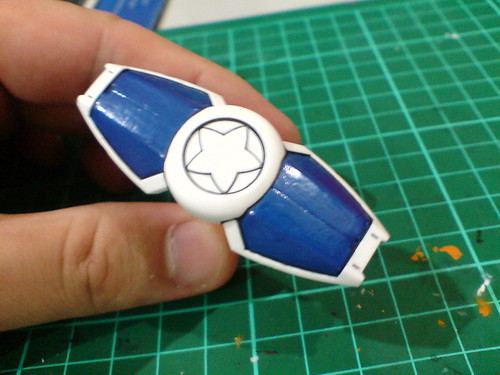
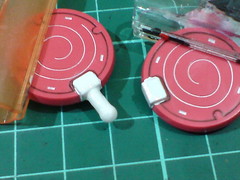
Repainted Keroro Robo Mk-II's shield with a new layer of blue paint using Gundam Marker. The paint result seems more even now. ^^
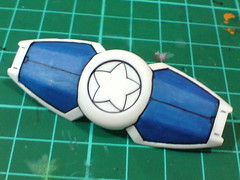
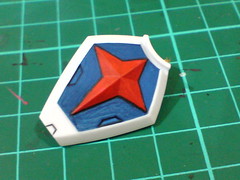
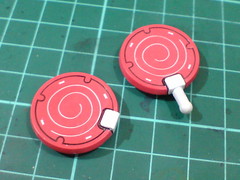
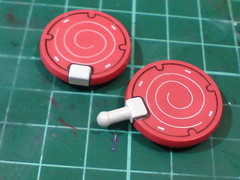
A round of topcoat using Mr. Hobby's Topcoat (Flat/Matt) gives the two parts a much nicer appearance. ^^
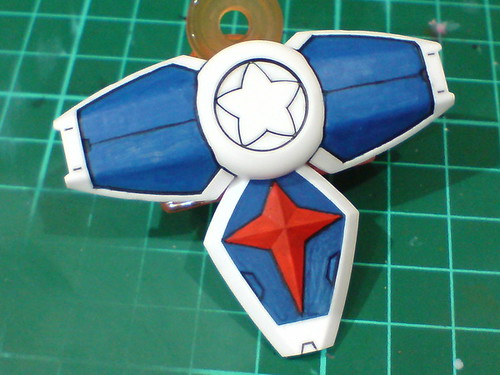
Test fitting the shield parts to see how the combined chest armor of God Keron would look like when assembled. ^^
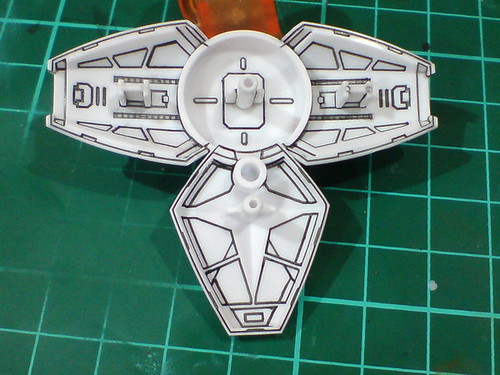
The super elaborate line details behind the shield are really awesome. ^^

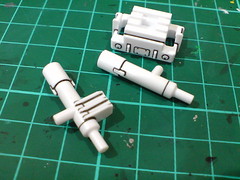
A part that wasn't painted on Tamama Robo Mk-II from late July last year: the left wrist joint should be painted white.
(Left) Painted the parts white using Gundam Marker.
(Right) Two more layers were added to cover up the molded color of the parts.
Minor panel lining on the joint area to complete the (missing) paint work. ^^

Not happy with the unpainted abdominal emblem on Kururu's figure from the work did in early September, I decided to go through the trouble of mixing my own orange paint (again) and painted that tiny spot. ^^;

With panel line added.
Like the last bit of additional work put in for 1/48 Unicorn Gundam Head Display Base, much of the work feels like self-imposed obligations to me, ^^; especially Kururu's emblem. Maybe they aren't important at all, but I can't put my mind at ease without finishing them first. ^^ The shields which look much better now do help to relieve that uncomfortable feeling I have about the work on this kit at this point. ^^


2 comments:
Hope we get to see the fully finished god keron soon, i have really enjoyed watching the step by step painting.
Your pics have proved useful as i paint my god keron kit as im new to building plamo.
Ngee Khiong, I checked your post since November 2009 on MG Gundam F91 until Part 6. I didn't see the work on Gundam itself and the finished work. I actually owned the MG F91 as well. I finished assembled mine but about to follow the painting technic and decal application from you. Please kindly advise
Post a Comment