Supposedly done after the last posting in late July, an awkward feeling of not completing the work on 1/48 scale Unicorn Gundam Head Display Base entirely stayed on my mind since then and had been bugging me ever since. ^^; I took out the parts and look at some of them on and off and wondered what more can I do for them that would enhance their appearance, but not having to run any risk of ruining them with excessive detailing instead. ^^; There were some ideas on and off but I didn't record them at the moment they were formed, nor did I jump straight into the work and realize those ideas right away. After repeating that tiresome cycle a few times, I guess I should just work on the parts and finish the work entirely, just for the sake of dissolving my own internal conflict. ^^;
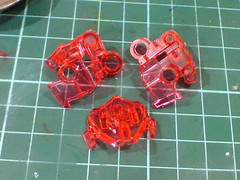
My usual treatment to make clear parts look more obvious on model kits is to paint a layer of silver behind them, which is usually done for targeting scopes on weapons. I'm not sure how much the look of these larger size clear red Psycho Frame parts could be enhanced with such treatment though. ^^;
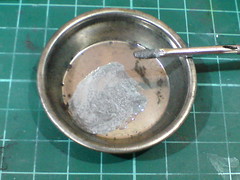
Besides silver paint from Gaia Metallic Color No. 9 Bright Silver, another paint is mixed with it in hopes of getting a brighter and glossier outcome. ^^
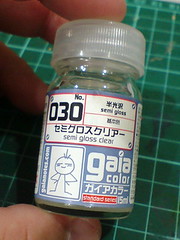
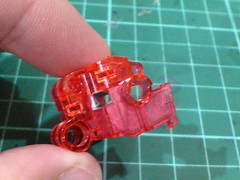
The new paint used is Gaia Color 030 Semi Gloss Clear.
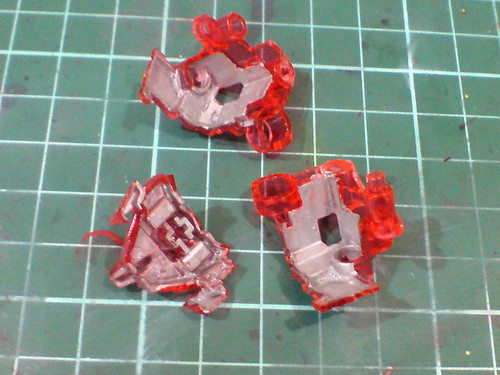
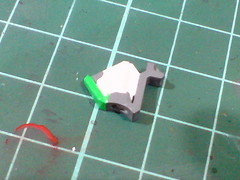
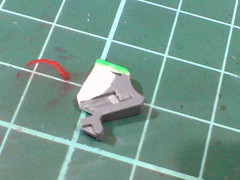
Painted the rear face of the parts with the mixed paint.
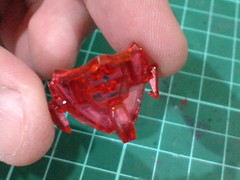
The silver paint on their back does help to highlight the clear red molded color of the parts, but I guess the effect is going to be quite limited given how little some of those areas might be revealed when the model is assembled. ^^;
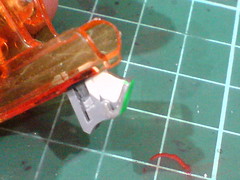
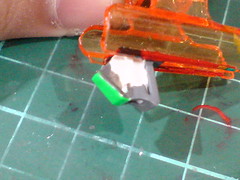
Gaia Color 030 Semi Gloss Clear's debut does nothing to enhance the overall look as well unfortunately. ^^;
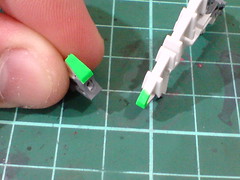
The semi gloss clear paint will be useful for these two parts though.
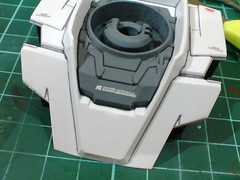
I'm hoping to add a layer of glossiness to the front and rear sensors painted using Mr. Color No. 175 Fluorescent Green Flat in Part 3.

The painted result.
Not exactly visible in the two images above, but the glossiness is there. ^^
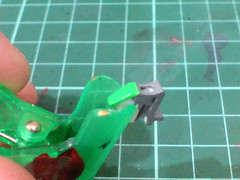
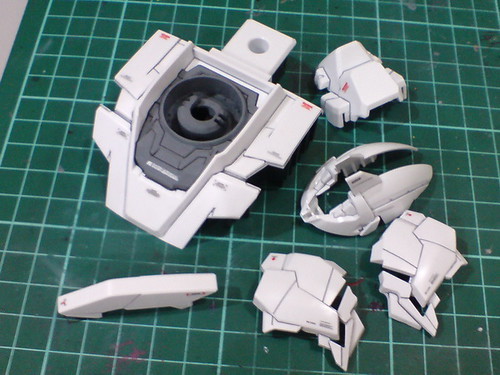
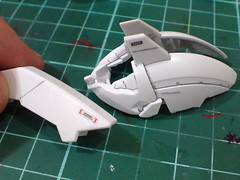
The blank areas on the either side of the front sensor are not very "secured" and will need to be painted as well. ^^;

Looking at other reviews, it seems that a slight portion of the said part will poke through in Destroy Mode. ^^;
Image is from Dalong Dotnet.
For the sake of convenience, the part is painted using Gundam Marker Gray.
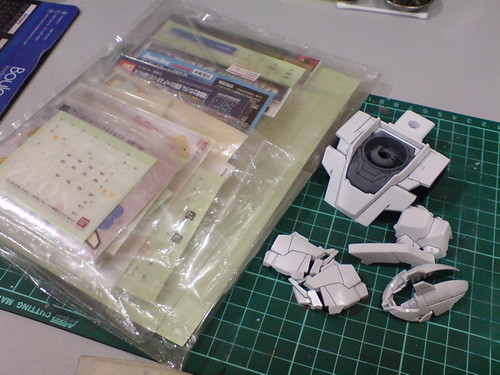
Large white parts with minimal line details look like they could use some extra markings. ^^
Time to flip through the many spare decal and clear sticker sheets I collected over the years again. ^^;

Decal featuring Anaheim Electronics' emblem and corporation name applied to the neck area is from MG Zeta Gundam Ver. 2.0 if I remember correctly. ^^
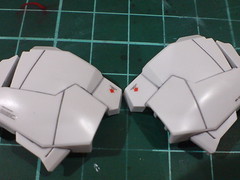
Other markings applied are from clear stickers.
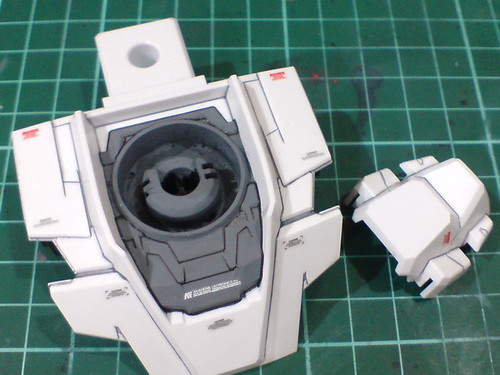
All done for the work on this kit, entirely and completely done. ^^
But seriously, as mentioned at the beginning of this posting, some of these work are not exactly that important per se, but when the same idea kept coming back again and again, it became an obligation. ^^; From "Maybe this idea would work," to "That kit is going to look horrible if you don't do it", bad impression sure escalates quickly, and the only way to get rid of it is just to work on the parts as instructed by my own mind. ^^; The markings came through nicely, but the glossy silver paint behind the Psycho Frame parts didn't. Nice going, brain. You happy now?
Oh boy, I'm going to join the Dark Side for having all these internal conflict I think. XD


1 comment:
A little late, unfortunately, but I used florescent neon orange under the Psychoframe of mine, and it looks gorgeous! If you do anything else Unicorn, I recommend trying it!
Post a Comment