Only a handful of parts with varying degree of paint work and detailing from Keropla God Keron's Dororo Robo Mk-II to work on after the previous posting, so I believe I can call it a wrap for this kit after this batch of work. ^^

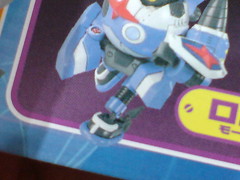
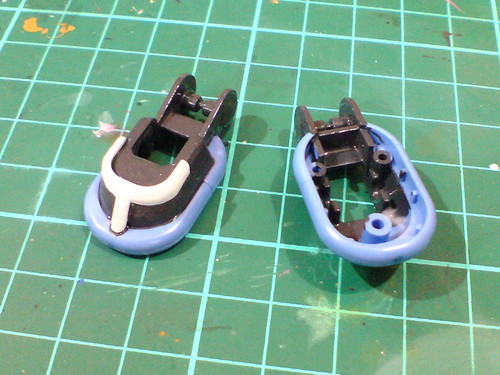
Being just one-piece parts, Dororo Robo Mk-II's feet will require a significant amount of paint work to realize two missing colors: white and gray as shown in the box side image.
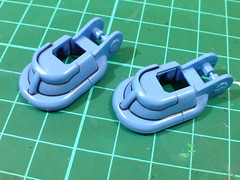
(Left) The two parts are panel lined first.
(Right) The protruding "Y" segments on the feet are painted using White Surfacer from Mr. Hobby, and then Mr. Color No. 1 White Gloss.
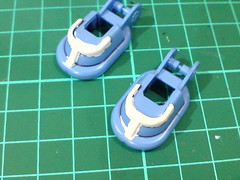
Panel lines reapplied onto the parts before the next round of paint work for the gray section begins.
The excessive white paint is not treated since I know that the gray paint to be applied next is going to cover it up. ^^
The top portion of the feet, as well as the joint on their heels are painted using Gaia Color 074 Neutral Gray IV.
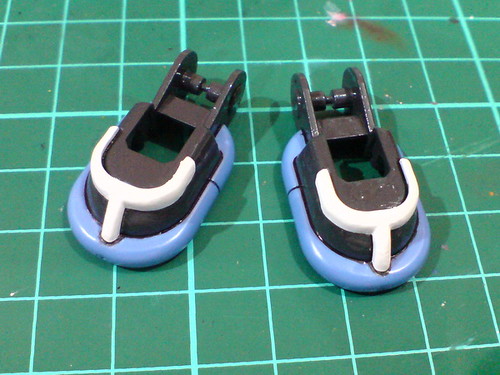
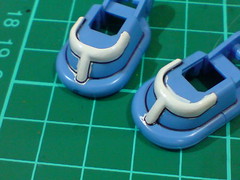
Done with the paint work on the feet. ^^
Simple panel lining for the other leg parts.

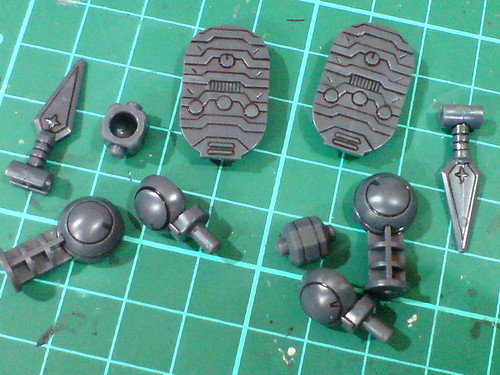
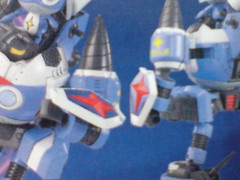
looking at the completed model on the construction manual's cover page, the shoulder drills don't look like they have any special paint applied.
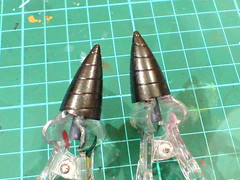
(Left) Instead of leaving the drills in their base color, they are painted with Gaia Metallic Color No. 020 Gun Metal. ^^
(Right) The lines on the parts are done using Tamiya Enamel Paint X-11 Chrome Silver.
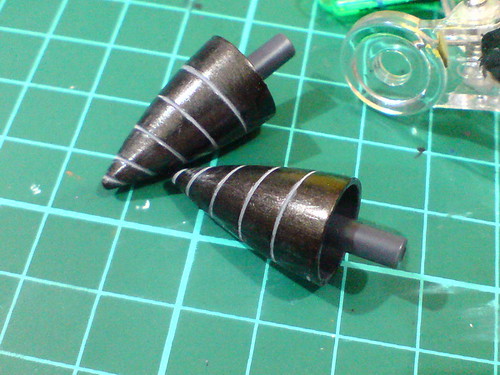
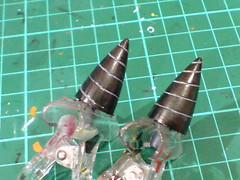
The completed drills. ^^
The entire paint work is actually based on the success I had with the nail parts of Kotobukiya's M.S.G. Weapon Unit MW-28 Impact Edge. I like the paint outcome of that component so I replicated it on these two drill parts. ^^

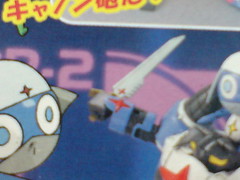
The sword will need to be painted silver.

Just for simplicity, the blade is painted using Tamiya Paint Marker X-11 Chrome Silver.
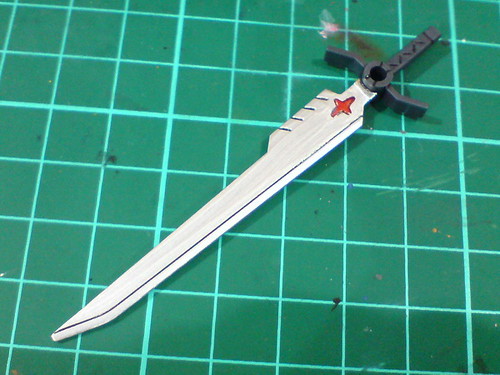
Panel lines are added when the paint on the blade has dried. The small shuriken emblem near the cross-guard is painted red using Gundam Marker.
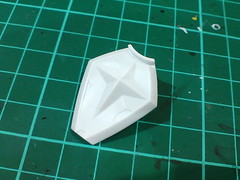
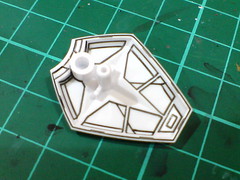
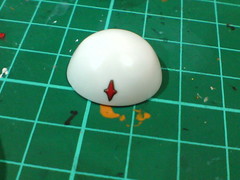
The plain white one-piece shield is another headache, a somewhat less painful one when compared to Keroro Robo Mk-II's shield I would say. ^^;
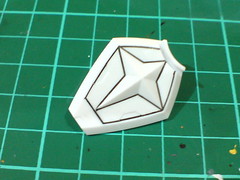
The different sections on top the shield are panel lined first.

The blue "background" is painted using Gundam Marker Blue. Several layers are applied to get a more balanced shade of blue paint on the part.

Excessive paint around the blue area, as well as some spilled color on the giant shuriken is scratched away using a knife.
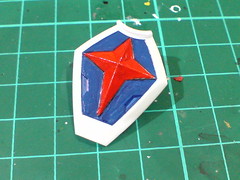
Very carefully, the shuriken is painted red using Gundam Marker Red.
The sharp points of the shuriken are painted using sharpened toothpick.
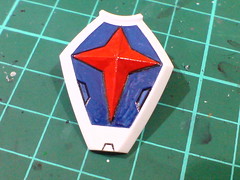
Panel lines applied to the front and rear sides.
Very minor paint work needed for the shuriken emblems molded on the forehead and abdomen of Dororo.
While the patterns are the same (a shuriken), their colors are not.
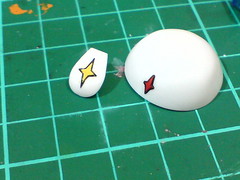
Painted the parts using Gundam Marker Red and Yellow before panel lines are added.
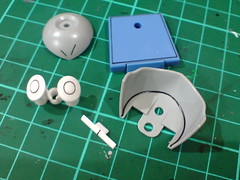
Simple panel lining for the other parts of Dororo's figure. ^^
And with that, the work on Dororo Robo Mk-II is done. ^^ To be honest, the whole work seemed to be done right after the shield was panel lined. XD Speaking of which, it's kind of obvious that the result of the paint work on the shield is rather not that great at all, pretty much just like the outcome for Keroro Robo Mk-II's shield. ^^; Supposedly, since the detailing work on all five Robo Mk-II kits in this bundled set is now done, the review series should move on to the assembly, which is a long way to go too, ^^ but I'm thinking of revisiting a couple of parts from all five kits I want to improve upon. The two shields would be top priority in that additional project. ^^;
Then again, at this stage, I'm planning to do something else before returning to work on another model kit. ^^


1 comment:
why not try masking it? a steady hand is not enough. sometimes it is much time-efficient (and easier too) to mask something before painting than paint - panel line - scratch excess paint.
Post a Comment