As mentioned in the previous posting, a few more body parts of Tamama Robo Mk-II to work on before I can claim that I'm at 40 percent completion for Keropla God Keron's pre-assembly work progress. ^^
Then again, two of the remaining body parts have the highest level of line details to work on. ^^;
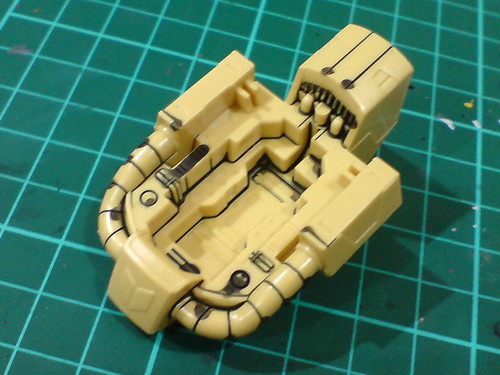
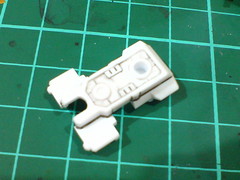
Tamiya's Panel Line Accent Color (Black) is used to speed up the panel lining work for the cockpit area.

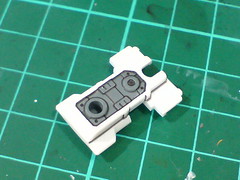
The end result of the cockpit area's work after extensive rounds of cleaning using tissue and cotton swabs soaked with thinner, and more lines added normal panel liner as well. ^^
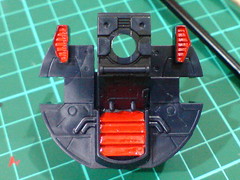
The three vent areas on the rear body part are painted using Gaia Color No. 003 Bright Red Gloss.
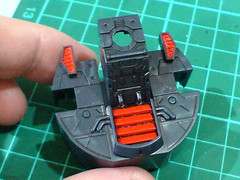
With excessive paint around the vent areas scratched away using a knife and panel lines added to the entire part.
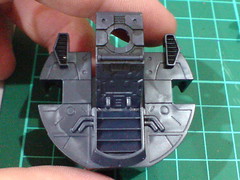
A wide sunken area beneath the hip part is painted using Tamiya Color Acrylic Paint Mini XF-53 Neutral Grey to establish that that area is an exposing mecha component. Panel lines are added when the paint has dried.
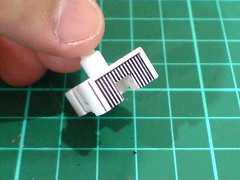
Plenty of straight line details on the front face of the waist part that can be handled very easily using a normal panel liner. ^^
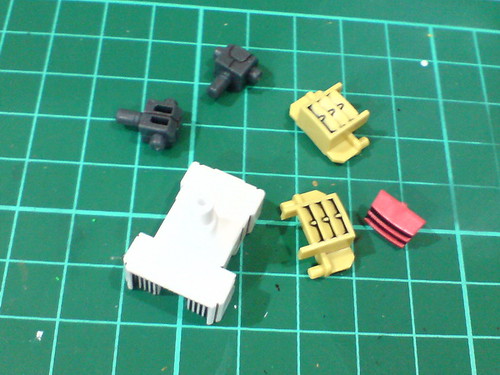
A gathering of all the body and waist parts with just simple panel lining applied.
Not too many parts shown here as you can see, since the others either need no panel lining at all, or were already panel lined after extensive paint job on them. ^^

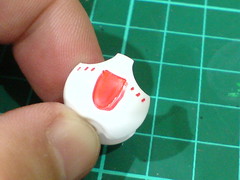
For the little figure of Tamama, the mouth area and tiny lines under the eyes are painted red using normal fine tip marker.

Excessive red paint is swiped away using cotton swab with thinner. ^^

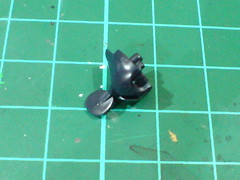
Much like the robot eyes in the previous posting, Tamama's eyes are painted using normal fine tip marker.
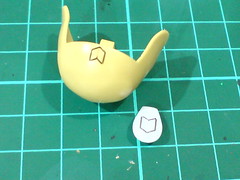
Just panel lining for the little emblems on Tamama's cap and tummy parts. I'll be depending on the paper stickers given to realize these two details. ^^
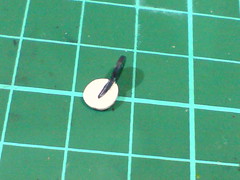
The "flap" on Tamama's little tadpole tail is painted using Gundam Marker White. ^^
And that's a wrap for Tamama Robo Mk-II's detailing work. ^^ As mentioned in Part 6 when the work on this particular kit started, the paint work was indeed a lot harder than Keroro Robo Mk-II, especially the candy thrusters painted in Part 6 and 7. The other parts were fine, but applying white or red paints on some of those parts where their base color is white was quite a challenge nonetheless. ^^;
Two done, three more to go, but not so soon. ^^


No comments:
Post a Comment