Continuing with the assembly of HG 1/144 Ali al-Saachez's Customized AEU Enact Custom after the previous posting. ^^
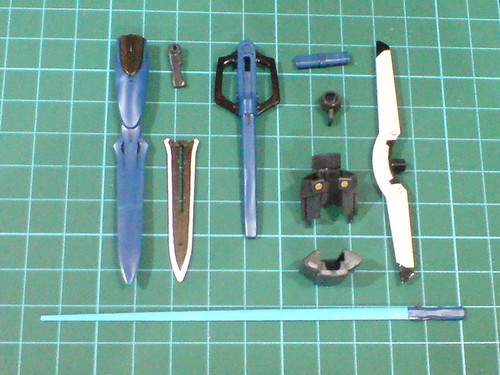
Parts for all of the kit's weapons.
(Just) four parts for the Blade Rifle makes it the weapon with the most parts on the list. ^^
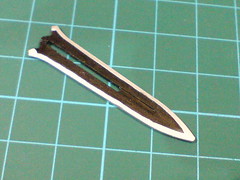
The blade that was painted in Part 2.
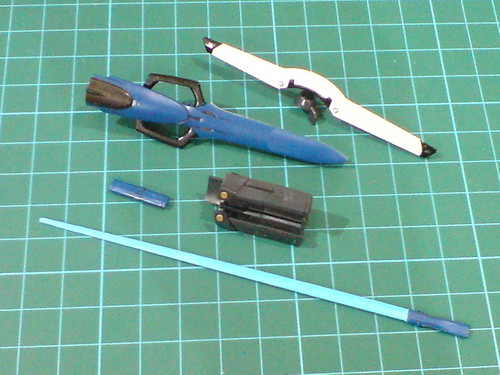
All the weapons are completed.
Being one-piece parts, the Sonic Blade (Plasma Sword) and another mere handle part for storage purpose require no assembly at all.
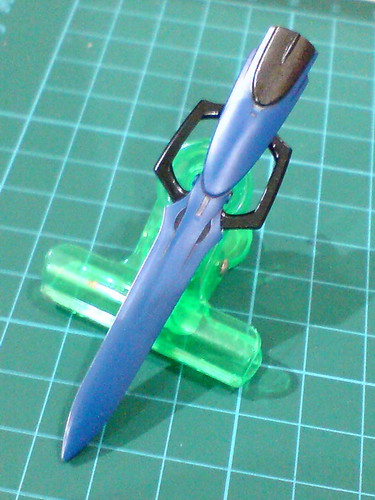
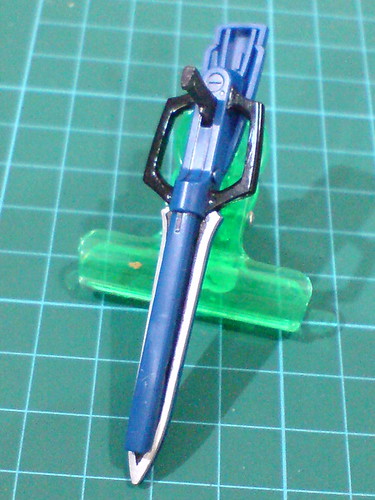
Rather simple design for the Blade Rifle.
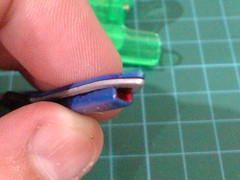
The muzzle point of the weapon that was also painted in Part 2.
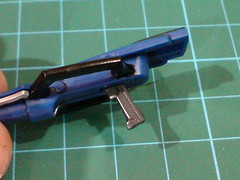
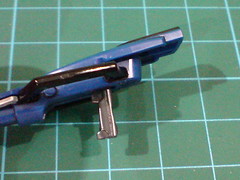
The hinge joint at the handle's base only allows the latter to be tilted forward/ backward for a slight degree.
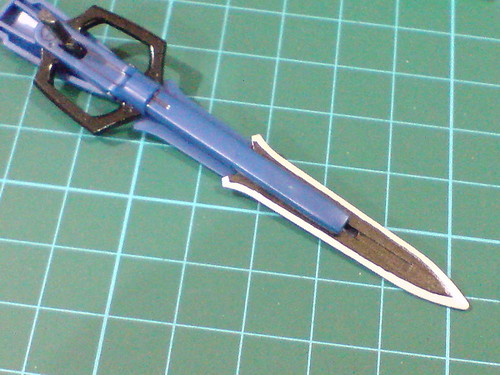
The rifle with its blade extended.
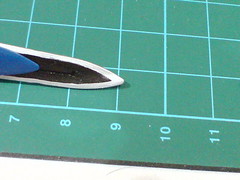
The expanded Blade Rifle is a little bit over 9cm in length.
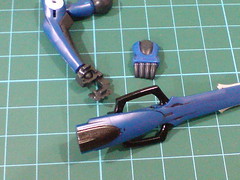
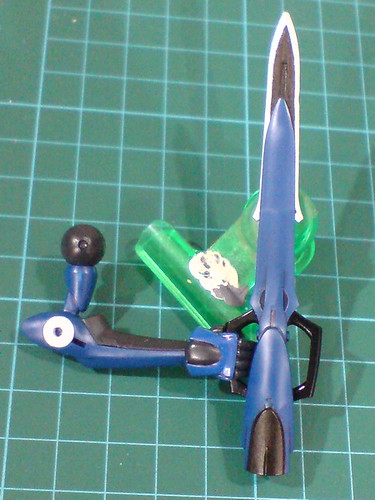
The Blade Rifle in blade mode can be held via either one of the two supporting handles beside its body.
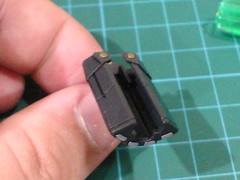

Just two parts to form the missile launcher.
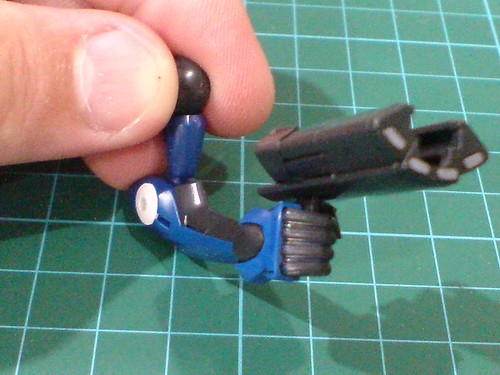
The missile launcher can be held as an individual weapon.
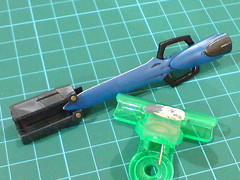
By sliding it in and onto the rifle's barrel, the missile launcher can be combined with the Blade Rifle.
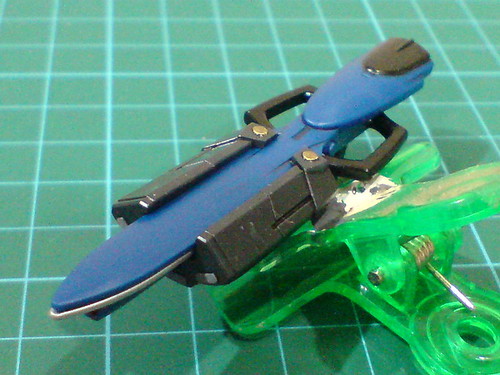
The combined rifle looks way cooler in my opinion. ^^
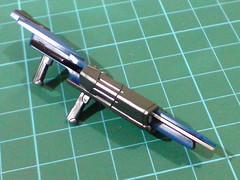
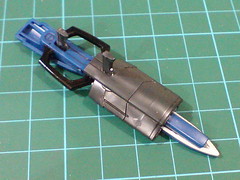
Unfortunately but well expected, with the missile launcher pretty much locked onto the rifle's body, the blade's extension gimmick is not possible in this combined mode.
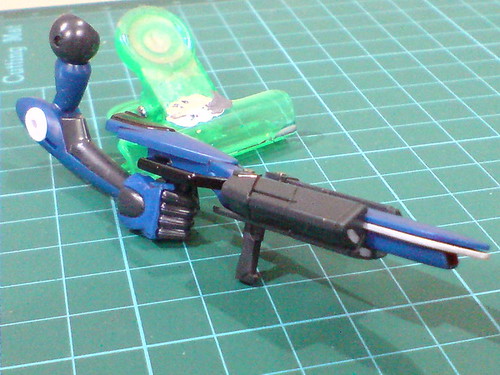
Connected the combined rifle to the right hand.
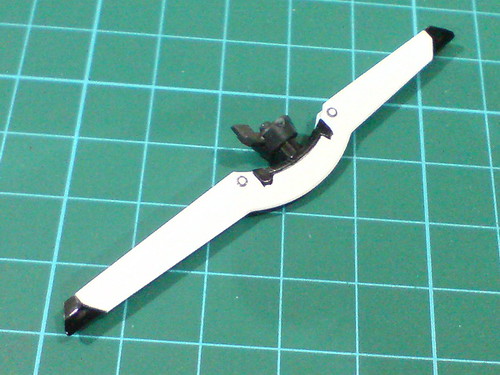
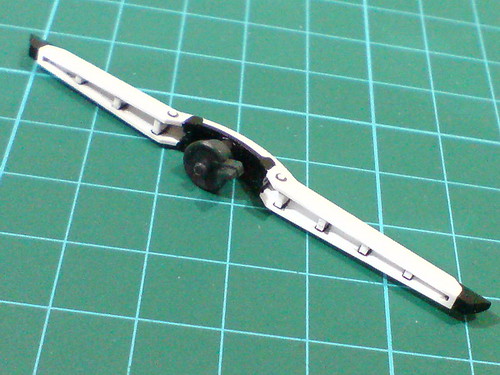
An additional mount rack is appended to complete the Defense Rod.
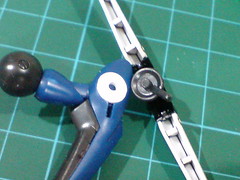
A peg and a tab behind the mount rack help to connect the Defense Rod to the designated points on the elbow area.
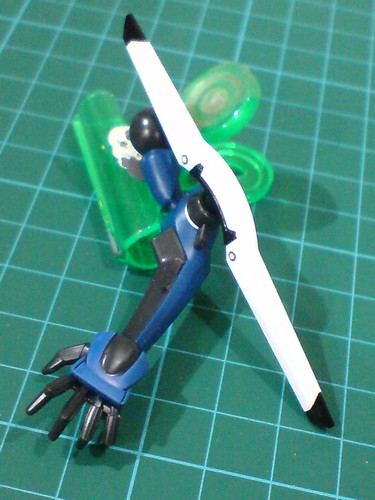
The Defense Rod on the left arm.
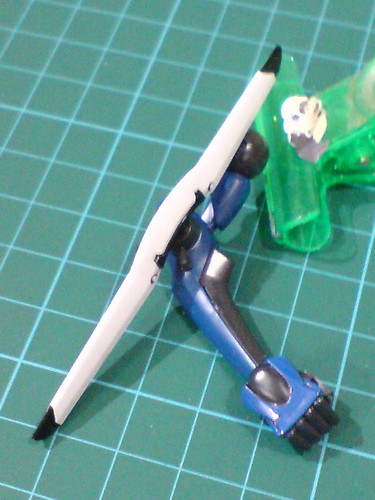
With a slight twist to the mount rack, the Defense Rod can be equipped to the right arm as well.

The Sonic Blade (Plasma Sword).
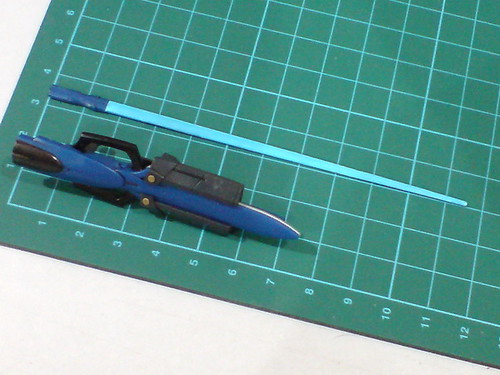
Length comparison between the rifle and sword.
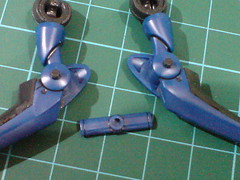
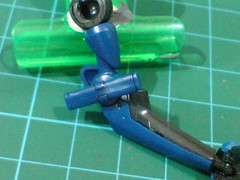
The Plasma Sword in storage mode can be connected to a peg beside the elbow on either arm.
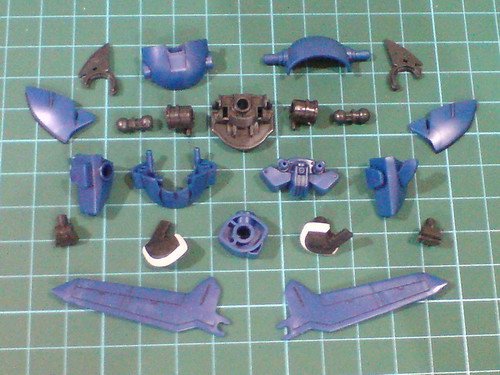
Parts of the body.
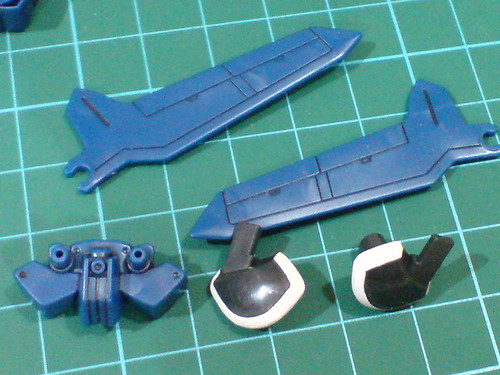
Line details on the backpack part and main wings were panel lined in Part 4. The white edges of the cockpit block were painted in Part 3.

Major components of the body before the final assembly.

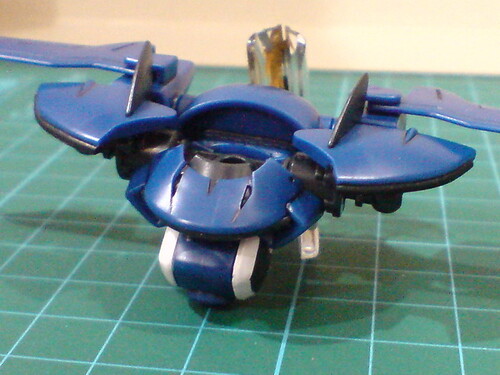
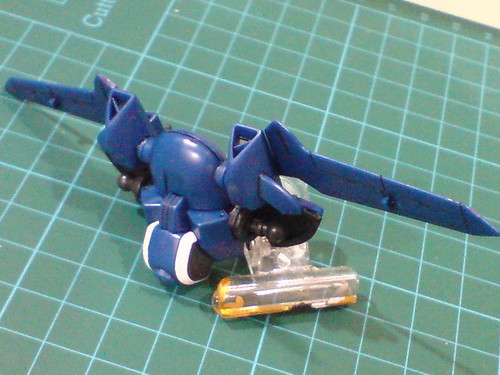
The body module is completed.
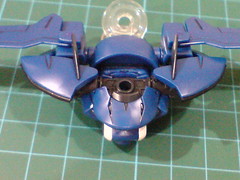

A slight degree of downward tilt is the only articulation point for the shoulder pads. ^^;
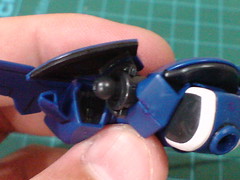
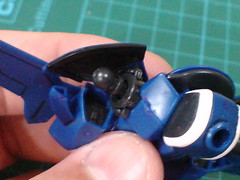
The double ball-type shoulder joint can be extended outward from the shoulder block. This is actually an articulation point that is meant more for the transformation design instead of the model kit's own action poses.
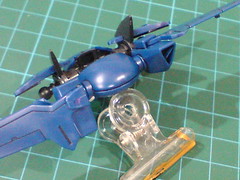
(Left) The backpack thrusters are individually adjustable. They can be rotated downward, or upward if that's how you wish them to be displayed on the model. ^^
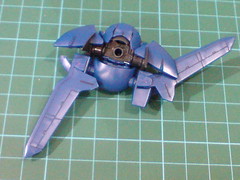
(Right) The wings have their own hinge joint on top the thrusters. They can be swung forward/backward for a wide degree.
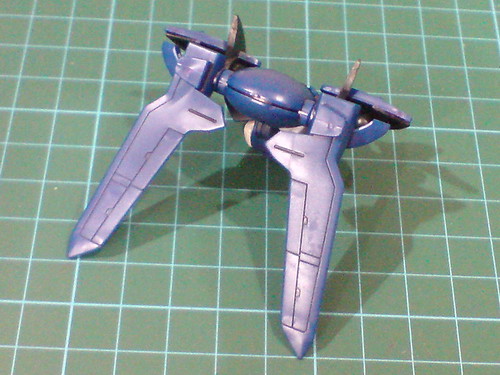
With a combination of the two articulation points shown above, the wings can be shown completely "collapsed" behind the kit.
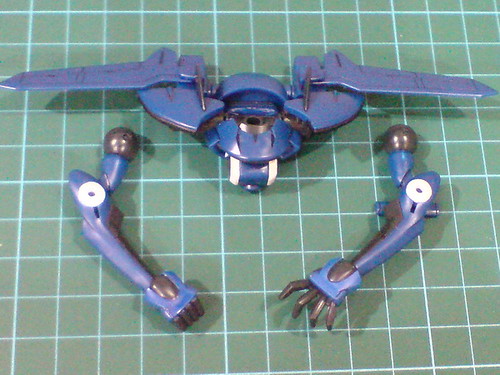
With the arms completed in the previous posting.
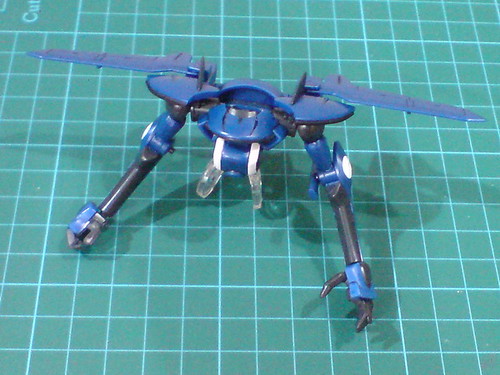
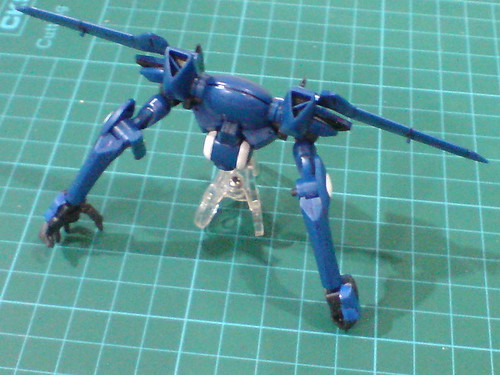
Done for the upper body.
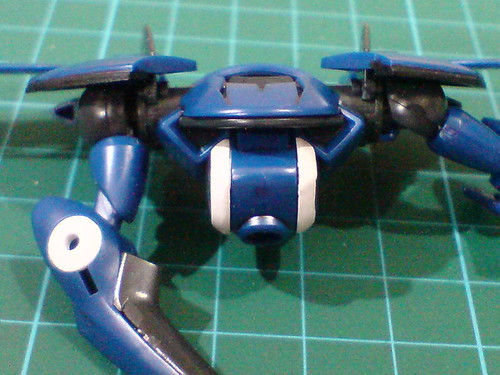
Pretty limited range of upward bend for the arms from the side of the body, as demonstrated by the left shoulder in the image above. Also, as shown by the right arm, the upper arm can swivel around on its shoulder joint.
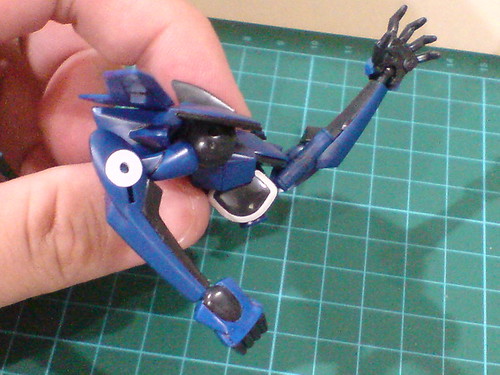
Somewhat limited forward and backward swings for the arms as well, with various appendages on the body like the shoulder pads and rear thruster blocks in the way.
With the fixed hip wings right behind the arms when the model kit is completed later, moving the arms backward is going to be even more difficult. ^^;
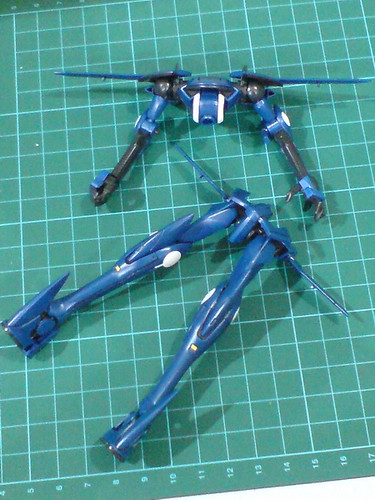
With the lower body completed in the previous posting.
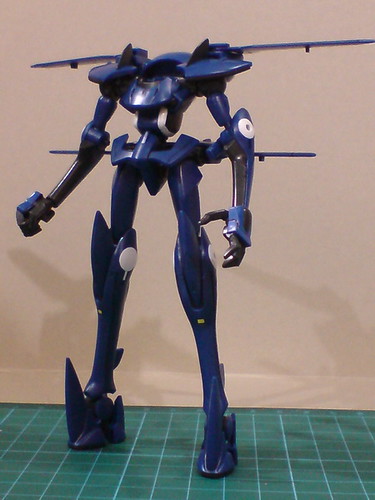
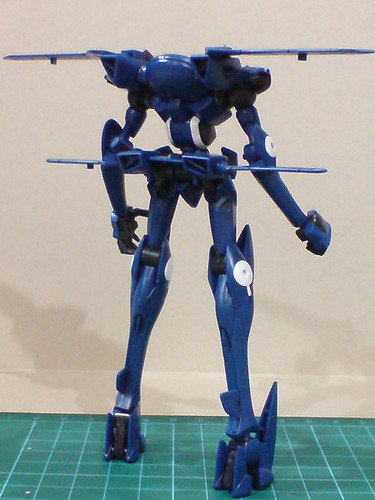
With the lower body attached as well, only the head remains to be completed. ^^
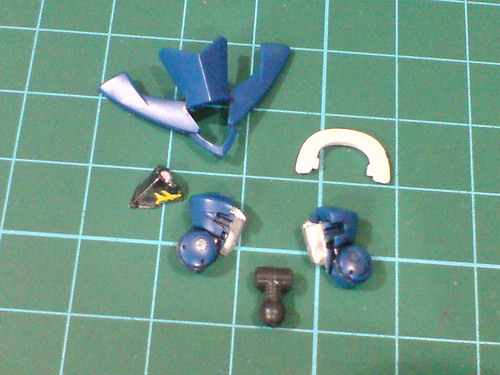
Parts of the head.
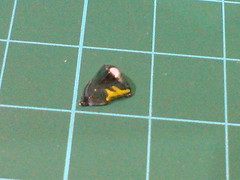
The super tiny face part which required the most delicate paint work out of all parts in this kit. ^^
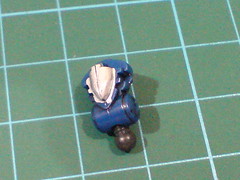
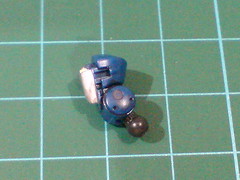
The protruding face area behind the face mask was painted back in Part 4, thus omitting the need for foil sticker to be used on them. ^^
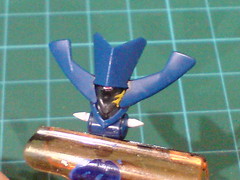
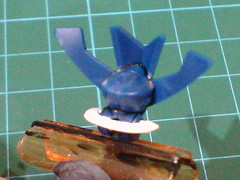
The uniquely designed head of AEU Enact Custom is completed. ^^
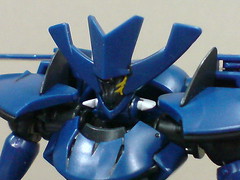
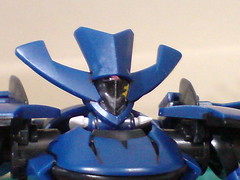
Connected the head to the neck joint.
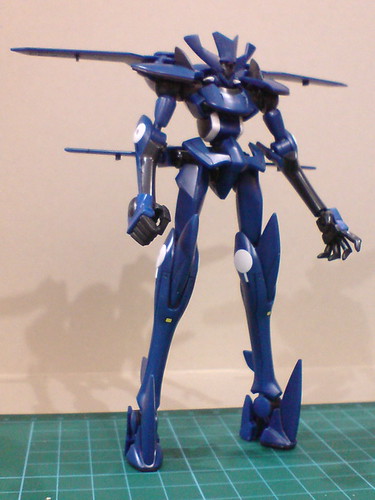

All done for HG 1/144 Ali al-Saachez's Customized AEU Enact Custom. ^^
More images of a fully armed version of this kit coming up in the next posting. ^^


No comments:
Post a Comment