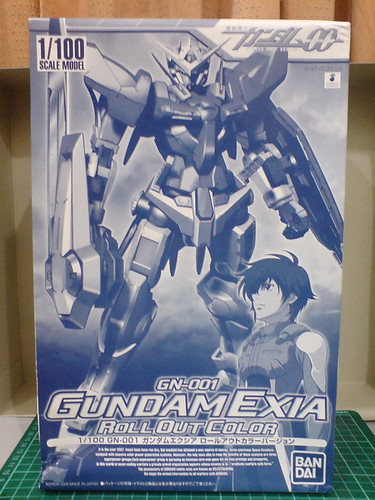
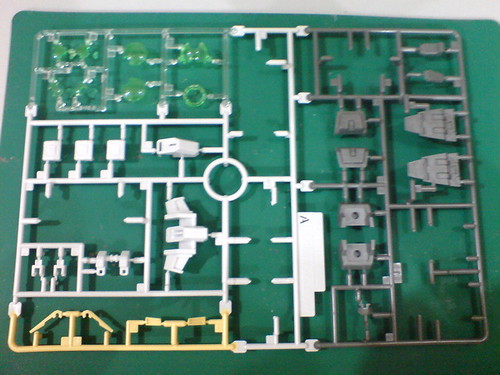
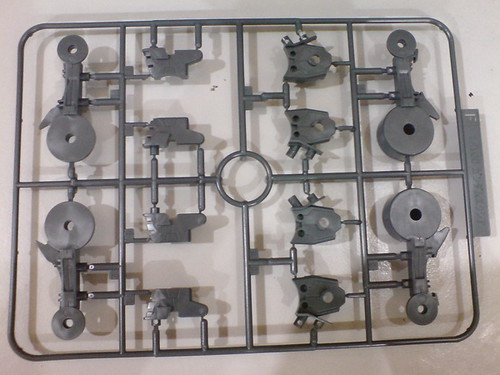
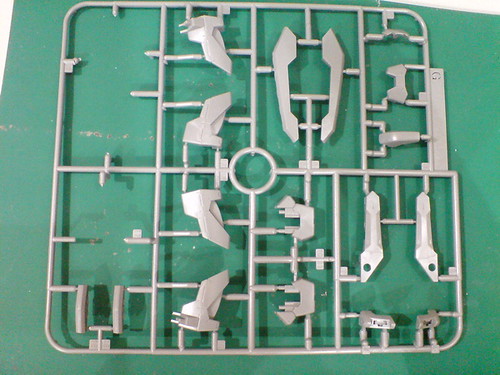
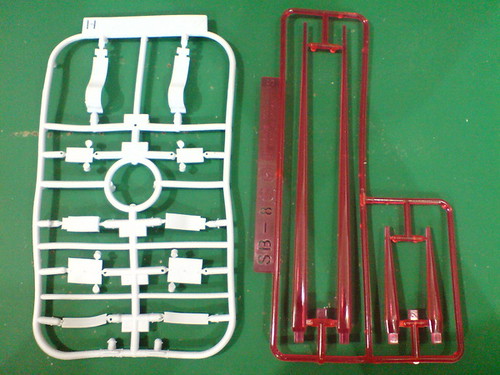
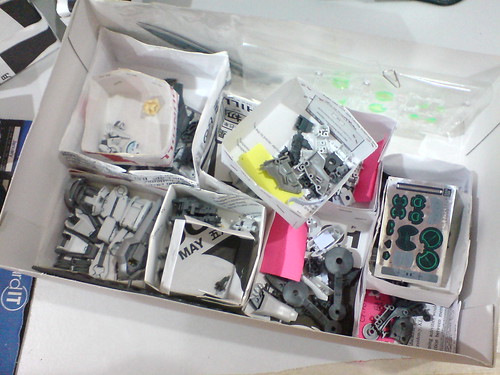
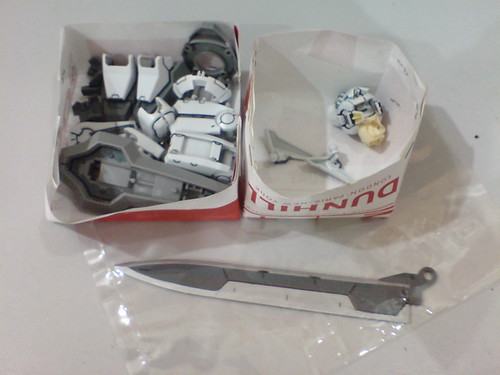
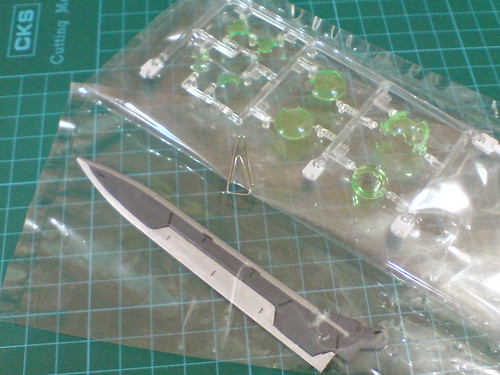
Starting the detailing work on 1/100 Gundam Exia Roll Out Color Ver. after the introduction in Part 1.
Since the more troublesome parts to paint were all taken care of in the All Exia Project, the rest of the kit should be even simpler to handle, especially now when I have tools like Tamiya's Panel Line Accent Color (Black) that can simplify some of the panel lining work required. ^^ Furthermore, since I had worked on the first 1/100 Gundam Exia and two of its variations: Gundam Avalanche Exia and Gundam Astraea, I don't think I'll need to rethink on how to detail certain parts anymore. ^^; I just have to "copy and paste" the formula from the first three kits onto this one. ^^
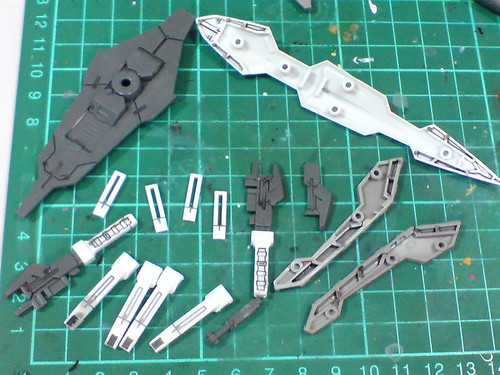
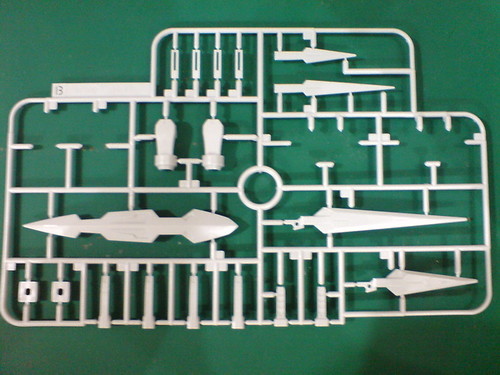
Panel lined some areas of the weapon parts using Tamiya's Panel Line Accent Color (Black).
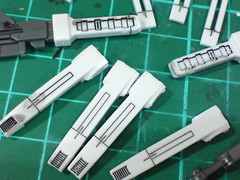
The handle areas of the four GN Beam Sabers/Daggers and GN Blades that used to cost me plenty of time to panel line are taken care of in an instance. ^^
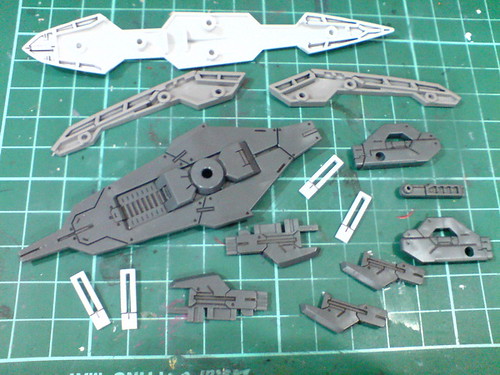
With excessive panel liner paint on the parts wiped away using cotton swabs soaked with enamel thinner. ^^
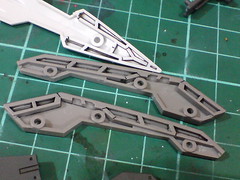
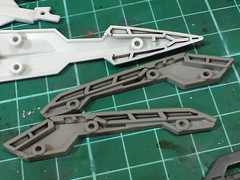

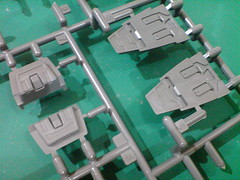
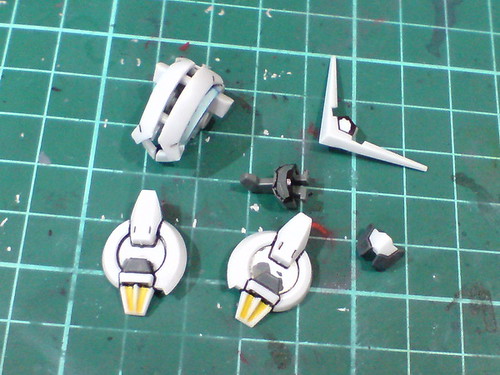
Panel lining for the tiny slits behind the three shield parts can be considered as new details as compared to the other three 1/100 Gundam Exia-type Gunplas. They weren't detailed back when I was working on those three kits as I deemed the slits to be too narrow and the work too difficult. ^^;

Other details on the weapon parts are done using normal panel liner.

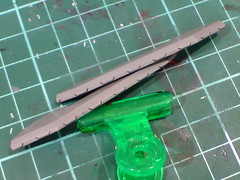
(Left) Details on the GN Blades can be challenging to panel line due to their size and having different designs in front and behind the parts.
(Right) It's nice to see all the teeth-like details on either side of the shield parts again. ^^

The beam parts and GN Blade crossguards are attached temporarily to the different handles as "helpers" for me to hold onto when cleaning up excessive panel liner paint and to apply new ones using normal panel liner. ^^
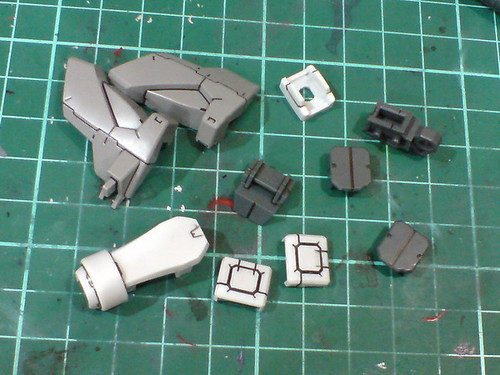
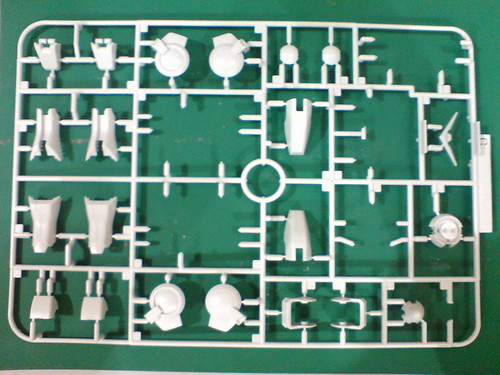
Simple panel lining for the arm parts.

As with those for the feet.
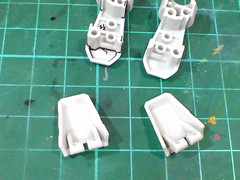

The white space behind the ankle guards and elbow area of the forearm parts are painted black using normal marker to give them a bit more depth.
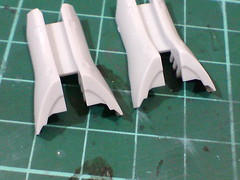
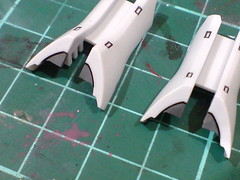
A little bit of the edges on the leg armor is painted in gray using Gundam Marker Gray to make it as part of the mechanical interior of the leg.
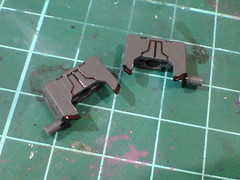
The border between the top and bottom shoulder block part is painted black using normal marker to highlight the gap.
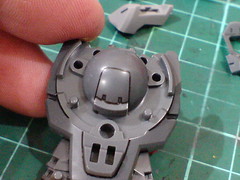
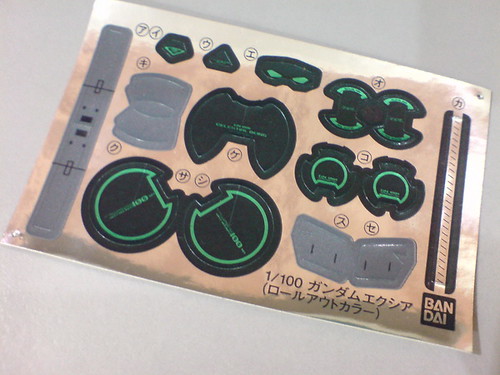
Unlike the other three 1/100 Gundam Exia-type kits, the GN Drive is not painted black this time. Since I'll be using the foil sticker included for this part (to get the green ring with text details), painting the part is really not necessary at all. ^^
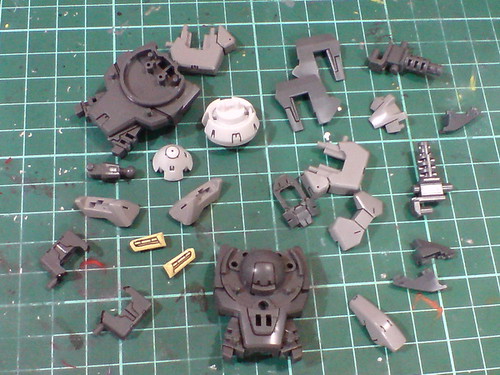
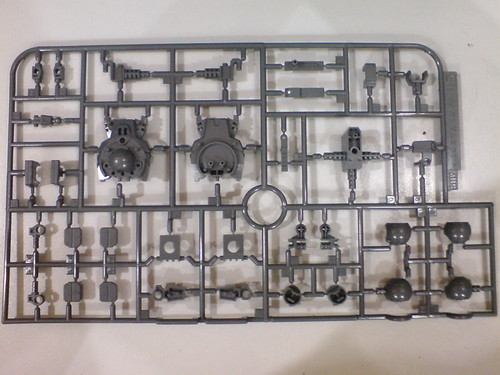
Panel lining done for the body parts.
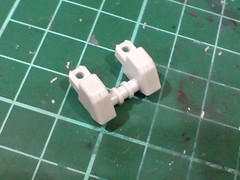
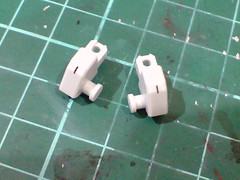
As usual, the beam dagger mount racks on the rear skirt armor are cut to allow each side to move independently.
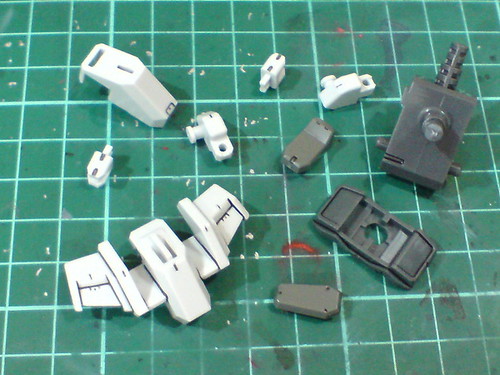
Simple panel lining for the hip parts.
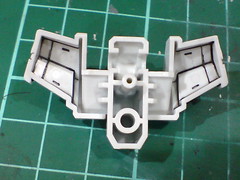
Much like the slits behind the shield parts shown earlier on, some minor line details behind the rear skirt armor parts are realized using Tamiya's Panel Line Accent Color (Black). I gave up trying to panel line them on the other three 1/100 Gundam Exia-type kits because of the difficulty in reaching the part's narrowest depth using a normal panel liner. ^^;

Panel-lined the tiny lines on the edges of the gray face part.
The top portion of the face part and the area around the forehead sensor are painted black using normal marker to avoid the slightest bit of their base colors to escape the foil stickers later on.
With the other head parts already completed in the All Exia Project. ^^
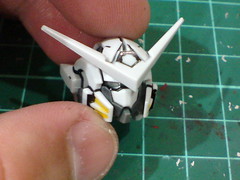
Test fitting the parts to see how the head would turn out when assembled. ^^
The gray chin immediately stands out as a refreshing design on this version of Gundam Exia. ^^
And just like that, all the work on this kit is done. ^^ The fast completion on the work reminds me of HG 1/144 Tieren Taozi and Mechanic Collection Mazinger Z with God Scrander, and even Pokepla Pikachu to some degree, where two postings are enough to finish up on the work. ^^ Even though most of the details are treated based on experience from working on the first 1/100 Gundam Exia, Gundam Avalanche Exia and Gundam Astraea, it's amazing that there are still details realized for the first time on this kit, namely the shield rear skirt armor parts. ^^ I'm looking forward to seeing how those details would turn out to be on the completed kit. ^^
As usual, there'll be a bit of offset time between now and when I revisit all the parts again for the final assembly. ^^
