Starting to work on Mechanic Collection Mazinger Z with God Scrander after the long introduction. ^^;

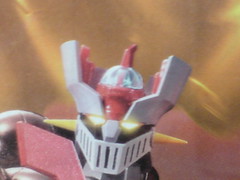
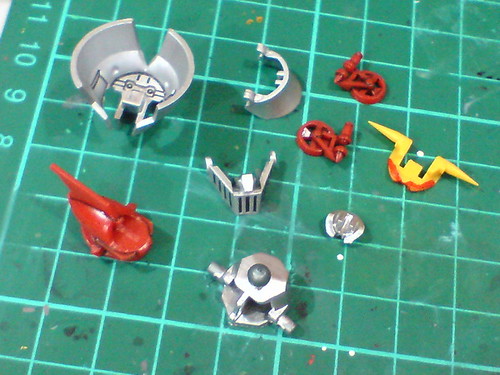
Molded in darker shade of silver, the helmet parts will be repainted to give the head a shinier and more metallic look when assembled. ^^
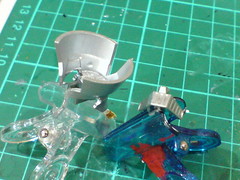
(Left) Painted the parts silver using Gaia Metallic Color No. 9 Bright Silver.
(Right) The neck joint not shown in the first image above is also included in the paint work.

Panel lining for the details inside the helmet as well as the slits that define Mazinger Z's "mouth". ^^
Foil stickers are included to realize the red borders around the mecha's eyes. I find painting them using normal red marker to be a simple task that could realize the part's elevated feel better.
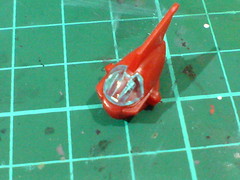
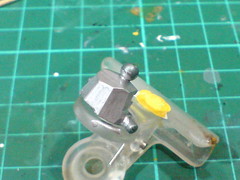
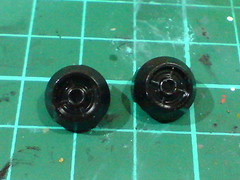
A bit of paint work planned to enhance the appearance of Hover Pileder's canopy.

As shown in the instruction manual, there's no special detailing for the Hover Pileder. Even the straight peg that connects the control unit's body to the canopy can still be seen very clearly. ^^

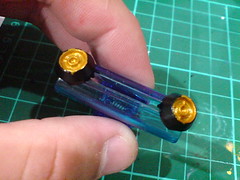
The interior of the clear blue canopy part is part silver using Pilot Super Color Silver Extra Fine.

The tab to connect between the parts is sliced off to prevent it from damaging the silver paint behind the canopy part when they are assembled. The parts can still be connected using cement for plastic parts.
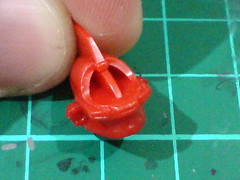
The three Hover Pileder parts are panel lined using a combination of Tamiya's Panel Line Accent Color (Black) and normal panel liner.

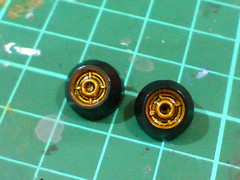
The headlights are painted gold using normal pen.
Done for the detailing work on all the parts for the head.
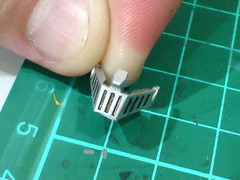
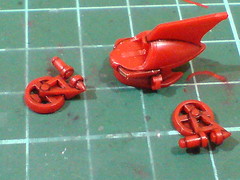
The nozzle interior of the backpack thrusters is painted gold using Gaia Metallic Color No. 122 Star Bright Gold.
Panel lines are added to reveal the nice details inside the nozzles after excessive gold paint around the parts is cleaned off using cotton swab soaked with paint thinner.
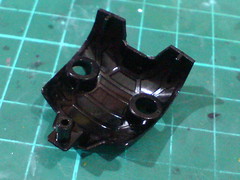
Very simplistic molded details behind the chest plate are panel lined.
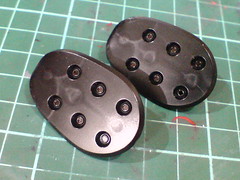

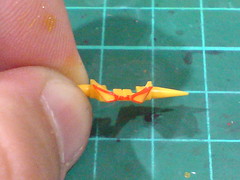
All 12 tiny thruster nozzles on the soles are painted using normal pen.
And just like that, the entire work on this kit is done. ^^ I did applied some panel lining to the arm, leg and wing parts but the work is very minimal, and they certainly aren't too special to warrant explicit mentioning in this posting. All in all, this is a very refreshing kit to work on. ^^ The number of part for the entire kit is actually disproportionate to the amount of painting and detailing required. XD Some of the paint work shown above can actually be skipped, as they are completely optional. ^^
As usual, there'll be a bit of offset time between now and when I revisit all the parts again for the final assembly. ^^


No comments:
Post a Comment