After the review of Lunamaria from MS Gundam Seed Destiny Heroines 3 gashapon set, I'm revisiting Keropla God Keron to work on another Robo Mk-II kit from that bundled set. ^^ It's the weirdest member of the Keroro Platoon with his equally weird robot, Kururu Robo Mk-II that gets the call this time. Dororo always get ignored anyway so he won't mind being the last kit to get all the paint and panel line details. XD
As with all the previous three Keropla kits in this bundled set: Keroro Robo Mk-II, Tamama Robo Mk-II and Giroro Robo Mk-II, there's certainly no lack of paint work needed by Kururu Robo Mk-II. There's one major challenge that makes him stands out a great deal as compared to the three kits mentioned above, even when compared to Dororo Robo Mk-II, even though I haven't started on him yet. ^^;
But before that, some "easier" detailing work first:
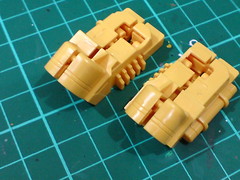

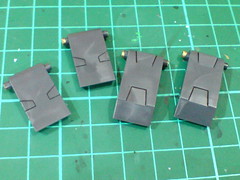
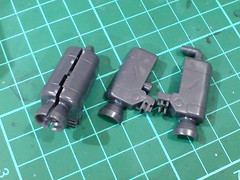
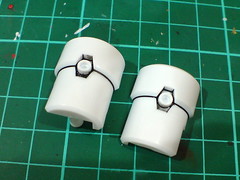
The large tank-like parts near the ankles should be painted white. ^^
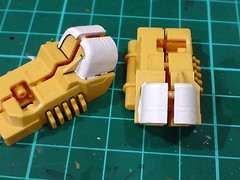
(Left) The tanks are painted white using White Surfacer from Mr. Hobby.
(Right) The tanks' vent-like details are painted using Gundam Marker Black.

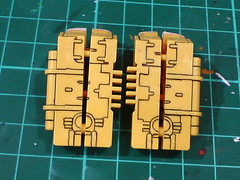
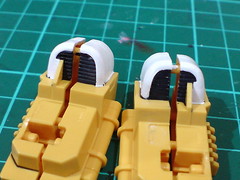
Panel lines added to the four parts when the paint has dried.

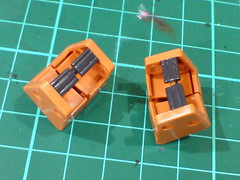
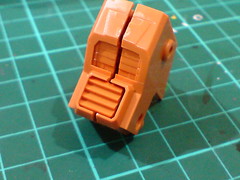
The next bit of simple detailing will be on the feet/clamps. ^^

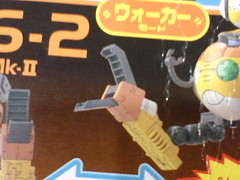
The joints from the feet/clamps to the ankle is shown to be in orange in the box side image, but following similar paint work I did for Kotobukiya's M.S.G. Weapon Unit MW-28 Impact Edge in July, I'm thinking of giving the parts a different color instead. ^^
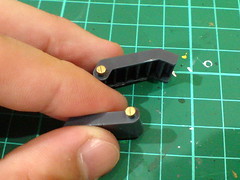
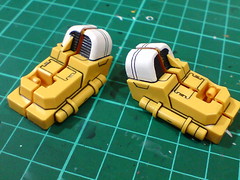
(Left) The joint area to be exposed on the ankle parts are painted gold using Gundam Marker. ^^
(Right) The line detail is already molded on the joint so just panel lining is required. ^^
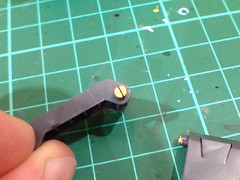
Very simple panel lining on the surface of the parts themselves.

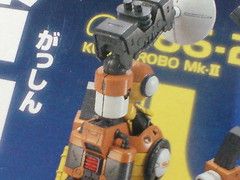
As shown in the box side image, the connecting plates between the ankle parts should be in gray. The paint used here is Gaia Color 074 Neutral Gray IV.
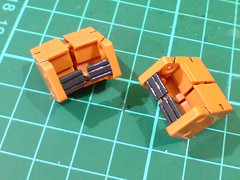
Panel lining applied to all four ankle parts.
Simple panel lining to all the other leg parts as well.
And now onto the harder part of the overall work. ^^;
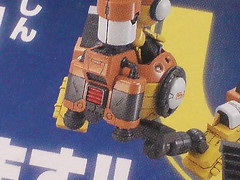
Top and bottom portions of the backpack thruster parts need to be painted orange, a color which I do not have. ^^;
The backpack itself has a wide area that needs to be painted dark gray and red.

The large white tube on top the backpack has an entire ring that needs to be painted in orange as well.
The interior of the two tiny thrusters on the tube parts are panel lined using Tamiya's Panel Line Accent Color (Black) first.
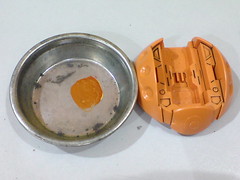
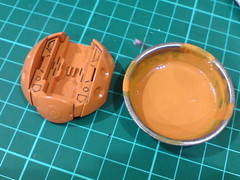
Since I don't have an orange paint, and don't feel like getting one just for this batch of work, I'm going to mix my own for the parts shown above.
Just to test if the color combo is feasible: Gundam Marker Yellow (more) + Gundam Marker Red (less) + Gundam Marker Gray (a tiny bit). The result mixture of paint seems acceptable when compared to Kururu Robo Mk-II's part already molded in orange. ^^
Using Gundam Marker paints is not too economical I think, so the actual mixed paint to be used on the parts as shown here is from bottle paints following the three colors experimented somewhat successfully just now. ^^
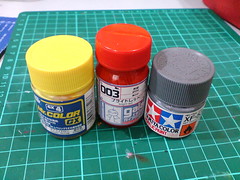
The bottle paints used for the mixed color are Mr. Color GX 4 Chiara Yellow Gloss (more), Gaia Color No. 003 Bright Red Gloss (less) and Tamiya Color Acrylic Paint Mini XF-53 Neutral Grey (a tiny bit).
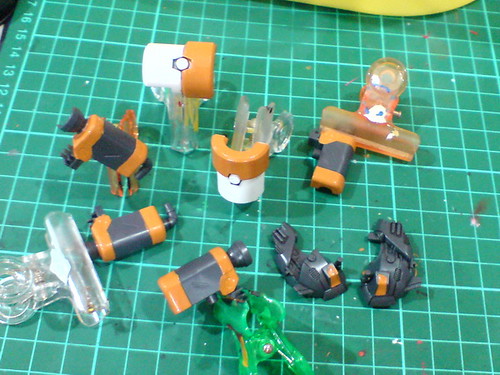
All the selected parts are painted.
The headlights of the little control vehicle are painted as well.
Painting the parts with the DIY mixed paint is really a one-off deal, since I followed no color guide in preparing the paint. If I ran out of the mixed paint before all the parts are painted, or if I missed any part that's supposed to be painted in orange after this round of work, the additional round of painting will be tremendously difficult to begin. If that unfortunate case ever happens, I would have to come up with another mixture to get the orange paint, and it's almost certain that I won't be able to get the same shade next round. ^^;
So, while mixing the paints was quite a fun experience, the pressure of getting it right in one shot was always there throughout the work. I tried to identify carefully all the parts that need the orange paint as well, so hopefully the checklist covered everything. ^^; I also thought of the money issue as well, trying out the paints' mixture was quite risky to begin with, because if it fails, getting rid of the paint and start over feels like throwing away money to me. ^^;
Understandably, the pressure (from various factors) of painting the eight parts shown above is greater than the entire work on the previous Keropla model. ^^;
Will move on to refining and detailing all the painted parts and other components in the next posting. ^^


No comments:
Post a Comment