Continuing with the assembly of HG 1/144 Genoace Custom after the previous posting. ^^
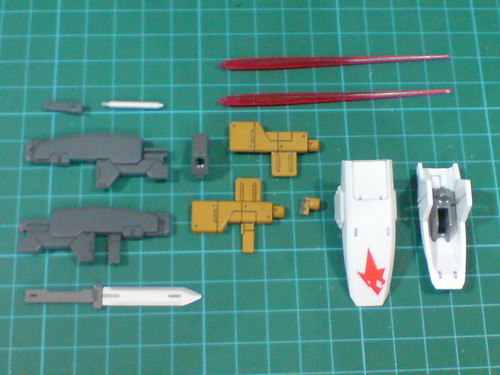
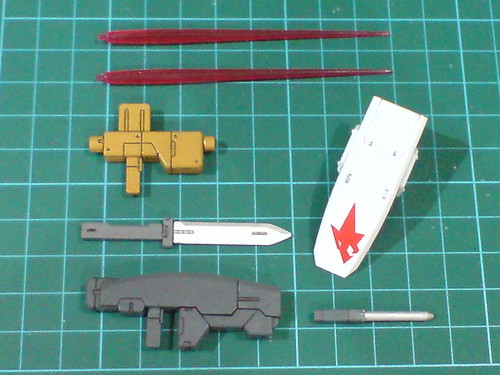
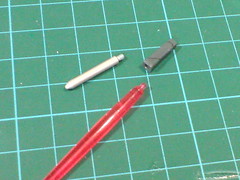
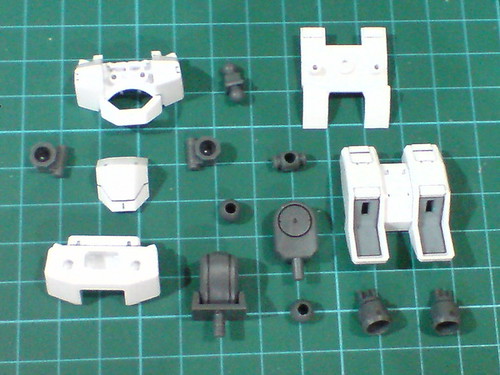
Parts of the weapons.
The paint work for the simulation gun, knife, Heat Stick, mount rack inside the shield, and muzzle point of the rifle, plus the clear sticker on the shield were all applied in Part 2.
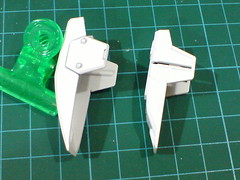
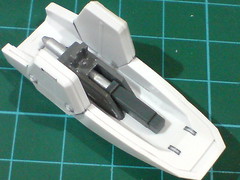
Just two one-piece parts to form the shield. The design of having two solid layers stacking over one another gives the shield a sense of thickness.
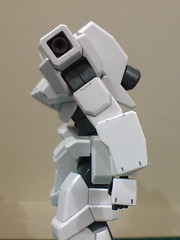
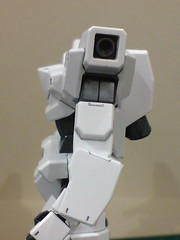
The part separation reminds me of the legs assembled in the previous posting. ^^
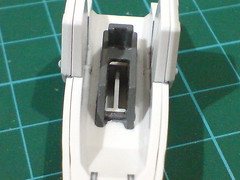
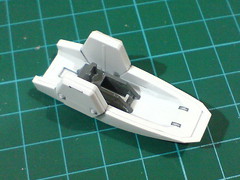
The exposed space inside the mount rack should have been painted. ^^;
This reminds me of the ankle block as seen in the previous posting that I didn't paint when working on this kit. ^^;
Done for all the weapons.
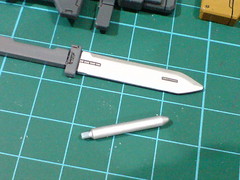
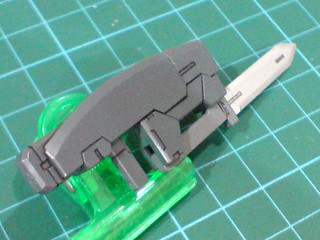
The large knife being just a one-piece part requires no assembly.
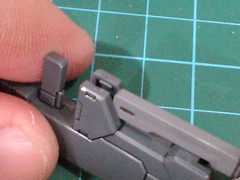
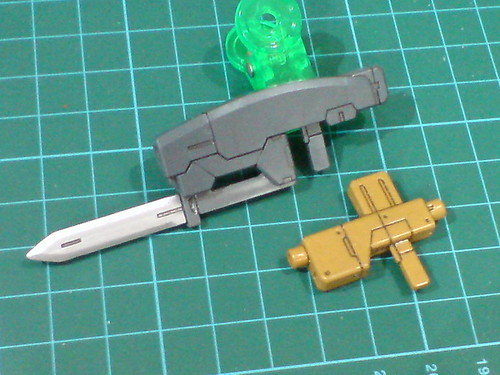
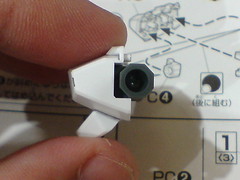
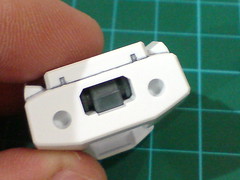
A pair of tiny tabs inside the slot dedicated to mount the knife beneath the beam rifle corresponds to a set of grooves on the handle, which will secure the knife to its mount rack.
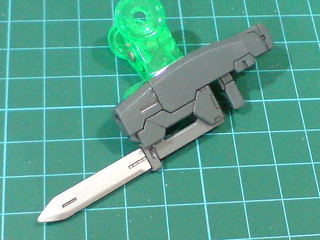
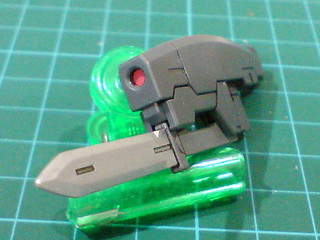
Done for the combined rifle.
The rifle would look rather dull if the knife wasn't designed to be able to combine with it.
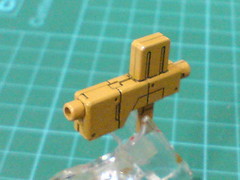
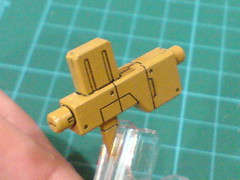
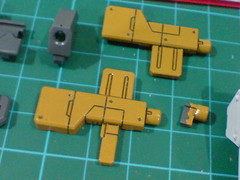
Like the rifle, there are just three parts to form the simulation gun.
Rough size comparison between the two handheld projectile weapons.


Connected the combined rifle to the right hand.
The Heat Stick's stack needs to be removed for the handle to "upgrade" to beam saber mode. ^^
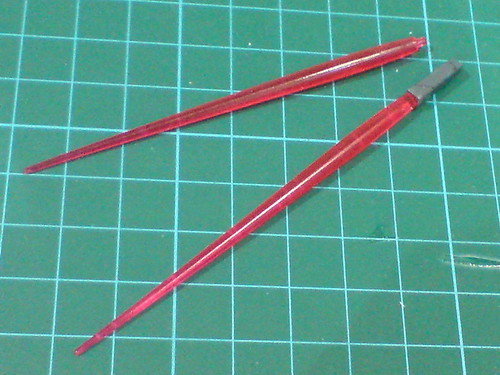
Standard beam saber design for Genoace Custom.
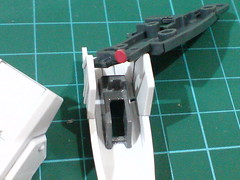
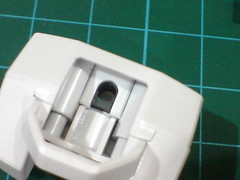
Mounting Heat Stick to its designated slot inside the shield.
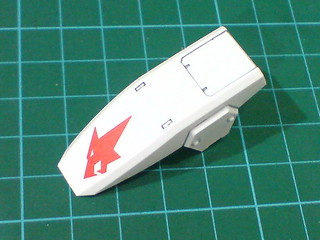
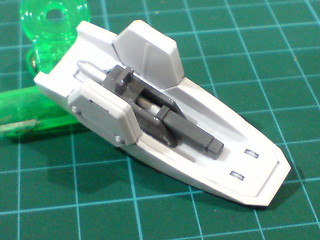
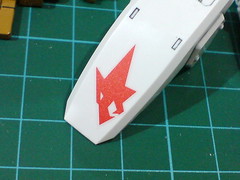
The complete shield.
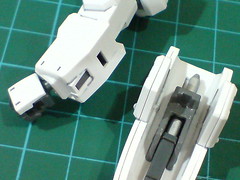
A polygonal tab on the mount rack allows the shield to be fixed to either forearm.
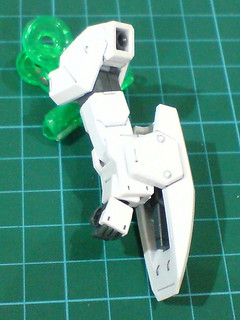
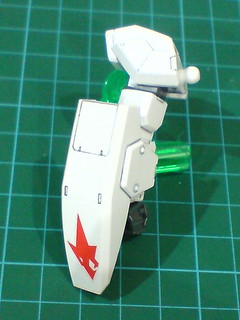
Mounted the shield onto the left forearm.
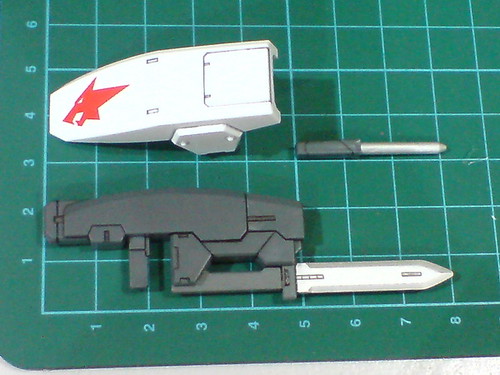
Size comparison for all the weapon components.
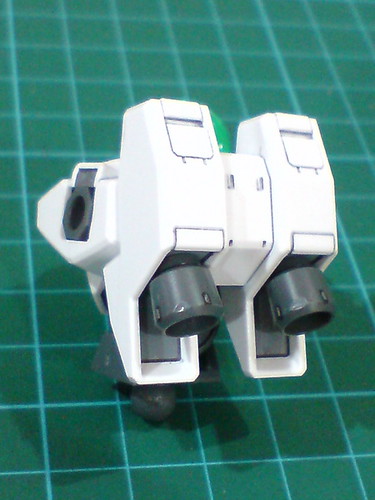
Parts of the body, including the backpack.

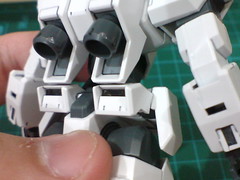
Looking at the instruction manual, it seems that the shoulder polycap can be slid all the way into its given slot until the edge of connector is touching the wall of the shoulder cavity, which is actually not possible. ^^;

As a matter of fact, the space in front and behind the polycap was deliberately included to allow the shoulders to be able to flip forward/backward.
Interesting application for the chest polycap: only the single swivel point is needed for that joint, so the tabs on either end, which normally form hinges for the movable part the polycap is connected to, are rendered useless on this component.
This reminds me of the forearm polycap as seen in the previous posting. ^^
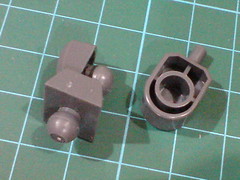
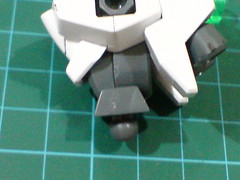
Two ball-type polycaps to form the waist and abdominal joints.

Separable components of the body unit before the final assembly.
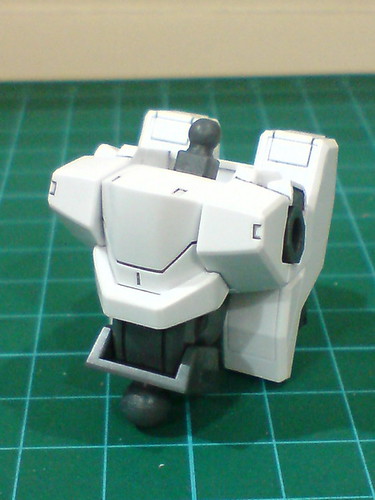

The body unit is complete.
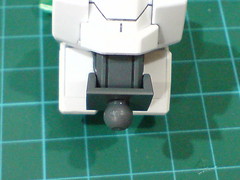

The ball-type polycap allows the upper body to be bent to either side with ease.
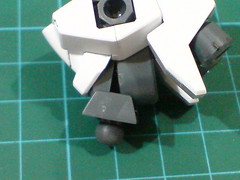
Using the same abdominal joint, the upper body can also be bent forward very easily.
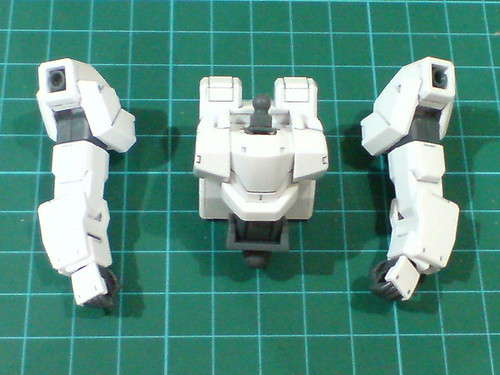
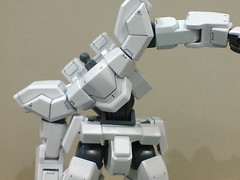
With the arms completed in the previous posting.
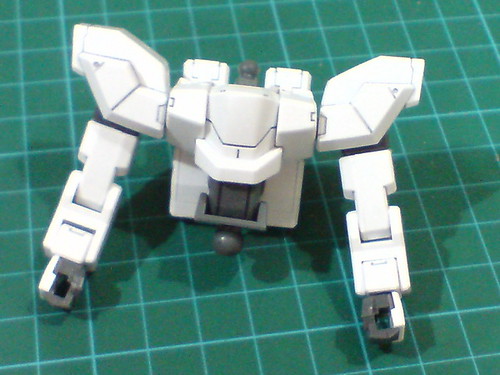
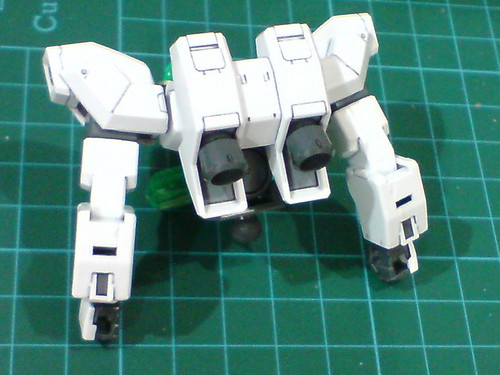
The upper body is done.
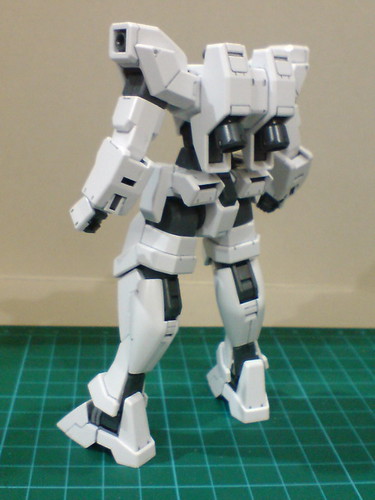
Only the head remains for the entire model to be completed. ^^
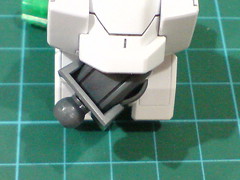
Only forward bending is possible for the waist, but the limitation is not caused by the polycap of the body.
The large covers beneath the thrusters would collide with the rear skirt armor, almost effortlessly the moment the body is tilted to the back, so there can be no backward bend for the waist. ^^;
This weakness is almost identical to the heel issue highlighted in the previous posting.

As shown earlier on, the upper body's ability to be bent to either side for a very wide degree is a huge bonus to the upper body's overall articulation.
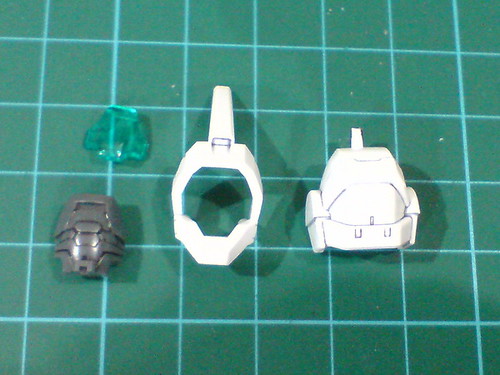
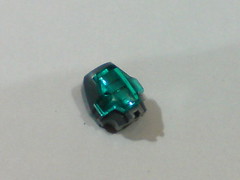
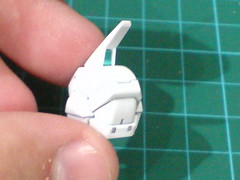
Parts of the head.
Foil stickers are used for the eyes, front and rear sensors.
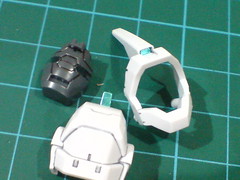
The face part with the clear goggle attached.
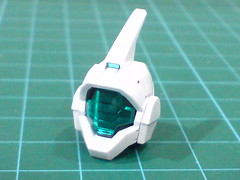
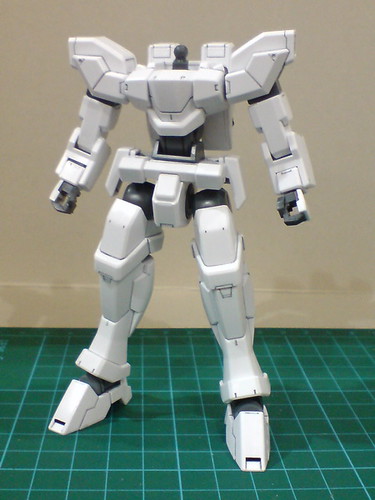
Done for the head.
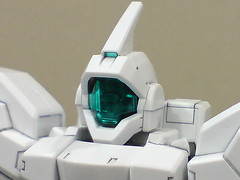
Connected the head to the neck joint.
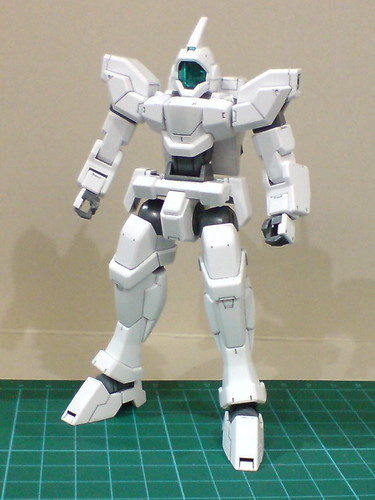
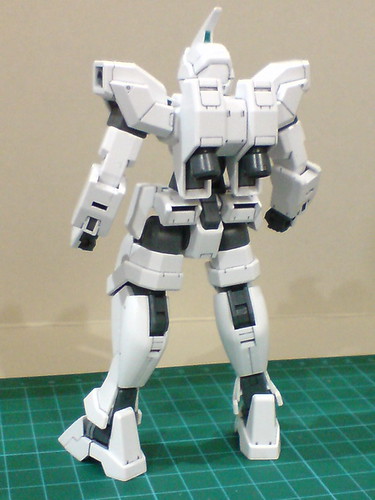
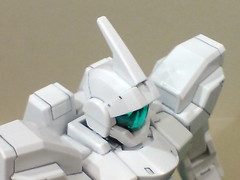
All done for HG 1/144 Genoace Custom. ^^
More images of a fully armed version of this kit coming up in the next posting. ^^


No comments:
Post a Comment