Rolling out just the second Gunpla this year, after the completion of BB Senshi Sangokuden Syukuyuu Gundam from its bundled set in February: HG 1/144 Genoace Custom. ^^
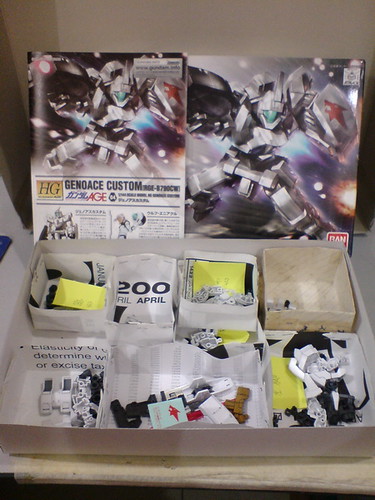
This is also the first High Grade Gunpla to be assembled after Mr. Bushido's Ahead in November last year. In terms of arrangement, the assembly is actually out of order, as the detailing of this particular kit was completed in late March last year, while the work on Mr. Bushido's Ahead only came about two months after that. If there's indeed some kind of sequence that I follow for my Gunpla work, Genoace Custom should be the one done last November, not Mr. Bushido's Ahead. ^^ Then again, I'm not adhering to any timetable when it comes to this hobby.
Regardless of who gets to be assembled first, late is the better descriptor for the work on this kit, and pretty much all of my Gunplas at this point. ^^;
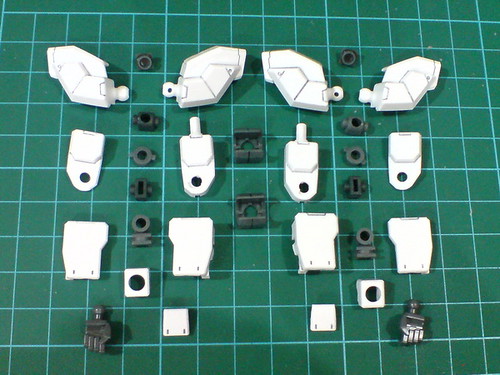
Parts of the arms.
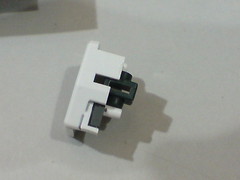
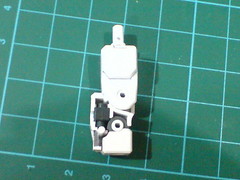
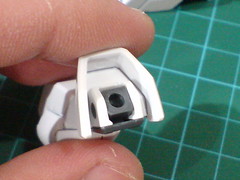
An interesting application of the polycap on the forearm to form the slot for the shield: the two straight pegs which normally become hinges for the movable component the polycap is meant for are rendered useless in the assembly, since only the polygonal slit is required.
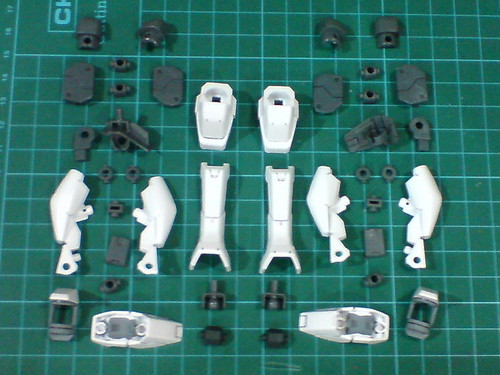
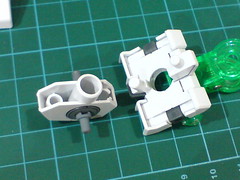
Separable components of the arms before the final assembly.

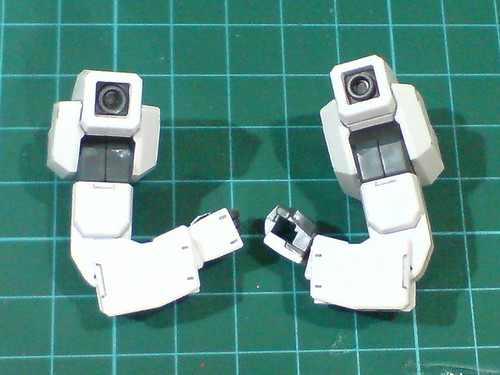
A look at the elbow's structure before snapping all the parts together.


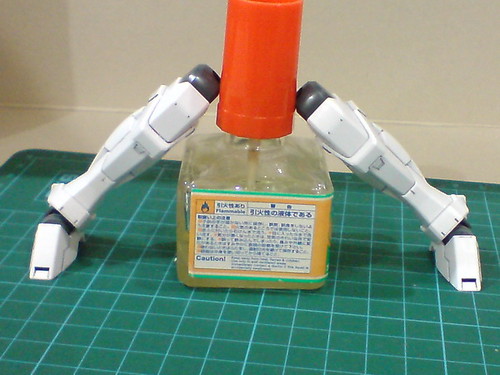
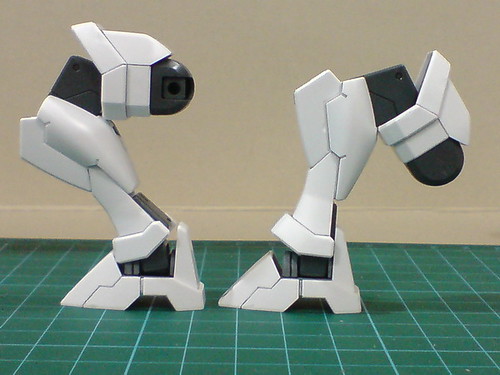
Done for the arms.
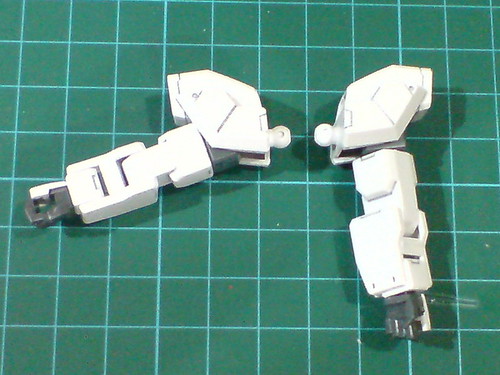
Using the hinge joint inside the shoulder armor, the arm can be bent upward from the side. The limitation of that movement when the upper arm is blocked by the shoulder vent can be remedied from the shoulder's ball-type joint when it's connected to the body block later.
The upper arm can swivel around the shoulder joint as well.
A little over 90 degrees for the elbow bend.
The wrist is on a separate hinge with limited bending range.
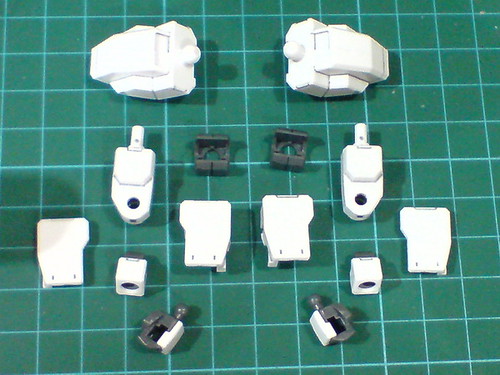
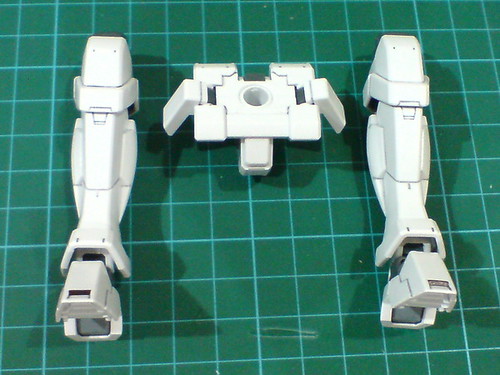
Parts of the legs.
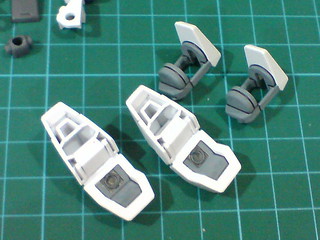
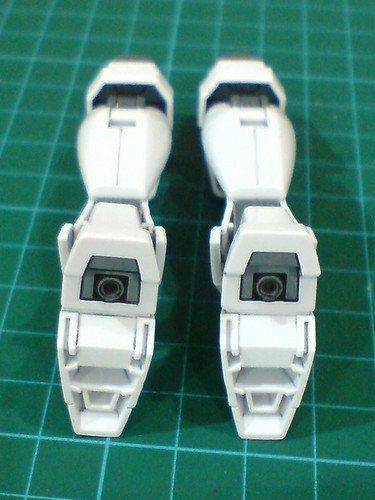
The ankle joints and thruster area on the soles were painted in Part 3.
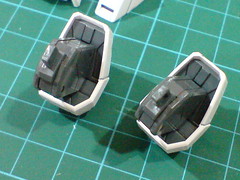
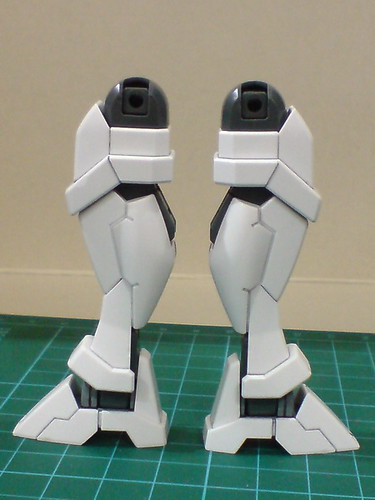
Simple, but effective part separation for the front and rear components of the leg. ^^

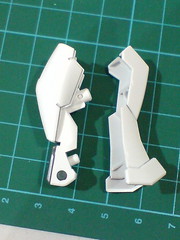
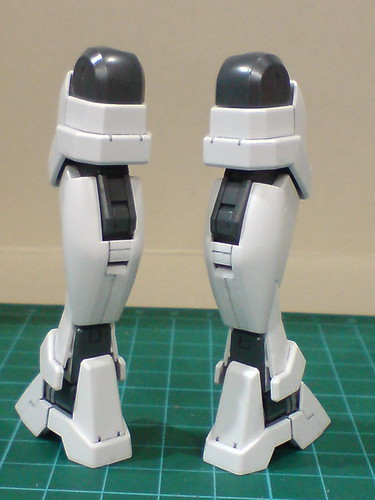
(Left) The back of the heel looks a little hollow. ^^;
(Right) Looking at the semi-completed component now, I realize I should have painted the whole ankle block beneath the shin gray to match the color of the rear piece and polycap. ^^;
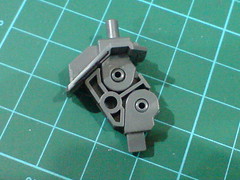
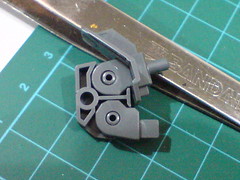
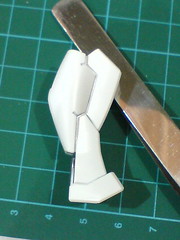
A look at the knee's articulation design before the joint's assembly. The design of having an angled alignment for the top and bottom joints is rather unique, but they work just like all other regular knee joints when bent anyway. ^^
Some minor line details can be seen beneath the thigh.
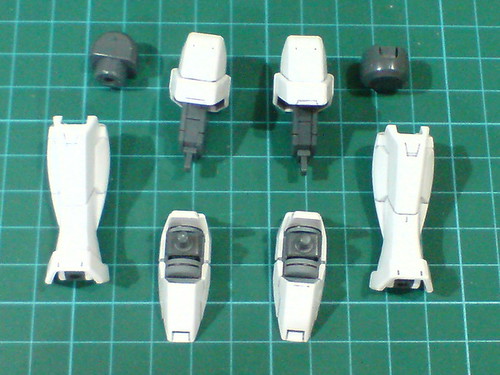
Separable components of the right leg before the final assembly.
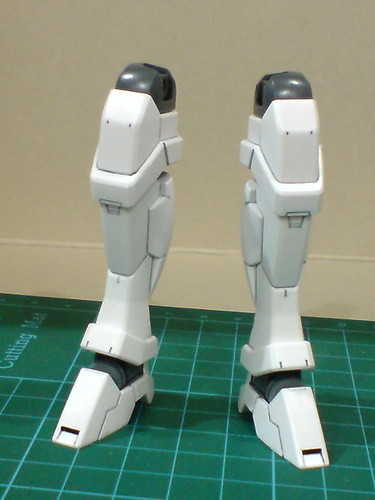
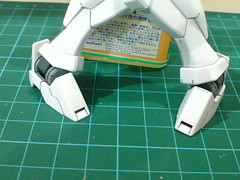
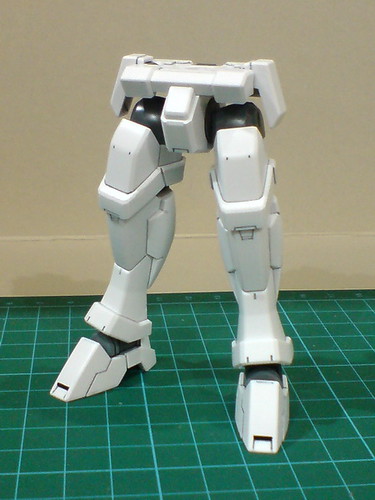
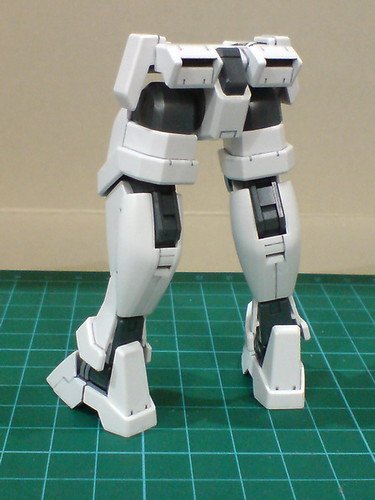
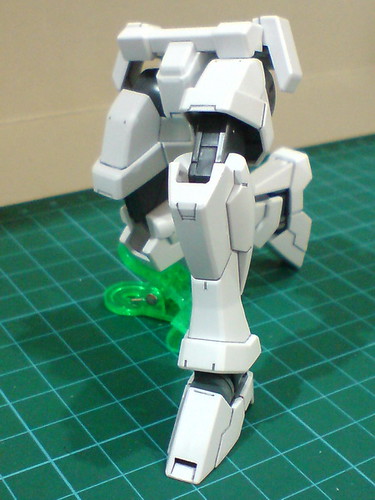
Done for the two legs.
Utilizing the large vertical clearance between the ankle joint and the ankle guard, the legs can be bent from side to side for a very wide degree. The design is similar to, but not as flexible as 00 Gundam.
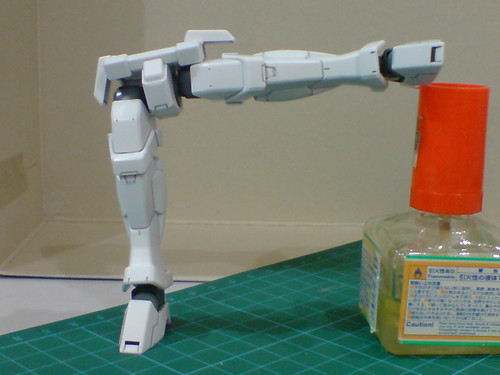
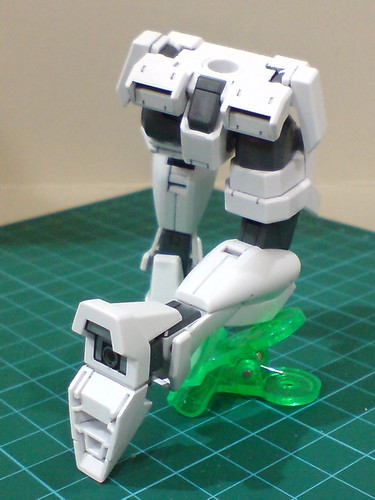
Standard knee bend ability.
Unfortunately, the tall protruding piece behind the foot disallows the leg from bending backward. ^^;

Very simple details on the knees themselves when they are bent.
The straight peg of the ankle joint also allows the foot to swivel around the ankle.

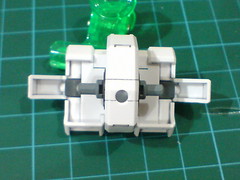
Using the straight peg on each of the separate hip joints, the thigh can swivel around that joint.

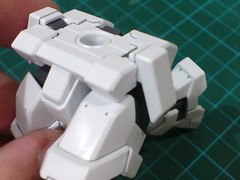
Very few parts for the waist.

Very interesting one-piece parts for the hips and waist. ^^
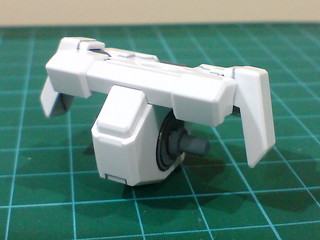
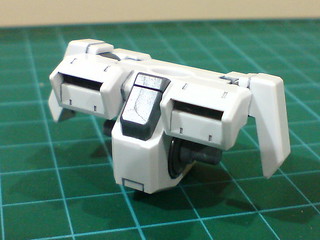
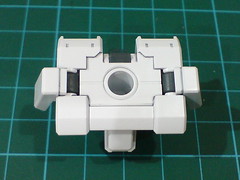
Done for the waist.
The ability of the side skirt armors to be hinged vertically is the only articulation point the waist has.
With the legs assembled just now.
The lower body is complete.
The hinge part of the hip joints allow the legs to be expanded to their respective sides for 90 degrees. ^^
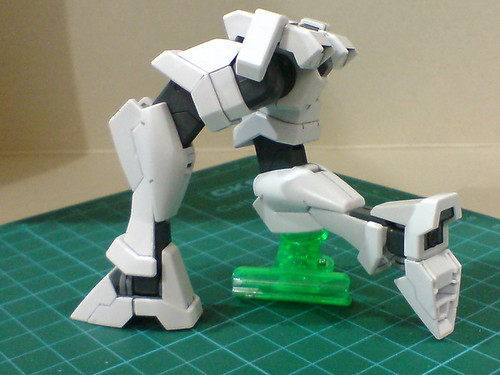
Despite having pretty impressive hip and knee articulation design, kneeling is not possible for Genoace Custom.
The large protruding part behind the heel that blocks the foot from bending downward is evidently a huge factor behind that limitation.
Large thigh armor that collides very easily with the immobile hip armor when the former is bent forward is another obstacle that disallows the kneeling pose. ^^;
Moving on to assembling the rest of the components in this kit next. ^^


No comments:
Post a Comment