Jumping back in Gunpla-ing after the review of Lego Creator No. 31010 Tree House, ^^ with the final assembly of a BB Senshi kit this time. ^^
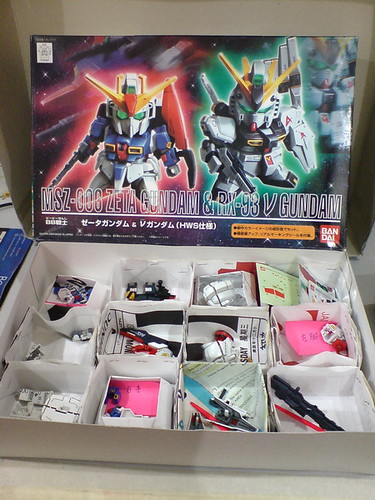
An unfinished business (out of many ^^;) from last year, this is BB Senshi Zeta Gundam and Nu Gundam Set completed in early June. While the detailing and paint work was for everything in the kit, I'll focus on just Zeta Gundam this time. ^^ The Waverider transformation design in BB Senshi scale is going to be very interesting to see, and because of that transformation feature, and the fact that Zeta Gundam itself is a vintage kit by today's standard - the original singular release came out in 1999. The older type assembly design, proportion, coupled with the kit's ability to transform is going to be fun to explore. ^^
All the paper containers that hold the parts of Zeta Gundam.

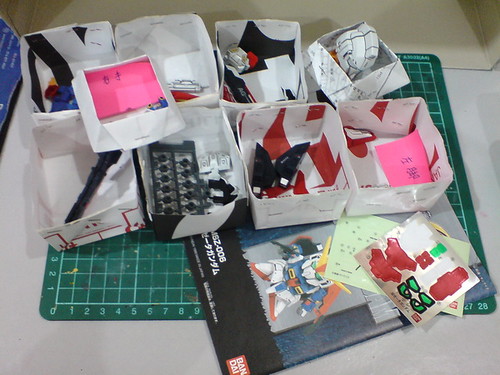
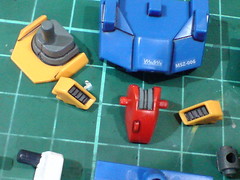
Parts of the weapons.
Out of the four, only the shield and Hyper Mega Launcher are not made of one-piece parts.

All done for the four weapons.
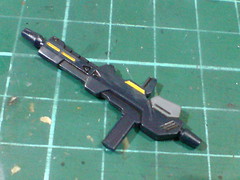

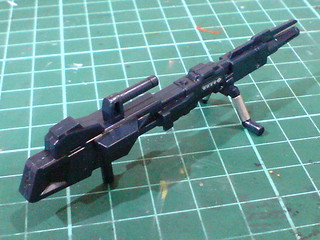
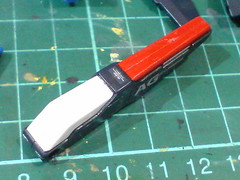
The beam rifle.
The yellow bar details were painted in Parts 2 and 5; the gray magazine in Part 2, and the fluorescent green targeting sensor in Part 5.

The muzzle point was created in Part 5.
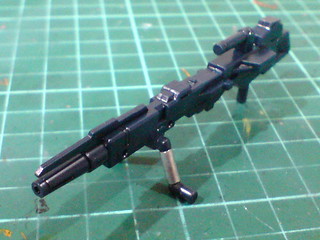
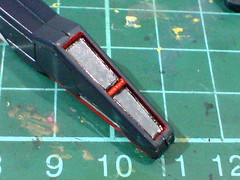
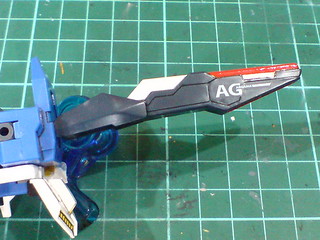
Hyper Mega Launcher

The launcher's supporting stand was painted in Part 7.
As you can see, there are two polygonal slots on the launcher's body, and both are for the stand to be connected to the large weapon - one each for MS and Waverider modes.
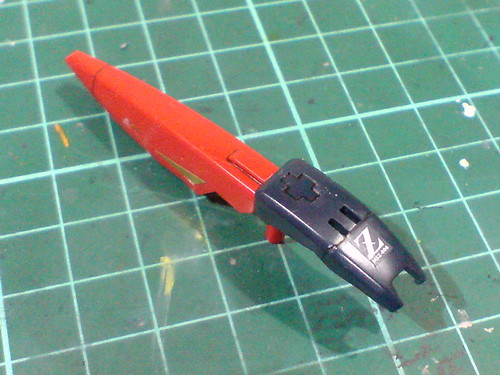
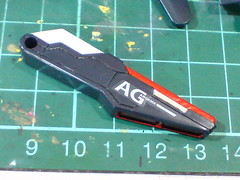
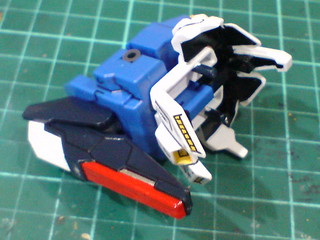
The shield.

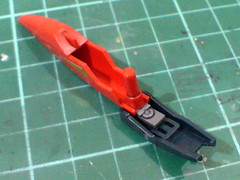
The golden triangular stickers were applied in Part 7, as with the joint part that was painted gray.
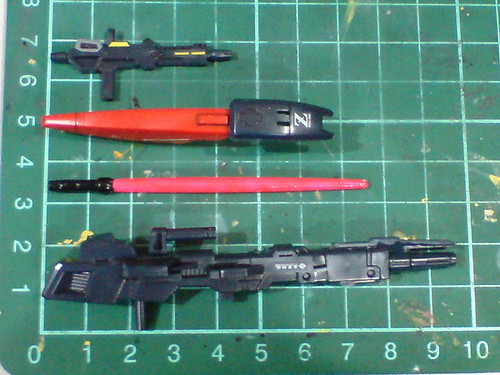
A quick look at the weapons' length.
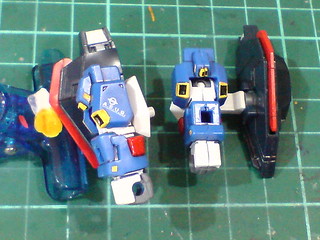
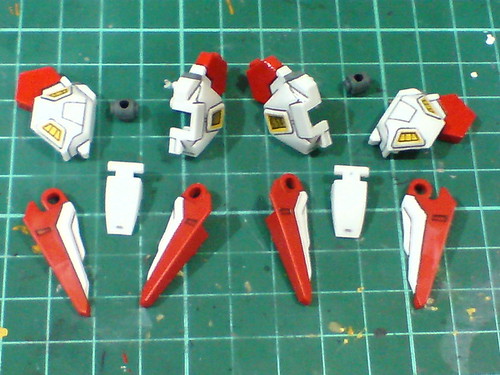
Parts of the arms and shoulder blocks.
Including the shoulder block and polycap, each arm only consists of six parts, making the assembly extremely easy.
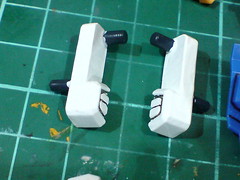
Details of the arms.
The two arms went through many rounds of paint work to realize the yellow, white, gray, and red details.

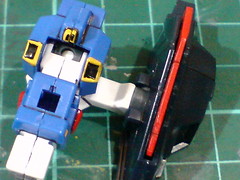
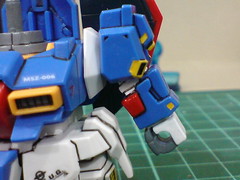
Connected to the shoulder blocks.
Out of the many painted details, I'm most pleased with the three vents on each shoulder that was painted in Part 6. ^^ The black areas were painted with almost no molded line as guidance, but they turn out very well. ^^
Using the straight pegs connected to the shoulder armor, the arm can be hinged vertically from the side.


Trying out the weapons on the two arms.
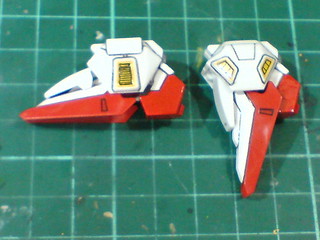
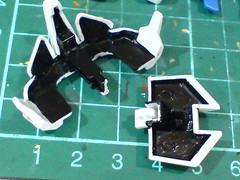
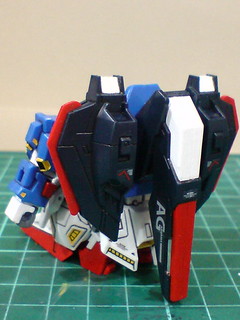
Parts of the wing binders.
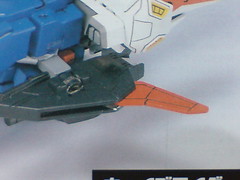
While the wings' details are identical in front and behind the parts, the need to reveal the clear stickers (applied in Part 8) means that the wings now have specific designated side, so some caution is needed to make sure they are fitted to the correct binder. ^^
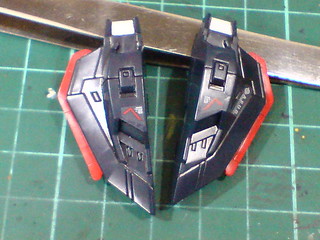
The two wing binders are completed.
The two white flaps were painted in Part 6.
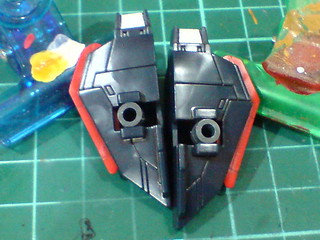
With the wings expanded.
The protruding panels are going to form the underside of the Waverider, so the absence of the clear stickers on the wings means that the wings are assembled correctly to their designated sides. ^^

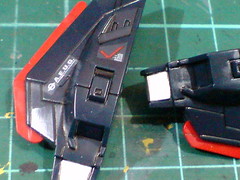
Connected the wing binders to the shoulder blocks.
The large gap between the back of the arm and the wing binder is to create clearance for the latter during transformation.
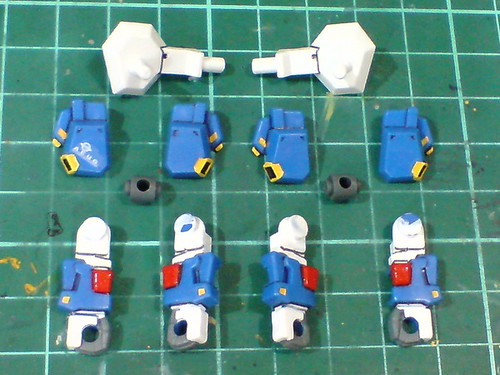
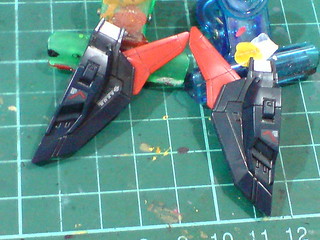
Parts of the legs.
Three joints are designed for each leg: thigh/hip, ankle guard, and front segment of the foot. Since the last two are meant almost exclusively for the transformation, the thigh/hip is the only leg joint for Zeta Gundam in MS mode. ^^;
Done for the legs.
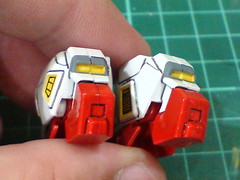
The yellow vents were painted in Part 2, and the red heels and the gray exterior of the vents in Part 3.
The ankle guard and front segment of the foot can be hinged downward.
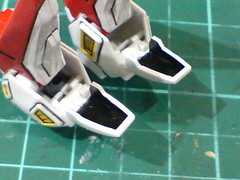
Even though the interior of the ankle guards were painted black, the lack of joints on the legs makes the black areas almost completely undetectable.
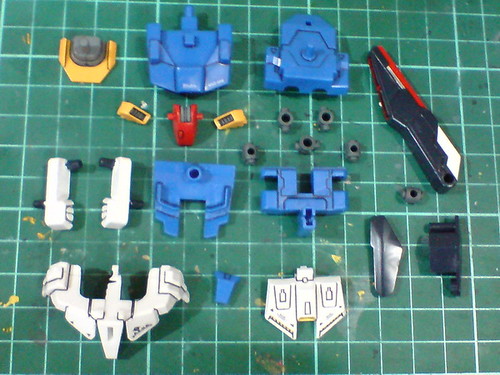
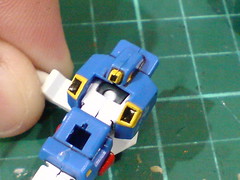
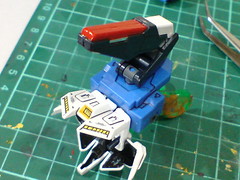
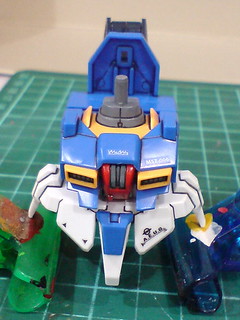
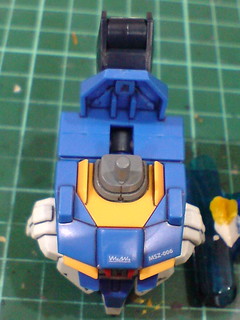
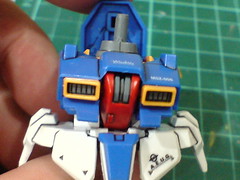
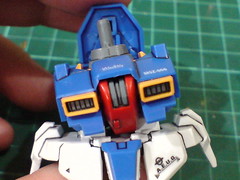
Parts of the body.

Plenty of painted details on the parts. ^^
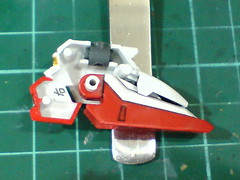
The tail stabilizer was already assembled since Part 8 to facilitate the red and white paint work on top of the component.
I still remember the difficulty in finding large enough gray foil stickers for the interior of the vents. ^^

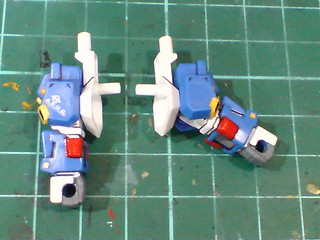
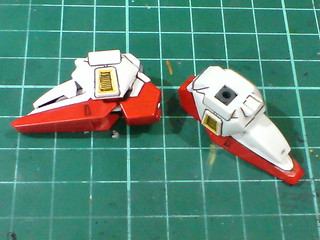
Separable components of the body before the final assembly.
There are very specific steps to be followed to make sure all the movable parts are connected properly.


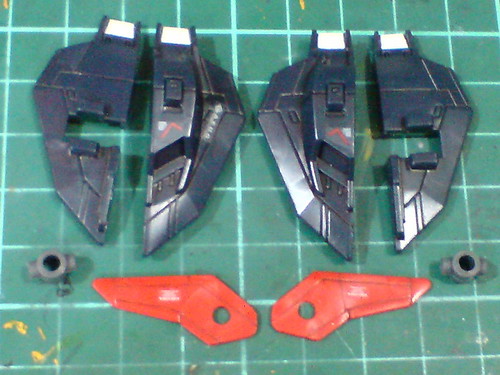
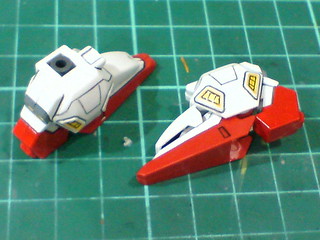
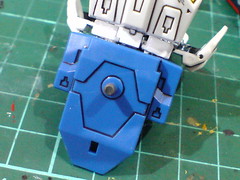
The waist pieces are connected to the back first, before the large front and side skirt armor part is tabbed to the same component and placed beneath the waist pieces.
As you can see, the polygonal cavities on the front and side skirt armor part are designed specifically to contain the waist pieces.
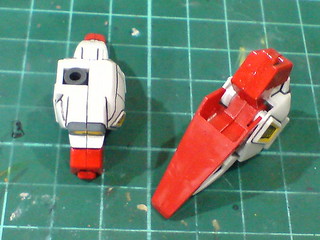
Next, the rear skirt armor and tail stabilizer are pegged into their respective slots on the back.
Last minute paint work: the tip of the straight peg is painted gray using Gundam Marker to give it a matching color with the tail stabilizer's polycap when the two are connected.

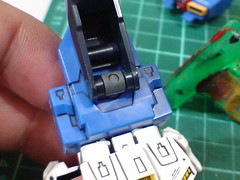
Last part of the assembly: the upper body is pegged into a polycap located in the middle of the back block.

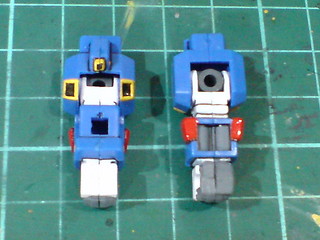
The body unit is complete. ^^
The tail stabilizer can be extended.
Like the same component on other versions of Zeta Gundam, there are two hinges for the tail's extension.
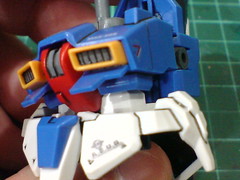
A special articulation point: since the upper body's connection to the back block is via a rounded peg, it has a limited clearance that allows it to be hinged slightly to either side of the body. ^^
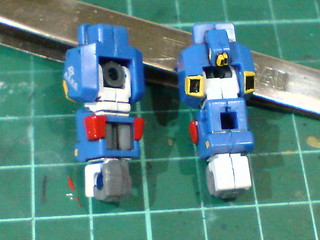
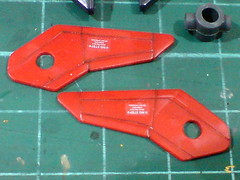
I remember having a great deal of uncertainty when painting the two waist pieces. Only the front portion on each part was painted initially, but I did go back and repainted the entire part white (Part 6). ^^ It's certainly great to see how well the paint work turns out on the actual model kit, as the correct color for the Gundam's waist is realized at the same time. ^^
It's good to finally know how those two weird parts are supposed to be for on the MS mode of the model as well. ^^
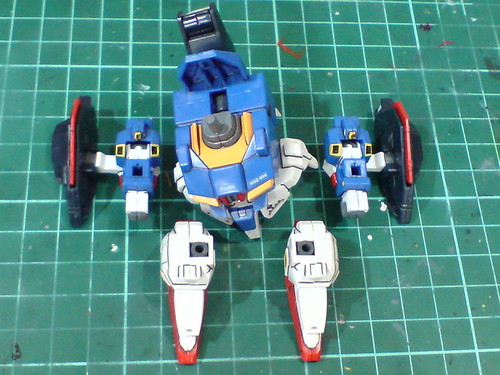
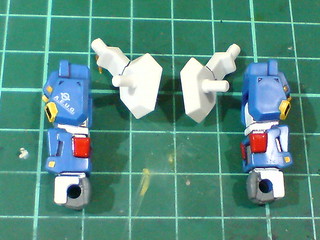
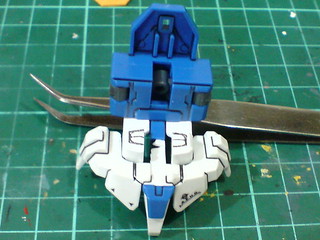
With the arms and legs completed earlier on.

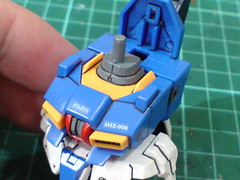
Only the head remains for the entire model to be completed. ^^

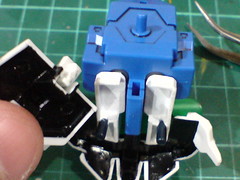
(Left) The arms need to be hinged outward before attaching them to the body to avoid collision with the fixed side skirt armors.
(Right) The tail stabilizer's weight is a little too much for the feet to handle it seems. Luckily, the tail itself can give the kit a support from behind. ^^
Will move on with the head's assembly to complete the entire kit in the next posting. ^^


No comments:
Post a Comment