Back to the work on BB Senshi Zeta Gundam and Nu Gundam Set after a day's break. ^^
Things are getting more random after the somewhat more concentrated rounds of white, yellow, red and black paint work done in the previous few postings. This time, I'll just be focusing on some super-duper minute details on Zeta Gundam's and Nu Gundam's weapons. ^^ Some minor paint work, subsequent refinement and then repetitions of the work with other paints are materials enough for one posting already I suppose. XD
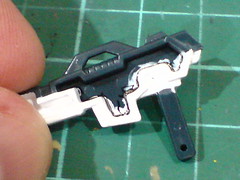
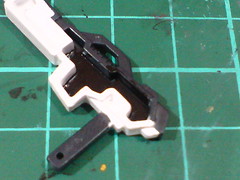
The blank interior of Nu Gundam's one-piece beam rifle part is painted black using normal marker.
With the lack of any detail to separate the areas for the two colors (as compared to the other side of the weapon's body), black is just right to show that absence of detail. Plus, it definitely saves me the trouble of cleaning off excessive white paint as shown in the right image. ^^
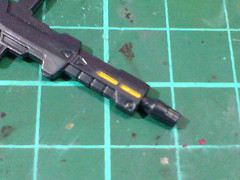
Excessive yellow paint on the body of Zeta Gundam's beam rifle (painted but wasn't shown in Part 2) is wiped off using cotton swab soaked with paint thinner.
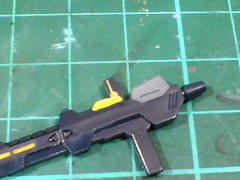
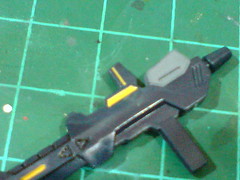
The two trapezium-shaped sunken spots near the targeting sensor are details I missed in Part 2. ^^; They are painted and refined in the same way as the tiny yellow bars shown earlier on.
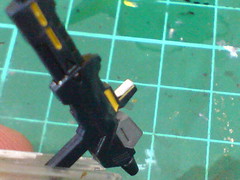
To ensure better visibility of the paint outcome, a layer of white paint (from Gundam Marker) is applied to Zeta Gundam's beam rifle targeting sensor first to cover up its base color (black).
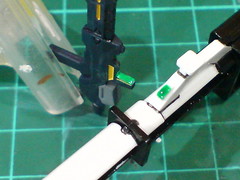
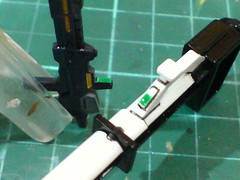
Painted the two Gundams' rifles targeting sensors using Gaia Color 104 Fluorescent Green.

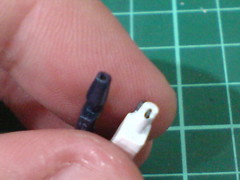
Holes are made using pin vise with 0.5mm drill bit to create muzzle points on the two rifles.
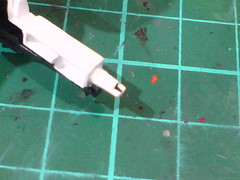
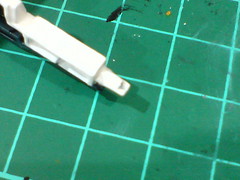
A bit of paint was removed from Nu Gundam's rifle tip when the hole was made. The patch of missing paint is quickly fixed with a swipe using Gundam Marker White.
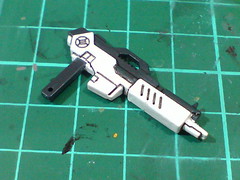
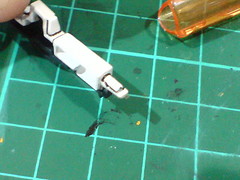

Panel lines applied to the two rifle parts mark the end of the work on these two weapon parts. ^^
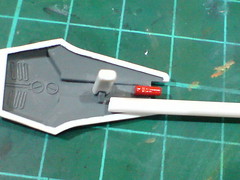
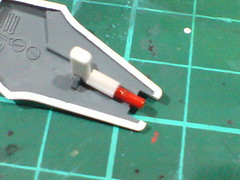
I used to think that the little "stick" poking in front of Nu Gundam's shield was its missile. Apparently it's not. Instead, the missiles are not included, and the "stick" is actually the shield's built-in beam cannon. ^^;
To rectify the problem, I'll add in the missing segment behind the cannon to make the detail more visibly obvious. A section cut from the body of a cotton swab seems to be of just the right size to fit in as the missing part of the cannon. ^^

Much like the two beam rifles completed earlier on, holes are made using pin vise and drill bit to create muzzle point for the beam cannon.
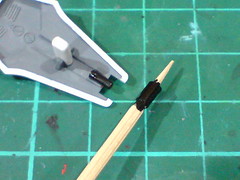
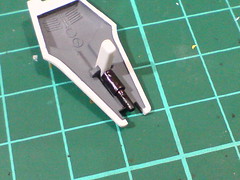
The cotton swab segment and the cannon itself are painted black using Gaia Metallic Color No. 020 Gun Metal.
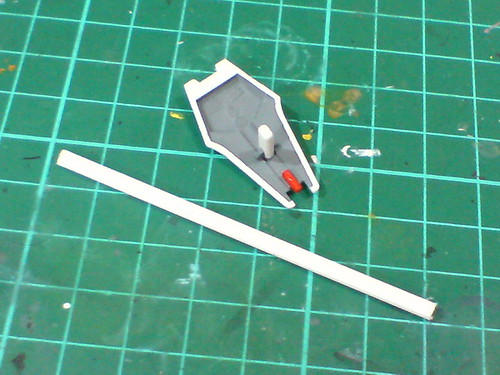
Plastic beam of the right size would make for an easy solution for the missing missiles on the shield, but since I don't have that, I'll have to create my own small-sized beam. ^^
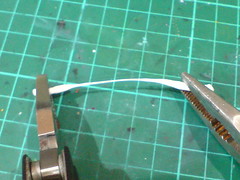
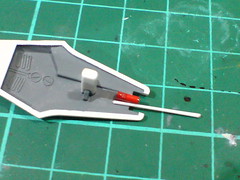
The small-sized beam can be made by heating up a segment from the frame of a model kit's runner, and then extend it when the plastic becomes soft. ^^
First attempt: too thin. ^^;
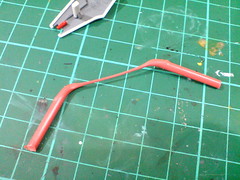
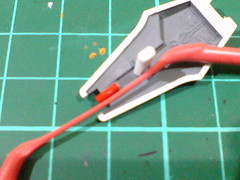
Second attempt: OK. ^^
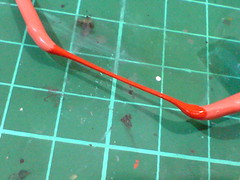
The beam segment to be used for the missiles is painted red using Gundam Marker first as the work is perceivably easier now than later when the part is cut up and placed onto the shield.
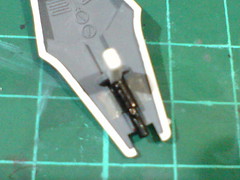
Using small patches of double-sided tape on both sides of the handle is a simple but effective way to attach the missiles to the back of the shield. ^^
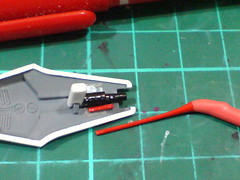
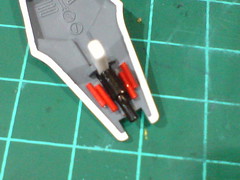
Using the cannon as a rough measurement "tool", the beam is cut up into tiny pieces, which are then arranged onto the shield.

Tiny lines are drawn on the parts to enhance the missiles' look. ^^
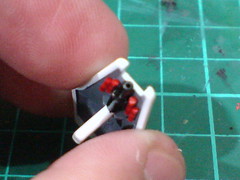
Bottom view of the shield.
The clear look of the beam cannon's muzzle point of certainly better than its default look as a small "stick" of unknown purpose. ^^
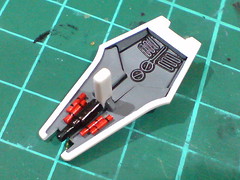
Panel lined the mechanical details behind the shield.
The details are quite extensive for an old BB Senshi kit. ^^
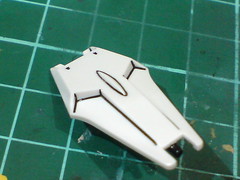
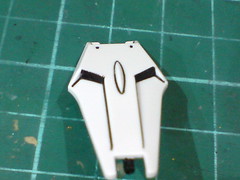
(Left) Details on top of the shield are panel lined as well.
(Right) The vents are painted using normal black marker.
Like I said at the beginning of this posting, the work on just these three selected parts is indeed enough for a single posting. XD
Focusing on mostly limb parts of Zeta Gundam next. ^^


No comments:
Post a Comment