The last round of work on BB Senshi Zeta Gundam and Nu Gundam Set on the first day of this new month. ^^
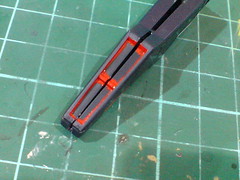
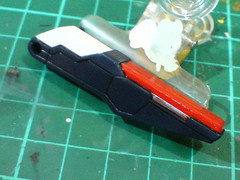
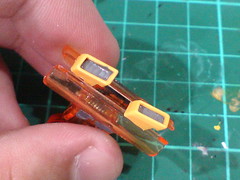
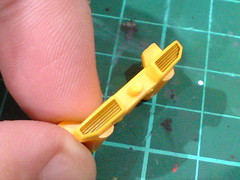
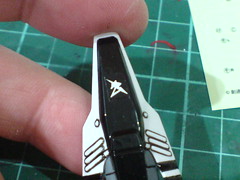
The plain interior of Zeta Gundam's tail stabilizer thruster is too plain in appearance I think. ^^; While it can be painted, I thought of something that can help to minimize the look of the parting line as well. ^^

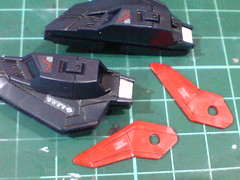
After so many past attempts of the same nature, using spare sticker pieces for missing details is almost a norm for this kit already. ^^ These gray pieces are from 1/100 Gundam Virtue I believe.
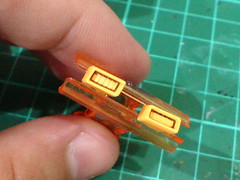
The "signal light" segment on both sides of the tail is realized using silver foil stickers.
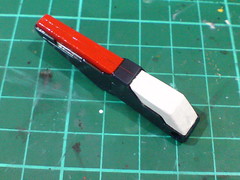
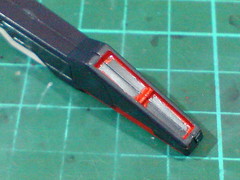
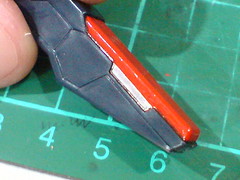
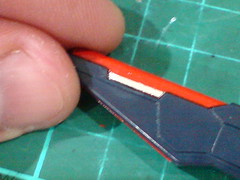
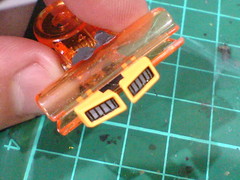
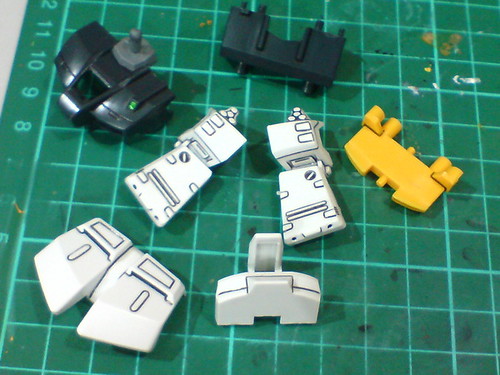
Since the tail stabilizer is now assembled to facilitate the stickers for its thruster interior as shown earlier on, the red and white areas on the top side of this component are repainted using Gaia Color No. 003 Bright Red Gloss and Mr. Color No. 1 White Gloss respectively to minimize the seam line between the two parts.
Panel lines applied to the tail stabilizer when the paint has dried.
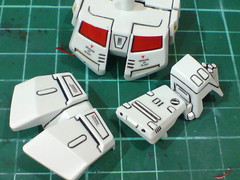
The interior of Zeta Gundam's chest vents need to be painted gray.
(Left) The parts are painted using Gundam Marker Gray.
(Right) Excessive paint is scratched away using a sharpened toothpick. Panel lines are added when the paint has dried.
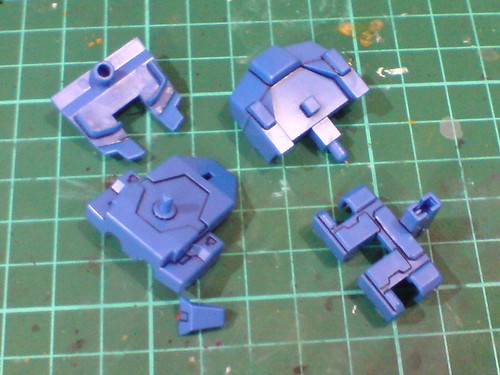
Simple panel lining for the rest of Zeta Gundam's body parts.
All of Nu Gundam's other body parts and HWS armor pieces that require panel lining.
Nu Gundam's chest vents are panel lined using Tamiya's Panel Line Accent Color (Black).
The delicate lines would be meshed if a normal panel liner is used to draw all them I believe. ^^;
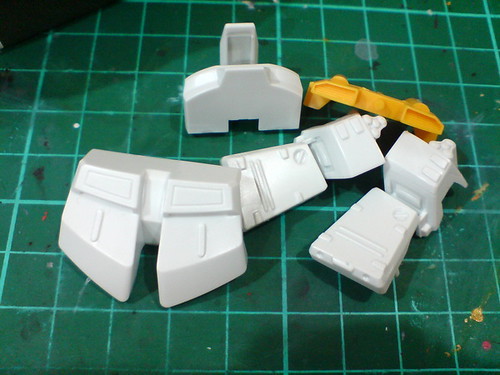
Done for the detailing work on all of Nu Gundam's body parts.

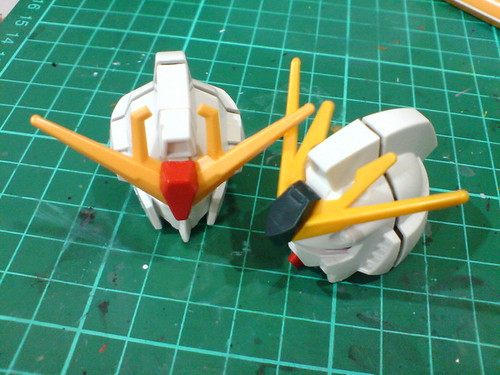
Test fitting the parts to see how Nu Gundam's upper would turn out when assembled. ^^
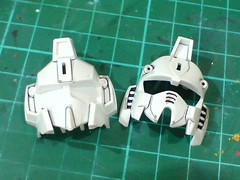
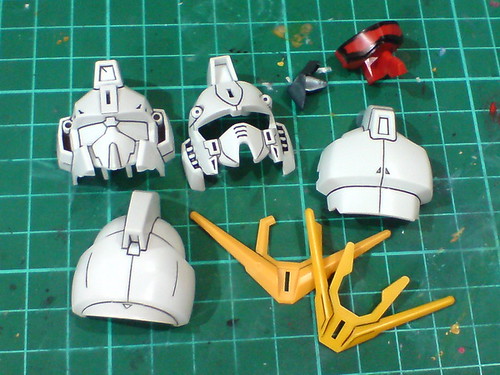
Parts of the two Gundams' head.
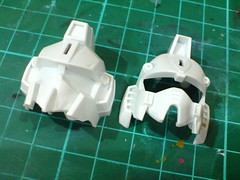
Tight spots on the head unreachable using normal panel liner pen are done using Tamiya's Panel Line Accent Color (Black) first.
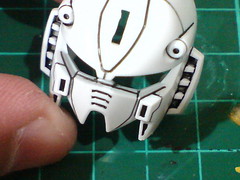
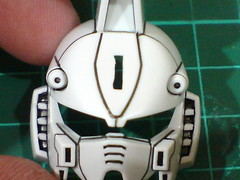
All the panel lined parts of the two heads. ^^
The lines situated deep behind the mask are the hardest details to realize using my panel liner among all the head parts. ^^;

The two Vulcans on Nu Gundam's helmet part are painted using Gundam Marker Gray.
Done with all the painting and panel lining on the two kits, it's time for the special clear sticker sheet to be used to conclude the overall work. ^^
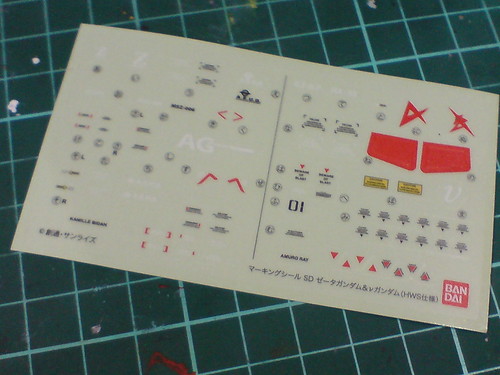
Since the two kits feature no change to their individual releases (Zeta Gundam, Nu Gundam), this special clear sticker sheet can be considered the true unique feature of this bundled Gunpla set. ^^
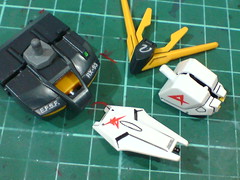
Clear stickers applied to selected Nu Gundam parts.

(Left) The bars on both sides of Nu Gundam's High Mega Shield that weren't painted back in the previous posting are treated using normal marker for convenience and simplicity. ^^
(Right) Amuro Ray's insignia for the shield is actually part of a long foil sticker bar. Just the insignia portion is cut out and applied onto the shield since the entire middle segment has already been painted. ^^
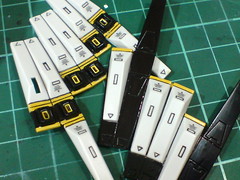
Clear stickers applied to selected parts of Zeta Gundam.
Certain clear stickers can only be applied after their corresponding components are assembled, but I think I've covered most of them in this round of work. ^^
It's great to return to some intensive Gunpla work after a couple of action figure reviews. ^^ Some of the parts seem overwhelmingly difficult and uncertain at the beginning of this review series, but I'm glad that I managed to complete all of them. ^^ Between Part 2, 3 and 4, I almost thought I was going to push the work onward for a couple of months, luckily my determination is strong enough (XD) to get everything done instead of stretching the entire work out for a very long period of time. ^^;
As usual, there'll be a bit of offset time between now and when I revisit all the parts again for the final assembly. ^^


No comments:
Post a Comment