Another round of work on BB Senshi Zeta Gundam and Nu Gundam Set after Part 6.
If I had to specify the focus of this round of work, it would be "everything before moving on to the body and head of the two Gundams". XD Because of that, the nature of the work and tools to be used are very random to say the least. It's the "everything goes" segment in the work on this BB Senshi set I suppose. ^^
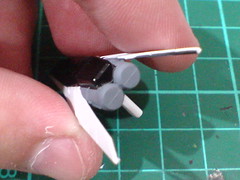

(Left) Almost like the bazooka shown in Part 4, the lack of molded details for the twin cannons' muzzle points on Nu Gundam's High-Mega Shield kind-of takes away the weapon's awesome look I think. ^^;
(Right) Similar to the bazooka's tail cap, the muzzle points can be "recreated" using parts from Kotobukiya's Modelling Support Goods (M.S.G.) Pla Unit P-106.
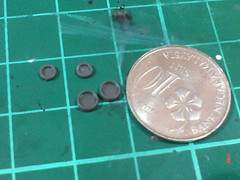
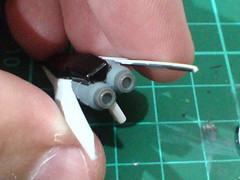
A "layered" look for the muzzle points created by stacking two nozzle parts of different diameters would give the twin cannons a more powerful appearance I think. The combined parts are attached onto the shield using cement for plastic kits. They would need to be painted to get their color to be consistent with the cannons' barrels.
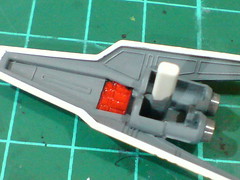
The "missiles" (I think they are supposed to be missiles ^^;) mentioned in Part 3 are painted using Gaia Color No. 003 Bright Red Gloss.
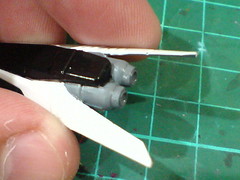
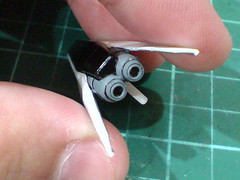
The new muzzles of the twin cannons are painted using Tamiya Color Acrylic Paint Mini XF-53 Neutral Grey.
Panel lines are applied to the parts to highlight the beam cannon's appearance. ^^
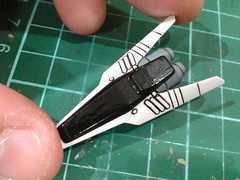
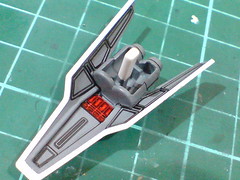
Panel lines applied to the other molded details in front and behind the shield.
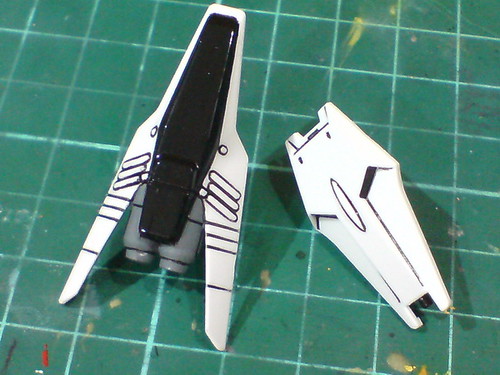
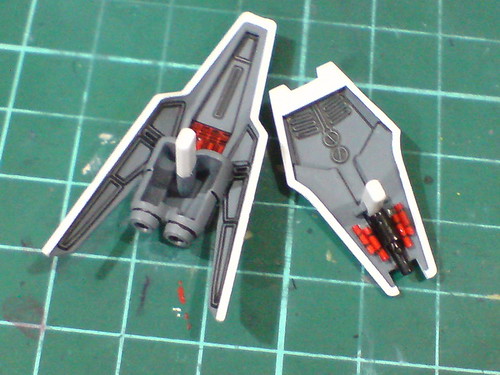
A look at Nu Gundam's two shield parts.
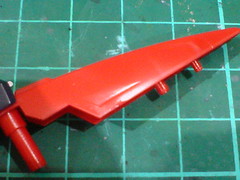
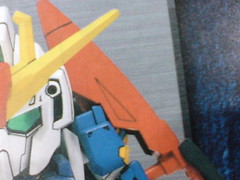
Two triangular patches on both sides of Zeta Gundam's shield are part of its important details I think, but not only are they "lightly" molded - not emphasized in terms of appearance on the actual part, there's no color for them as shown in the manual as well. ^^;
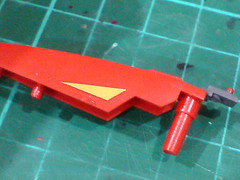
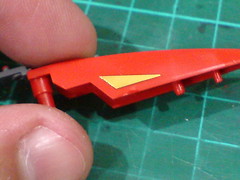
My collection of spare foil sticker proves to be extremely resource for this kit again by contributing to the two aforementioned patches of details.
No formal measurements were taken before preparing the foil stickers actually. ^^ Since it's such a small part, estimates based on observation are good enough to get the right size for the stickers. ^^
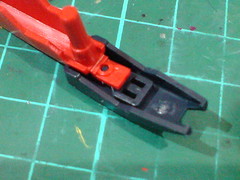
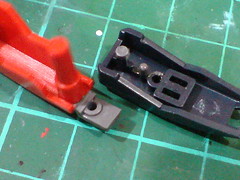
Segment between the shield parts and the connectors are painted gray using Gundam Marker to give the shield's rear side a more complicated look when the parts are assembled later.

Very simple panel lining on the equally simplistic details of the shield parts. ^^
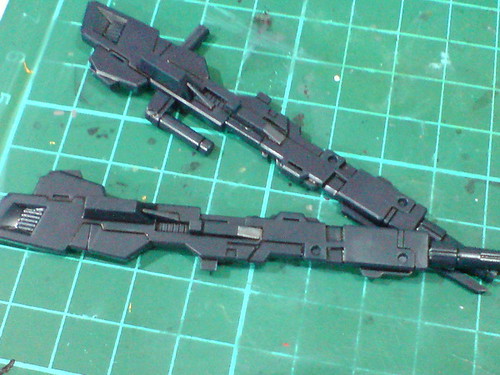
Tons of panel lines on the two Hyper-Mega Launcher parts.

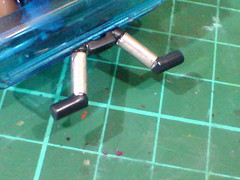
The launcher's supporting stand is the only part in this bundled Gunpla set that allows me to satisfy my penchant for shiny silver hydraulic pipes. ^^
The stands are painted using Tamiya Paint Marker X-11 Chrome Silver.
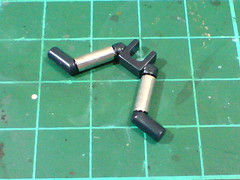
A bit of panel lines applied to cover up some minor spilled over silver paint on the stand part.
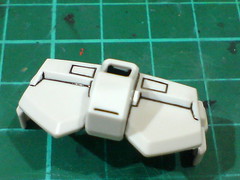
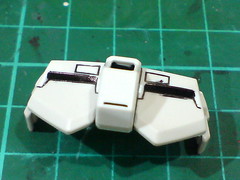

The vents on Nu Gundam's front skirt armor is painted black using normal marker, which is exactly how the vents on the shield were treated in Part 5. ^^
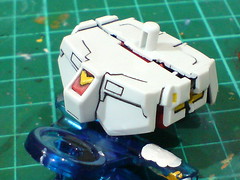
Test fitting the parts to see Nu Gundam's skirt armor would turn out when assembled. ^^
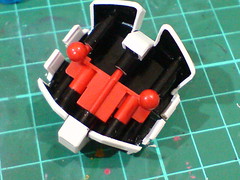
While the exterior looks fine, the huge chuck of red part that formed just the red box with a molded "V" for the waist is sticking out very awkwardly beneath the skirt armor. ^^;
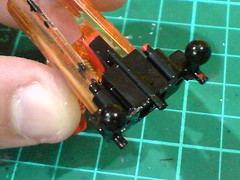
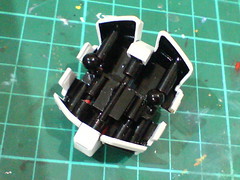
Painted the hip part black using Gaia Color 022 Semi Gloss Black to give the entire bottom side of the skirt armor a more cohesive look. ^^
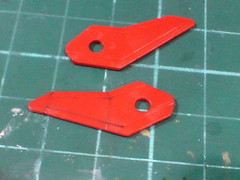
Very lightly molded line details on Zeta Gundam's wing parts makes panel lining the parts a really troublesome work. ^^
To get the lines, I created cuts on the parts following the existing line patterns using a knife.
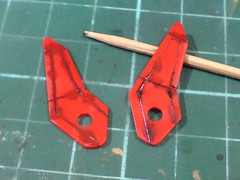
Tamiya's Panel Line Accent Color (Black) is used to get a less messy panel lining outcome on the two wing parts, even though the image above which depicts the parts' in-progress look indicates otherwise. XD
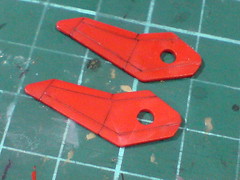
With the excessive panel liner paint wiped away using cotton swab soaked with enamel thinner. The lines still look light in appearance, but at least they are noticeable. ^^
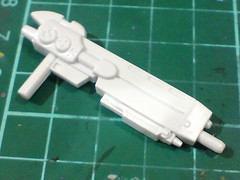
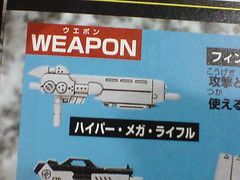
Much like the other two beam rifles completed in Part 5, Nu Gundam's Hyper-Mega Rifle is a single-piece part that would look extraordinarily plain if no panel line is applied to it. ^^;
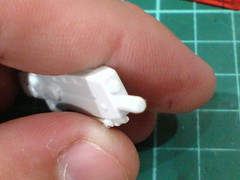
The same trick for the two Gundam's rifle muzzle can be repeated for the same spot on this Hyper-Mega Rifle. ^^
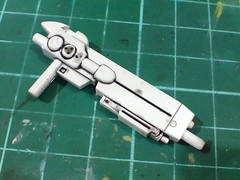
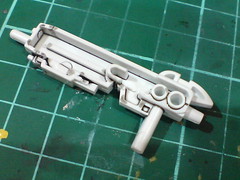
Panel lined the part using a combination of normal panel liner and Tamiya's Panel Line Accent Color (Black).
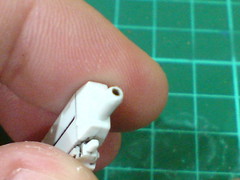
Pin vise with 1.0mm drill bit is used to create the muzzle point. The muzzle's interior is painted using Tamiya's panel lining solution to indicate its depth. ^^
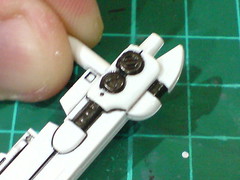

The caps and bars on the rifle's body are painted using Gaia Metallic Color No. 020 Gun Metal.
While the color is not shown in the manual, these parts certainly aren't in plain white for the same weapon on the HGUC version. Also, an additional color for the weapon would enhance its overall appearance as well I think. ^^
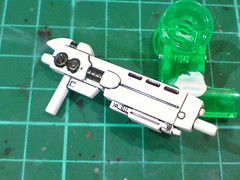
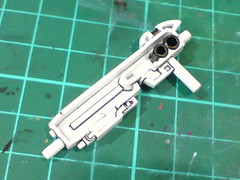
Done for the Hyper-Mega Rifle's panel lining.
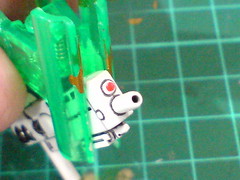
There are supposedly two round sensors above the rifle's muzzle, but only one is molded on this BB Senshi version due to its size I suppose. ^^;
The sensor is painted red using normal marker.
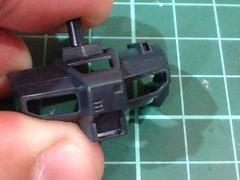
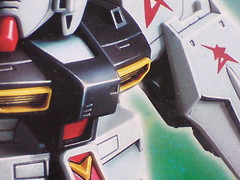
A bit of work on the body parts of Nu Gundam before the next posting: foil stickers are needed for the cockpit hatch and the targeting sensor above the left chest. The latter wasn't shown on the box art at all, surprisingly.
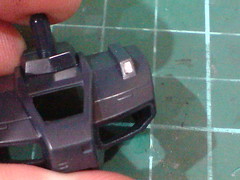
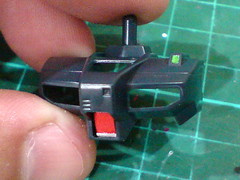
(Left) The tiny but deep slot of the chest sensor provides no support for any sticker to be applied on top of it. To resolve the issue, I just stuff a bit of Tack-It adhesive into the slot to fill it up first.
(Right) Spare stickers from my collection contributed to the chest sensor and cockpit hatch. ^^
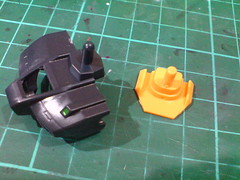
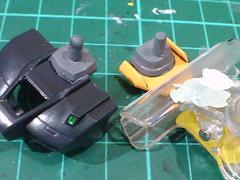
The two Gundam's neck joints are painted gray using Tamiya Color Acrylic Paint Mini XF-53 Neutral Grey.
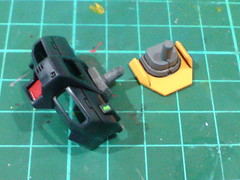
Panel lines applied to the parts when the paint has dried.
The busiest round of work for this bundled kit so far I believe, with the work concluded for a wide range of parts with different requirements for their details and colors. ^^
Moving on to the body and head parts of the two Gundams next. ^^


No comments:
Post a Comment