Wednesday, June 29, 2011

MG Force Impulse Gundam Part 6

Red, blue and yellow on my Flyer unit

After Core Splendor done in Part 4, here's another plane to catch! ^^ Working on the Force Silhouette pack this time.
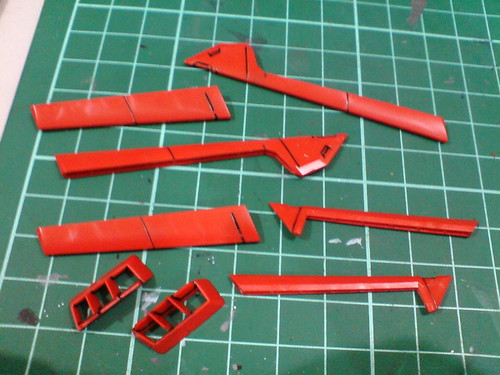

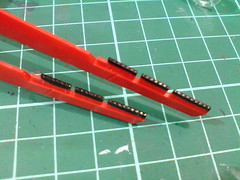
Simple panel lining for the red wing and side thruster parts.


Panel lining the interior of the thrusters is not exactly the easiest to do. ^^;
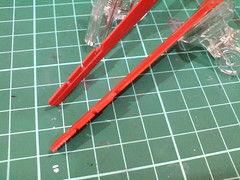

Painted the two rows of vents on the binder black using normal marker.
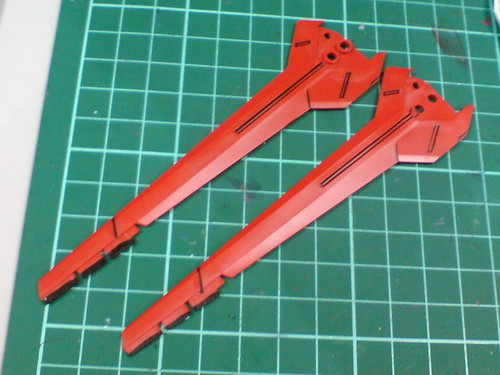

Panel lining for the entire binders.
Kind of wish that there are more of such large and simple parts in this kit to work on. ^^;

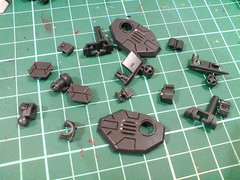
Simple panel lining for the other parts of the backpack.
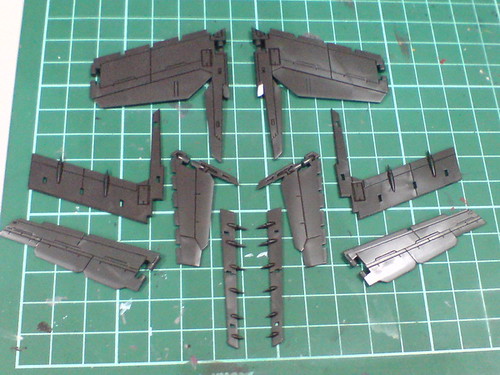

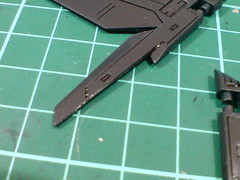
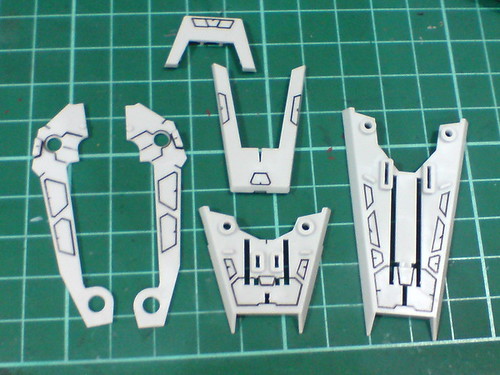
Panel lining for the main wing parts.
Black lines on black parts, my panel liner's power of darkness blackness claims the winner ^^
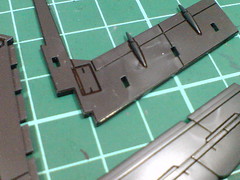


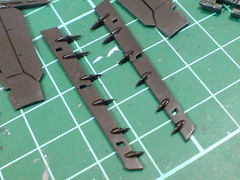
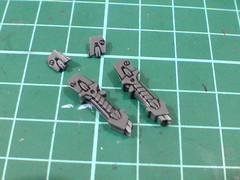
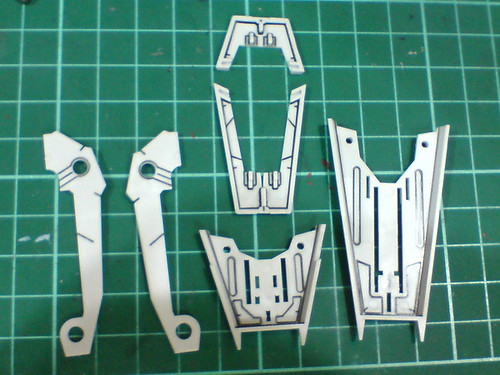
Sharp spikes on these two parts are supposed to be on the bottom face of both wings.
Despite to be placed beneath the wings, the details given to the parts are awesome. ^^


Rear face of the wing parts are of course panel lined as well.
A crazy rainbow part appears XD


Much like one of the feet of MG Shin Musha Gundam, I've been using the space inside one of the wing parts as plate to hold my Gundam Marker paint for the work on some of the parts shown in the past. ^^
I'm using it so liberally as all the unused paint will be covered up by another part for the final assembly of this kit. ^^
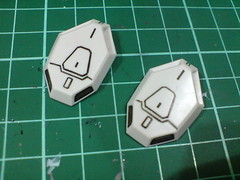

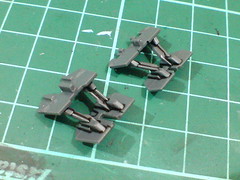
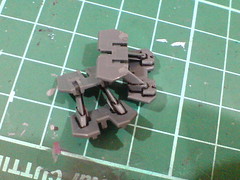
(Right) Seemingly just very simple parts, the teeth-like details at the edge of the binders' connectors are very nice to see. ^^
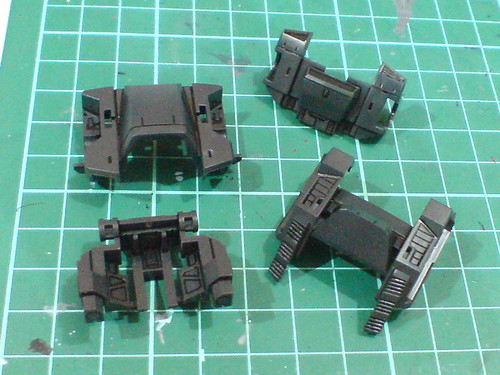

Simple panel lining for the main body parts of the backpack.


A ring of black paint on the edge of the main thruster using normal marker to make the border between this part and the gray cover (painted in Part 3) much more obvious.
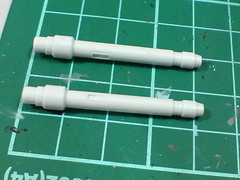
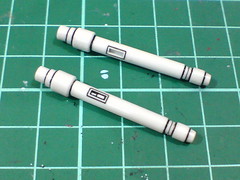
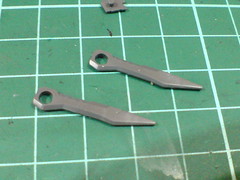
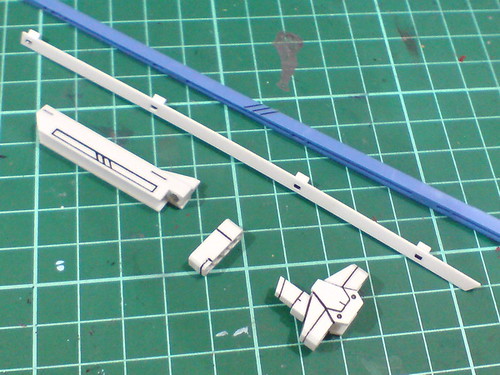
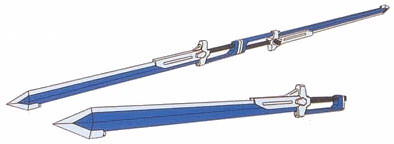
Panel lined the really long beam sabers.
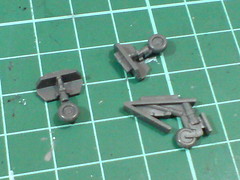
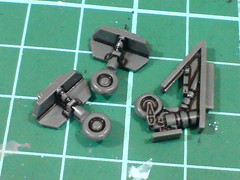
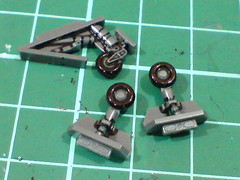
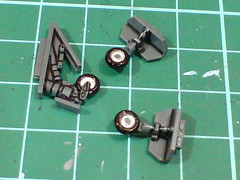
Some delicate work for the landing gears of the Flyer unit - panel lines for all the parts first, then black paint for the wheels (from normal marker) and finally silver paint for the hub cap (from normal pen).
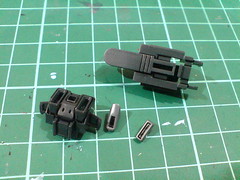

Just simple panel lining for a few other parts of the Flyer unit.
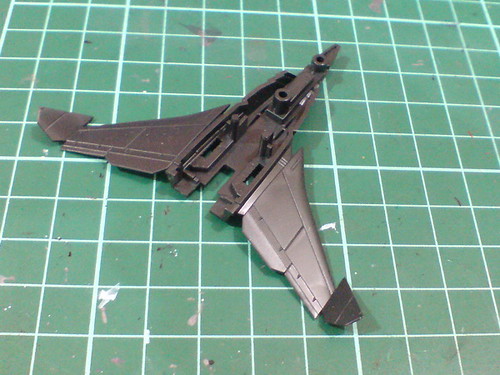

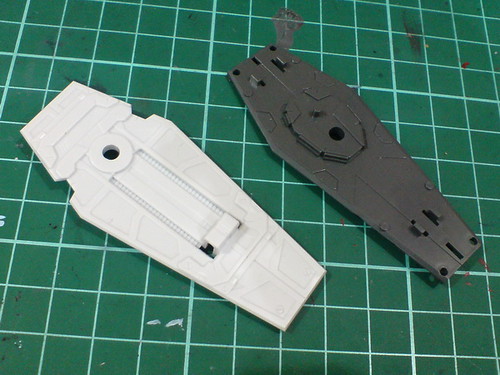
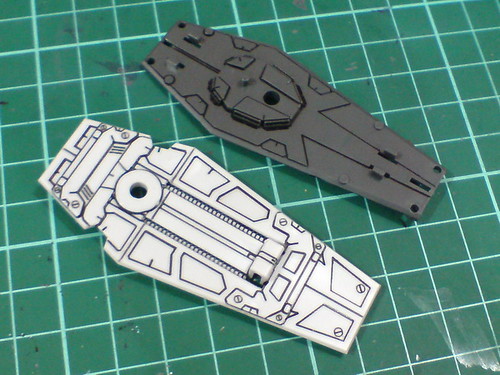
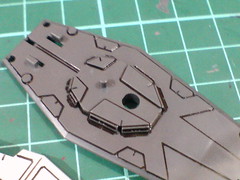
A huge single black part for the Flyer unit itself.
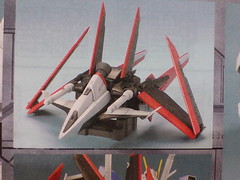

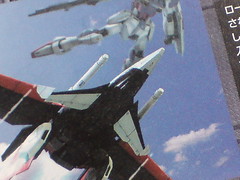
Black as it is, large areas on both wings are supposed to be in white, as shown in the manual.
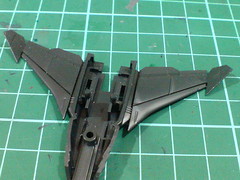

Panel lined the border between the areas to be painted and that to be kept in black, but the paint work itself will be left till the next posting.

Gundam Marker is not a good choice to paint over such a large area, even hand painting using bottle paint is a little bit hard for this part because of the black surface color, but don't fret. XD There's a really simple solution to this, which will be in the next posting ^^

Tuesday, June 28, 2011

MG Force Impulse Gundam Part 5

Finally, some easier stuff

Decided to stick with MG Force Impulse Gundam for a while to finish off as many components as possible, since this kit seems to be the one being left behind the furthest among the four on the list. ^^;

Some simple work for the weapons this time. ^^


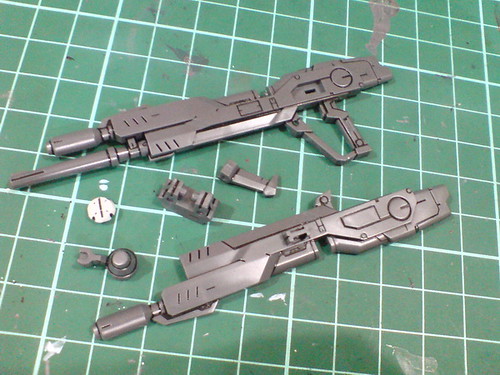
Panel-lining for the beam rifle parts.


Painted the area around the red part on the beam rifle's body in black accordingly using normal marker.


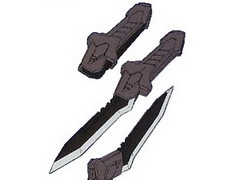
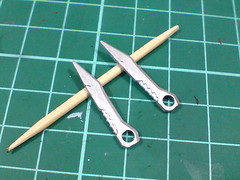
Small as they are, the handles of Impulse Gundam's combat knives, "Folding Razors" have a lot of details on the parts to panel line. ^^;


Looking at the colored lineart of the weapon, only the edge of the knives is supposed to be in silver while the back of the blades black.
Image on the right is from MAHQ dotnet.


For convenience, I just painted the whole thing silver using Zebra marker. ^^


Just panel lining for the shield's "landing gear" parts.


Tons of line details on these two shield parts.


Just panel lining for all the details.
Kind of a reminiscence to how simple my treatment was for my model kits way back when XD


Panel lining for the other white parts for the shield.


Looking at the image showing the inner face of the shield on the box side intro, the rear face of the parts should be painted in gray, but I didn't pursue this paint work because I am such a lazy bum wanted to show the line details done on those parts instead.


No special treatment whatsoever for these few other parts of the shield as well.


Simple panel lining for the major parts of the single "Excalibur" anti-ship sword included.


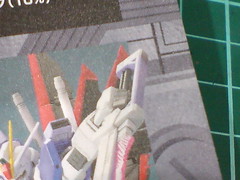
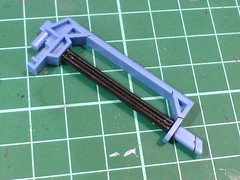
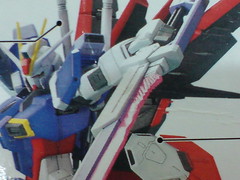
The sword handle is one part that is a little bit confusing when you want to paint it. ^^;


(Left) Painted black on the completed model shown in the manual,
(Right) Light blue (not painted) shown on the box art.


Decided to paint the handle according to the version shown in the manual (using Gundam Marker).
The handle is always in black as far as I can remember for this weapon.


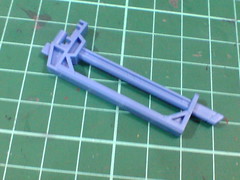
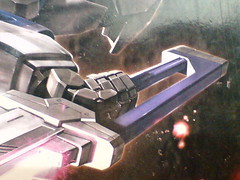
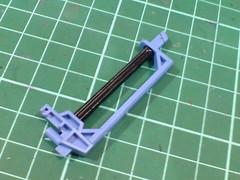
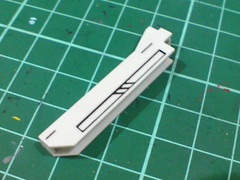
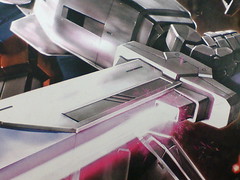
Another part of the sword that calls for a bit of decision on paint-it-or-not. ^^


(Left) Manual: not painted for the bar in the middle of the part,
(Right) Box art: painted gray/black.

Decided to stick with the completed model version again - no paint applied. The colored lineart version of the weapon (on Sword Impulse Gundam) shows that the bar is not painted anyway.


Image is from MAHQ dotnet.

Not to be too obsessive about this kind of details on a model kit, just toying around with possibilities for what to do with the parts. ^^

More work on this Master Grade kit in the next posting.