Moving on (or back ^^;) to MG Force Impulse Gundam in this posting.
I'm picking out most of the parts that require painting in this posting, focusing on Core Splendor and the Force Silhouette pack at the moment, and boy, a whole bunch of parts pop up on the list. ^^; Just as anticipated when I got this kit actually, but there's no way that everything is going to work out in just a single posting for these selected parts. ^^;
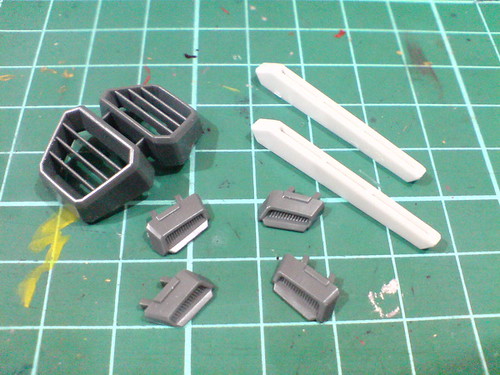

Parts from the Force Silhouette pack.
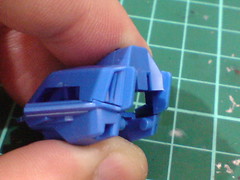
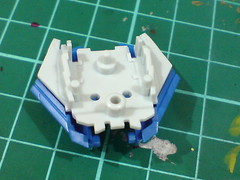
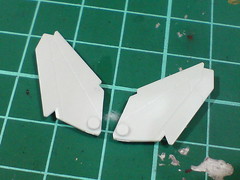
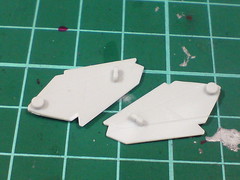


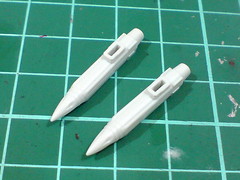

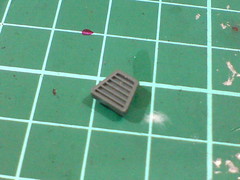
An array of parts from Core Splendor.

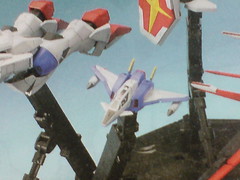
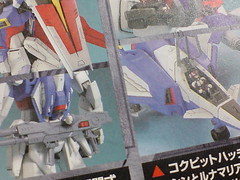
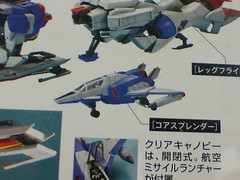
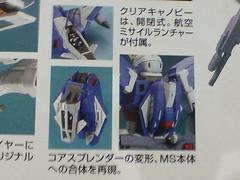
Referencing the color scheme of the various components from the manual and the introduction on the box sides.
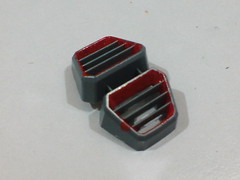
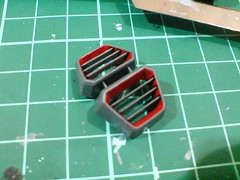
(Left) Hand painted the interior of the largest thruster on the Force Silhouette pack red using Mr. Color No. 158 Super Italian Red Gloss.
(Right) Scratched away excessive paint at the edge of the part and panel lined the fins.
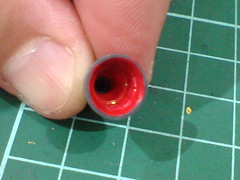
Painted the interior of the flyer unit's thruster using the same bottle paint as well.

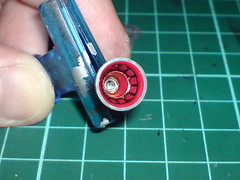
Panel lined the details inside the thruster when the paint has dried.
Too easy as compared to the four I did for MG Shin Musha Gundam recently. ^^;

Simple panel lining for the exterior of the thruster.
The simplest stuff to be done on all these parts so far XD
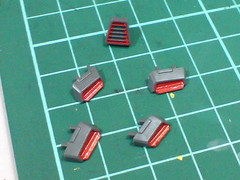

(Left) Painted the rear thruster of Core Splendor and the four vents on the binders of the Force Silhouette pack using Gundam Marker Red.
(Right) Scratched away excessive paint and panel lined the parts.
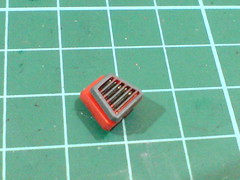
Test fitting the thruster onto the red part behind Core Splendor.

Didn't bother with another two (even) smaller vents on Core Splendor. ^^;
Just simple panel lining for them.
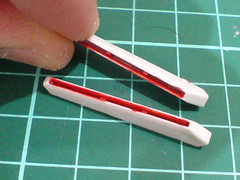

(Left) Didn't bother using the bottle paint for the interior of these white vent parts for the binders, since the space is too narrow for the brush to work well. Instead, I used toothpick with red whiteboard marker ink to paint the narrow spots instead.
(Right) All done after scratching away excessive paint when it has dried.
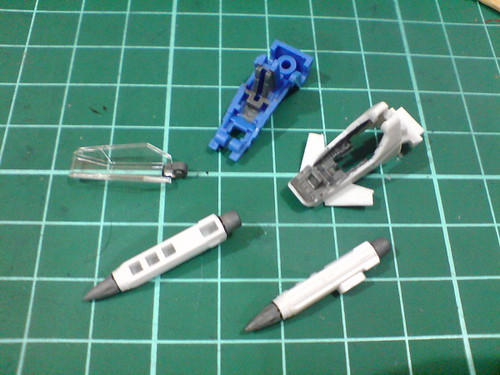
Tried to paint all these parts using Gundam Marker Gray at first, but the cockpit parts have really hard to reach places for the marker paint to work well on them. ^^;
The gray parts in front and behind the missile launchers turned out OK though.

Hand painted these parts (again) using Gaia Color 074 Neutral Gray IV.

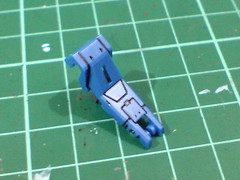
Finishing up on refining the parts one by one, starting with the blue cockpit part, where excessive paint is removed and panel lines are added.

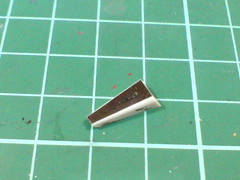
(Left) Painted the top portion of the nose in black using Gundam Marker Black.
(Right) Scratched away some of the paint on both sides of the painted area to make it seems more focused in the mid section.
I'm quite surprised that no foil sticker is included for this part actually.
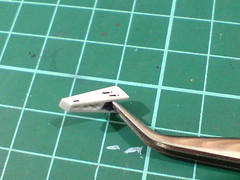
Very delicate panel lines and dots are added for the four Vulcan turrets on both sides of the nose.
Copic Multi Liner 0.05 proved its mighty worth for that purchase made in Singapore last year. ^^

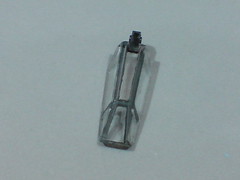
For the canopy, the plan is to have gray for the interior of the frame, and white on the outside.
Excessive paint on the inside is carefully scratched away using toothpick when the paint has dried.
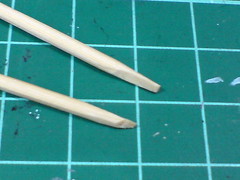
Very useful tool for this task: toothpick with flat and sharp tips. ^^

Panel lined the exterior frame before proceeding with the next batch of painting.
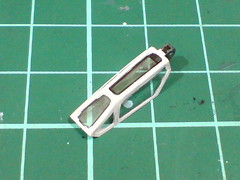
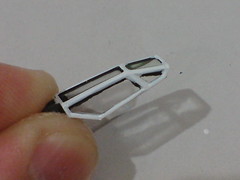
Painted the outer frame in white using Gundam Marker.
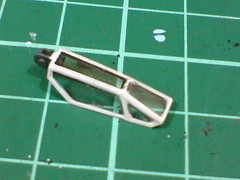
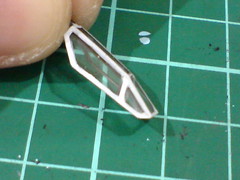
Trimmed away some excessive white paint.
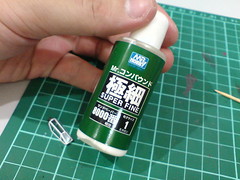
Areas with scratch marks from the toothpick, both inside and outside the canopy are treated with Mr. Hobby's Mr. Compound Super Fine 8000, which debuted in a somewhat similar work for MG Gundam F91 did quite some time ago.
It's toothpick with tiny bits of tissue soaked with the compound solution for this task. A very long and repetitive task this is. ^^;
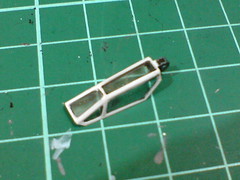
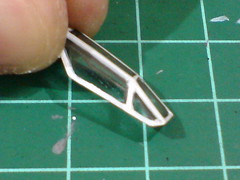

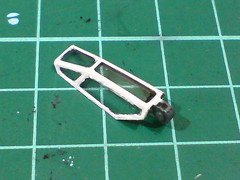
The outcome after cleaning up the parts using Mr. Compound. The scratch marks are less visible now, but the white paint seems to be somewhat uneven at certain places.
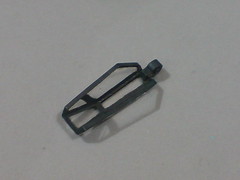
It's a good thing that the gray interior turned out well.
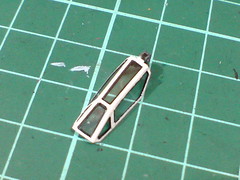

Refined the white exterior frame by trimming away some uneven white spots and repainting the area using Gundam Marker.

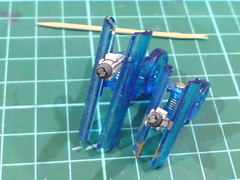
Panel lined the two missile launcher parts.
Small as they are, they are pretty feisty in the sense of having quite a lot of line details on them. ^^;
So much work for one posting and it's just half the everything? ^^; Time to jump to something else again for a change of mood. ^^;


No comments:
Post a Comment