For not being able to find any suitable tag line for the many tit-bits did in this posting. XD
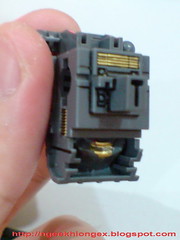
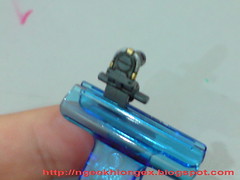
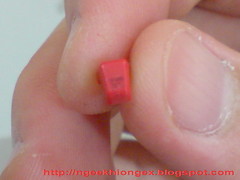
I actually used the bottom of the part shown in the second picture above as a tray for my Gundam Marker Gold to paint some parts done in previous posting. That's why there a spot of golden paint there.

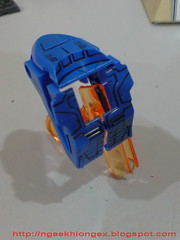
Done with painting the backpack thrusters in Part 8, I left a few other parts for the backpack untreated actually.
They are for the backpack itself XD
The details for the parts where the thrusters sits on are simply amazing. Together with the neck area, It's one of those parts that made me wonder why Bandai would bother to put in so much details for a part that won't be seen much when the model is assembled. But I'm happy about it nonetheless. And the only way to bring those details to life is to properly panel-line and paint them, even if they are not meant to be shown a lot.
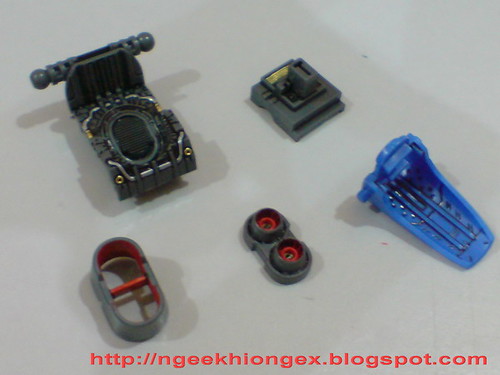
The five "brothers" of extreme details XD
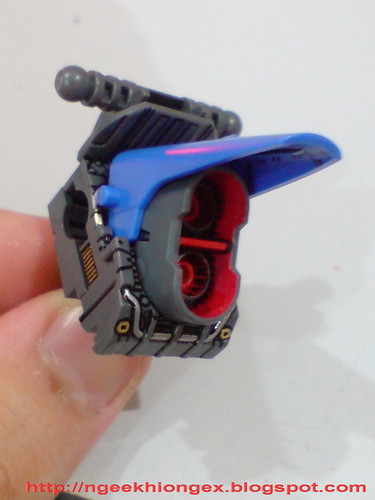

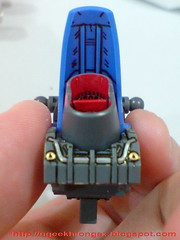
In before they are sealed up by the armors, you can see that the backpack has full inner frame details, which make MG Strike Freedom's backpack looks like that of a HG kit ^^;
Parts for the body left untreated from Part 9:
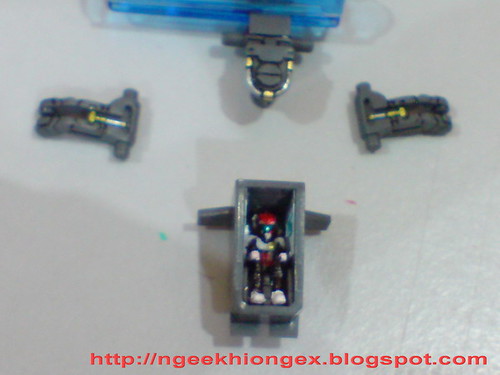
The "spine" of Destiny - the part that controls the movement of the upper body. Painted gold and silver for those tiny tubes.
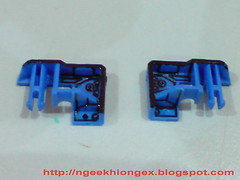
Picking the details to be panel-lined there: these two are the shoulder joints that would split out when the joints are moved, and those details might be shown when that happens. The black painting is the border between the joint and the body armors.
The painted parts for the body.
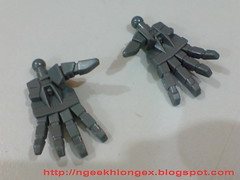
Since the palm cannon is among the armaments of Destiny, the model comes with two spread palms to display that weapon. For me, they are quite versatile and can allow you to perform more action poses than merely showing the palm cannon.
To be consistent with my BB Senshi Destiny, the cannons are being painted in Gold.

Last component on the list: the head.

Painted black for the bottom of the forehead to show more depth for the helmet, especially when you look at the head from a lower angle.
The protruding words molded on the forehead. I just panel-line the words and swipe them clean after that. The little bit of black line drawn would outline the details.
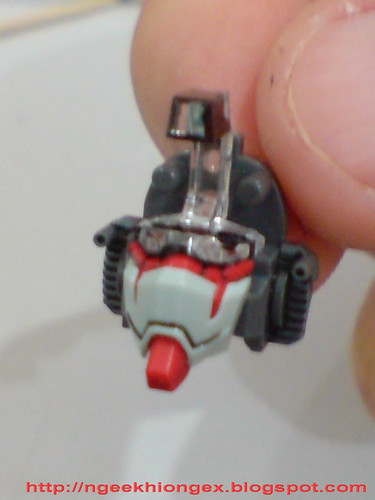
Like what I did with the eye of my 1/100 Astray Red Frame, I painted the edges of the clear part with black, so that there will be no clear part exposing if the foil sticker can't cover the intended part entirely.
Done with all the parts for this MG, but I will have to go back and revisit one of the components, and remedy on its weakness before the final assembly. Do you know which part is that?
Please look forward to the next review. ^^


6 comments:
just curious, what's the color of the white parts of your destiny?? white or a little gray??
i bought the extreme blast and the white color is gray.. T.T
I'm gonna take a stab at it being the handle of the beam cannon...
Ngee Khiong, do you mind if I add both of your blogs to my blogroll?
why don't you give it the light-piping?
ngee... how did you manage to paint the very small part of gold (such as: the cannon part in destiny's palm)?
normal gundam marker gold will not be able to reach that spot... did you spill some gundam marker in the toothpick and proceed from there?
Sorry for all the late replies. Have not been able to spend much time updating Ex lately due to my work schedule >_<
>> Justice1
It's grayish white for all MG Destiny ^^
>> 7swords
No problem at all. Thanks very much for your support. ^^
>>Anon
Haven't try any of the electronic stuff on my model yet, but thanks to my friends, I have learned a bit on the way to do it. Will try on Zeon MGs with bigger mono-eye camera in the future...
... when I'm courageous and adventurous enough XD
>>neosonic
Those fancy pens with metallic ink for kiddies' art work do magic. ^^
Some intro in this previous posting:
http://ngeekhiongex.blogspot.com/2009/03/bb-senshi-destiny-part-4.html
Post a Comment