Started the final assembly of this 1/100 scale Gunpla after leaving it since mid September. ^^
The very long beam rifle and the huge backpack (Dragoon system) will go first.
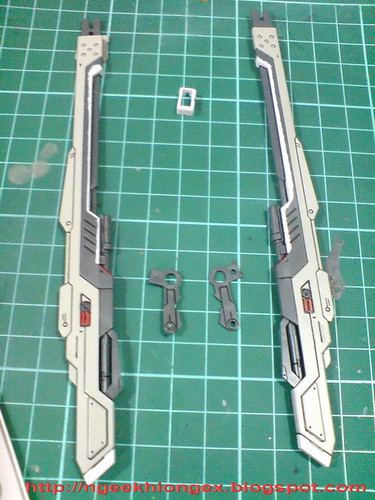
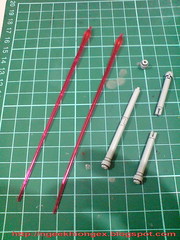
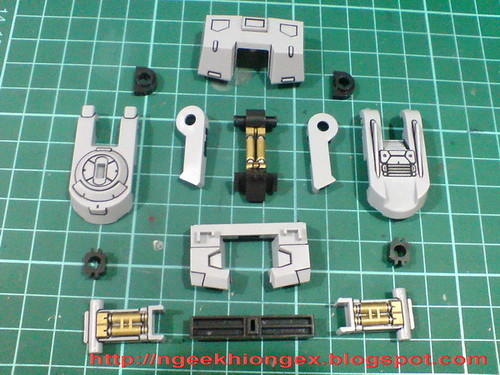
Parts for the beam rifle.
Forgot to slip in the targeting sensor before taking the photo. ^^;
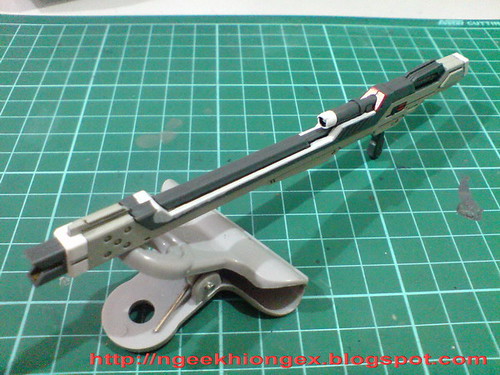
Completed.
The bottom of the beam rifle's body is painted again with Mr. Color Light Gull Gray (Part 3) - the same color used for either side of the body to cover up the seem line.
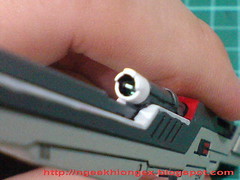
A look at the targeting sensor did in Part 6. Just a tiny bit of the metallic green painted on the sensor "make it out" of the small but narrow scope. ^^;
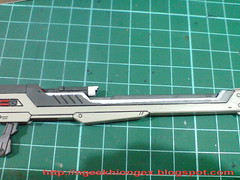
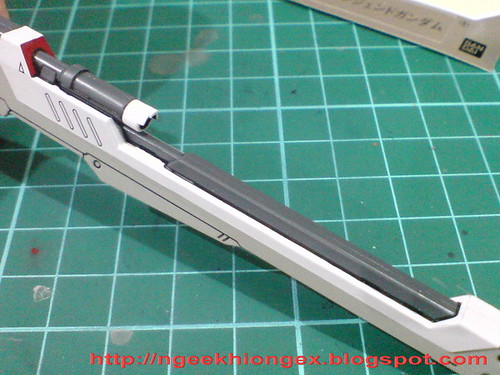
The white portion on the beam rifle's body is from the foil stickers included.
Gundam Marker White (Part 4) on the top portion of the rifle where no sticker will cover blends well with the foil stickers used on either side of the weapon. ^^

Completed ^^
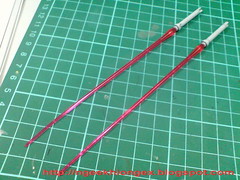
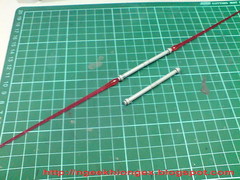
Beam sabers.
Although there's one combined beam saber part given, the two individual beam sabers can be joined at their bases very well, and the length is totally accurate to the dual beam saber.
Parts for the backpack.
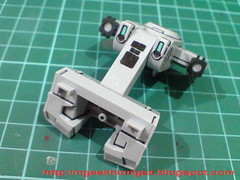
Small as it is as compared to the Dragoon system, this is the unit that will control all the movement and some of its gimmicks.
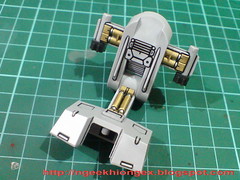
With parts of the Dragoon system.

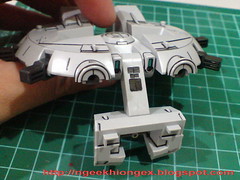
Half of the backpack during assembly.
Huge hollow parts are pretty rare on newer Gunplas these days, so this is pretty amazing to see. ^^
Those half-turtle shells are pretty useful as painting tray for Gundam Marker as well. XD

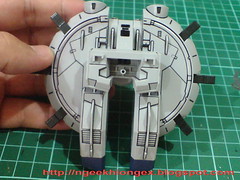
Completed.
The details are very awesome for a 1/100 scale kit. ^^

Top view.
The 2 little sensors were painted in Part 5.
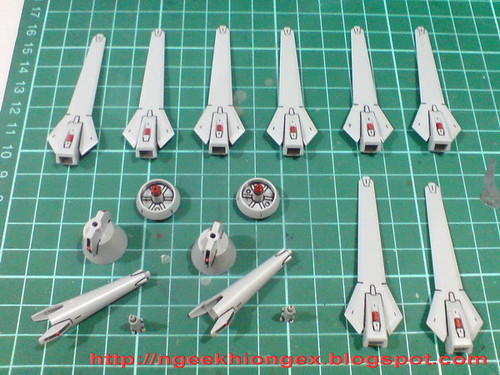
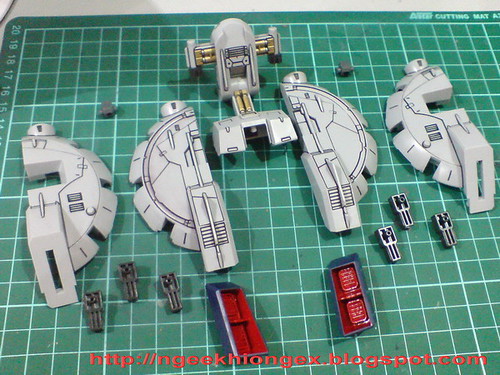
Parts for all the Dragoon bits.

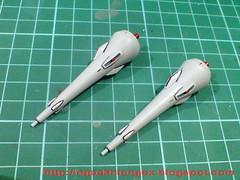
Only the largest two "cones" require assembly.
Part separation that exposes the most minimal of seem lines and nub mark on these parts is very commendable. ^^
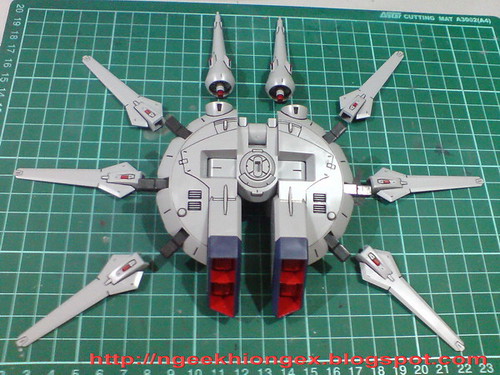

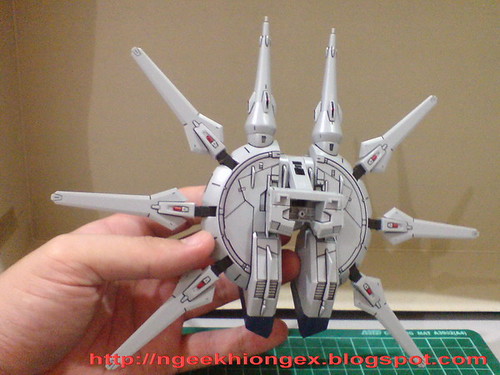
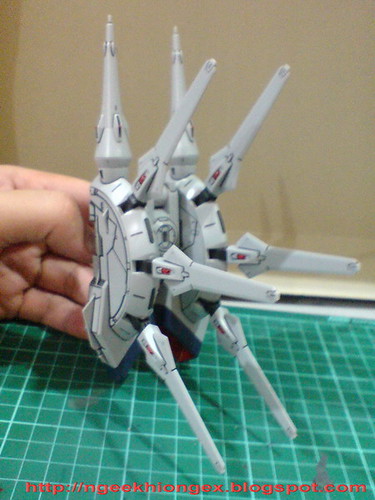
Completed, with all bits mounted onto the backpack.
Another two fin-type bits will be for the waist.
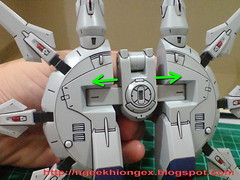
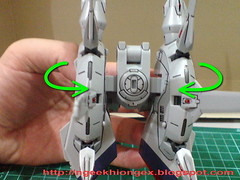
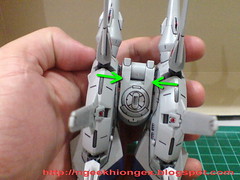
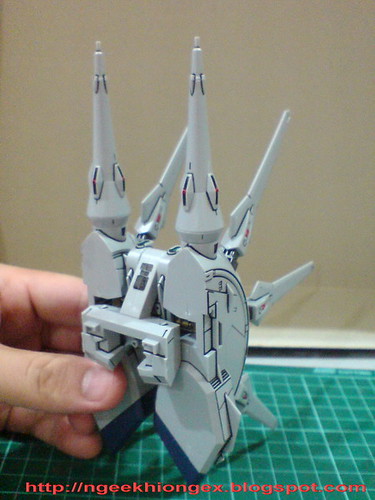
Transformation of the "storage mode".
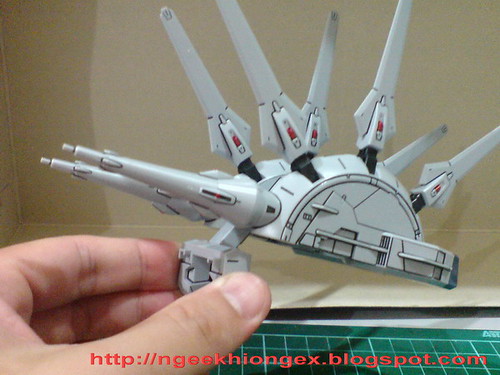
One of the "official" gimmicks shown on the box - lift up the entire backpack so that the 2 largest Dragoons can be used as beam cannons (?)
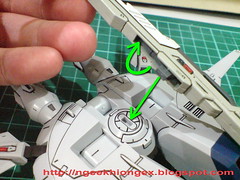
The beam rifle can be mounted to the center of the backpack.

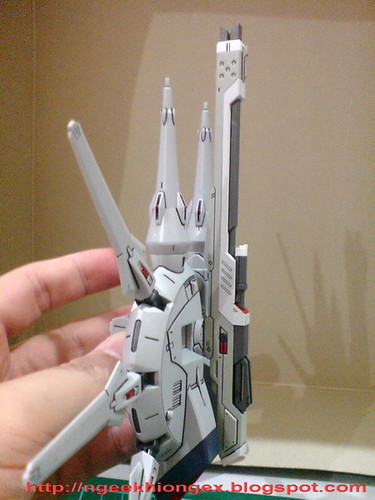
The overall height of the kit will a little bit of increment from the mounted beam rifle. ^^
Assembly the Gundam itself in the next posting.


7 comments:
Hi NgeeKhiong!
There's something that I would like to ask you.
May I know which website do you refer to in order to obtain news regarding upcoming Gunpla and toy conventions/expos?
Really appreciate the assistance.
Thanks!
I wasn't into Legend Gundam before, but wow.... this looks to be more impressive than what I thought it would be.
Looking good buddy!
I hope you don't mind, but I linked your blog from mine - korewagundam.wordpress.com
I hope that's okay!
Wow, the mechanical details on this kit is really amazing for a non-grade. I might actually consider purchasing this kit one of these days. Anyways, great work sir! :D
>>Porcupine
I left a whole bunch of links to various websites in the last posting on my main blog for people to check for hobby updates. For Gundam events, check Gundam Dot Info.
>>Chris, Juno Uno
Thanks for the compliments. ^^
>>korewagundam
Sure, no problem. Thanks.
Have the hg 1/144 in storage. I remember seeing this design and going wow, only to build it and not really appreciate it. You're looks amazing I think the remedy is stick not so articulate kits like the Legend onto a display stand. The design is way better than the Providence.
>>Albert Lee
Thanks. I love Providence as well for its massive size. It does have a menacing look as well with its own crown. Articulation and details wise, Legend is definitely better.
Post a Comment