Plenty of optional painting this time. ^^
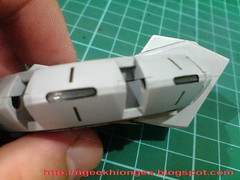
Black on the connector from the back to the backpack.
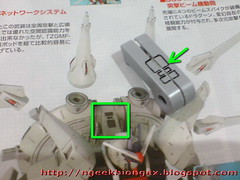
Some more detailing on the backpack connector - little sensors painted using metallic green pen, which isn't part of the design.
I always though this would look good when the whole backpack is lifted on the back.
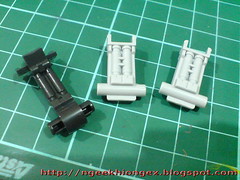
Joint parts with fixed hydraulic pipes, much like the ankle.
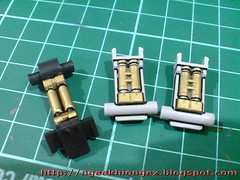

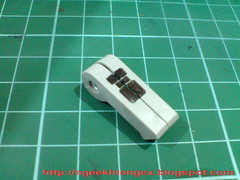
Painted with Gundam Marker Gold, and then with silver pen for the silver part.
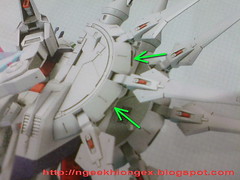
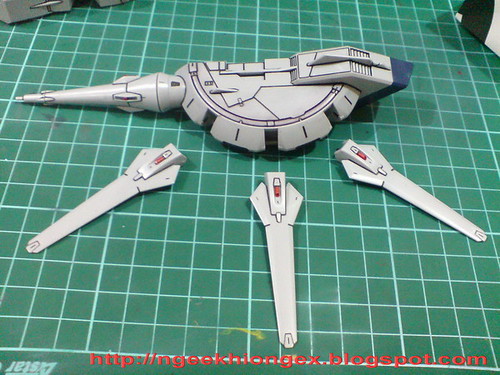
2 tiny sensor parts on the backpack.

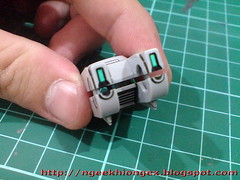
Panel-lined the abundant of details on the backpack parts.
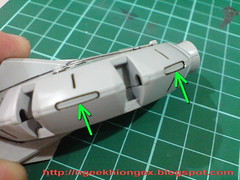
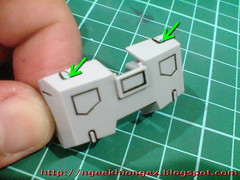
Painted the little gray parts on the side of the backpack with Gundam Marker Gray.

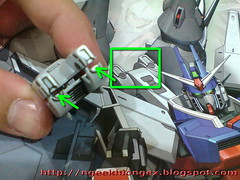
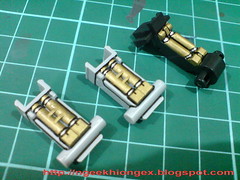
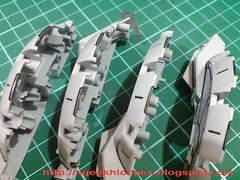
I had the connector pins inside the parts chipped so that I can try out the assembly to see how the whole backpack looks like.

So far so good. ^^
The backpack is pretty amazing in terms of details. There are many spots with vent-like design, which is way better than the plain-looking backpack of Providence Gundam. I imagine they would look great if painted, but I would just keep things generally the same as the designated color scheme from the manual.


2 comments:
"I had the connector pins inside the parts chipped"
how do you do that? using what method n what tools?
that's a lot of paneling! but the result look good!
Post a Comment