More work on Keropla Giroro Robo Mk-II after the previous posting. ^^
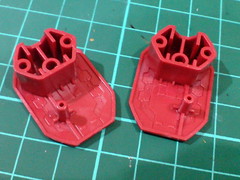
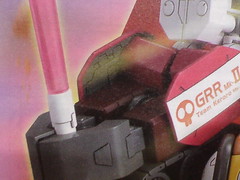
The interior of the leg armor parts should be painted gray.
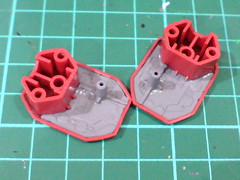
The parts are painted using Tamiya Color Acrylic Paint Mini XF-53 Neutral Grey.
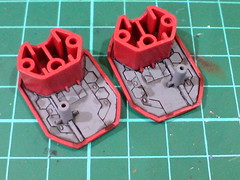
Tamiya's Panel Line Accent Color (Black) is used to quickly apply panel lines to the molded mecha details.
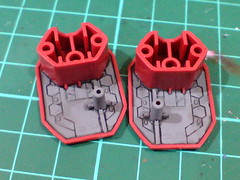
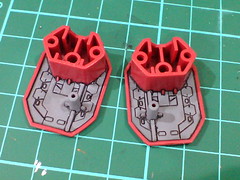
(Left) With excessive panel liner paint swiped away using cotton swab soaked with thinner. The thinner won't affect the gray paint as the former is of enamel-based while the paint is acrylic-based.
(Right) The more delicate line details are done using normal panel liner.
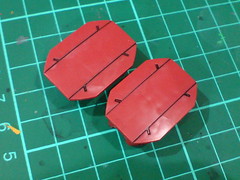
Super-duper simple panel lines on the armor parts' surface. ^^
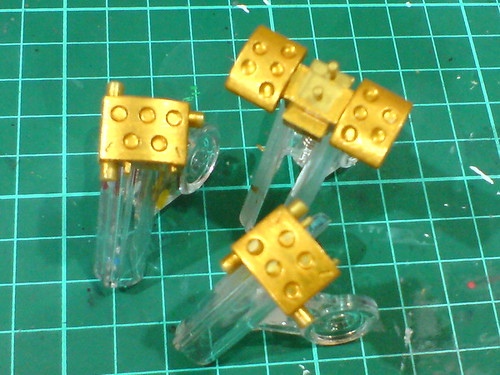
Armor parts for the waist and shoulders are painted using Gaia Metallic Color No. 122 Star Bright Gold.
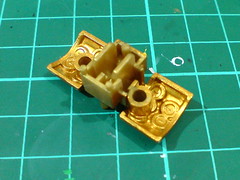
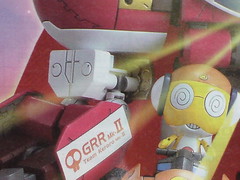
Looking at the parts' color on the manual cover, the connectors behind the waist armor should be painted white it seems.
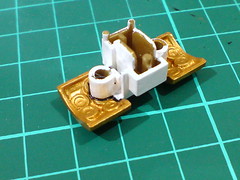
The targeted area behind the waist armor is painted using White Surfacer from Mr. Hobby.
Panel lines at the edge between the white and gold areas are added after the surfacer paint has dried.
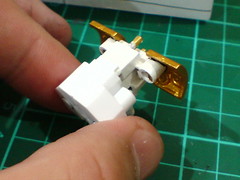
Test fitting the painted parts to see how the waist would turn out when assembled. ^^
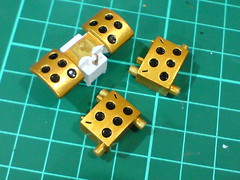
The round sunken spots in front the parts are painted black using normal marker.
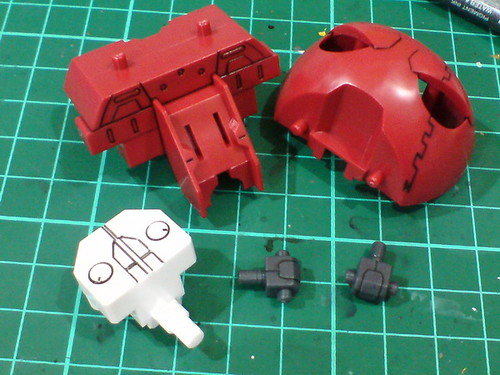
Simple panel lining for the rest of the body parts. ^^
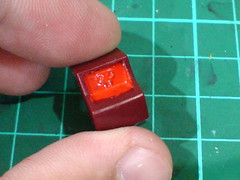
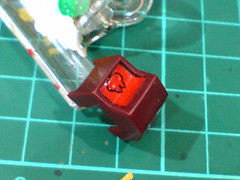
(Left) The entire sunken area of the crotch piece is painted red using Gaia Color No. 003 Bright Red Gloss. Instead of spending effort trying to apply separate layers of yellow paint to get that little skull emblem, I think I'll just use the paper sticker included instead. ^^;
(Right) With excessive paint on the edge of the painted area scratched away using a knife and panel lines added onto the part.
Just a few more body parts and the little figure of Giroro to go before the work on this Keropla kit is done. ^^


No comments:
Post a Comment