Focusing all effort on detailing the weapon and head parts of MG Gelgoog Ver. 2.0 after the previous posting. ^^
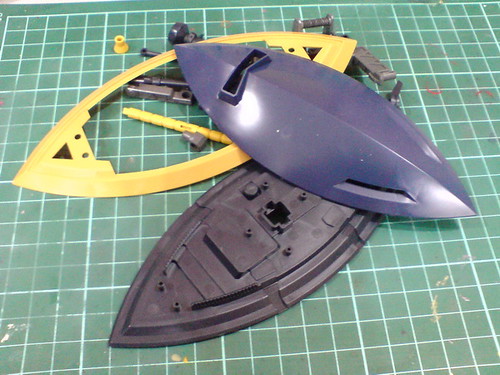
All weapon parts.

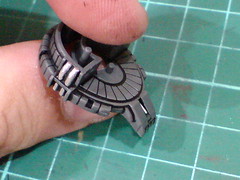
Painted the vents near the bottom of the shield gray using Gundam Marker Gray to make them seem like parts from a separated mecha component.
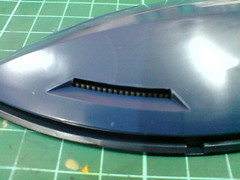

The painted vent details and the color difference can be seen through the slits.
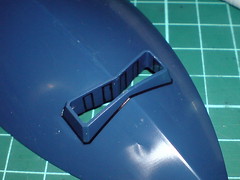
Some sunken line details inside the scope area are panel lined as well.
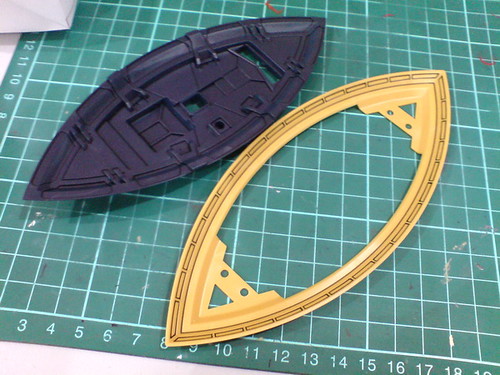
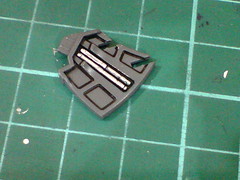
Panel lining for the other larger shield parts.
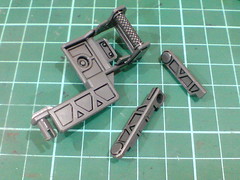
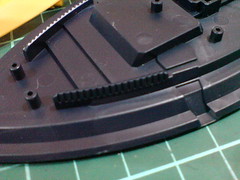
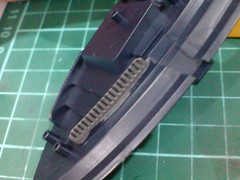
(Left) Panel lining for the mount rack parts of the shield.
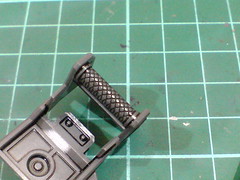
(Right) Panel lining the elaborate net pattern on the shield's handle is made easy using Tamiya's Panel Line Accent Color (Black).
Very simple panel lining for the beam saber's parts.
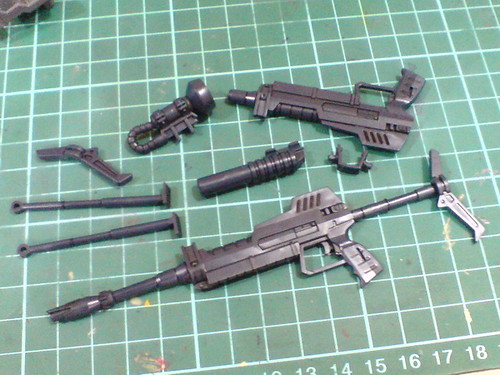
Simple panel lining for the beam rifle's parts, including the four new grenade launcher and supporting bi-pod parts.
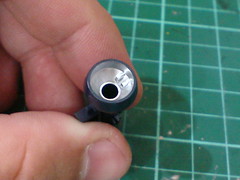
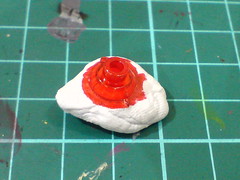
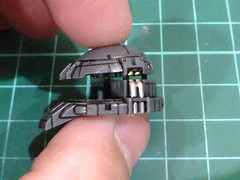
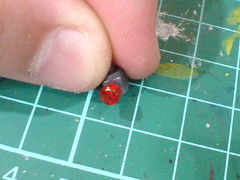
Treatment for the rifle's targeting scope is the same as that done for MG Char's Customized Gelgoog Ver. 2.0: the interior of the targeting scope part using Pilot Super Color Silver Extra Fine (left image) while the back of the clear part is painted red using a normal marker.
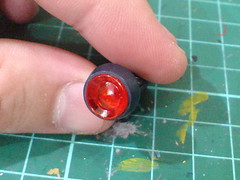
Test fitting the parts to see how the completed targeting scope would look like when they are assembled. ^^
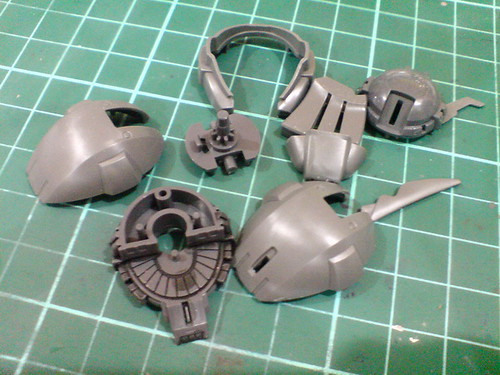
All the parts of MG Gelgoog Ver. 2.0's head.
As you can see, Tamiya's Panel Line Accent Color (Black) has already been applied to some of the inner frame parts. ^^
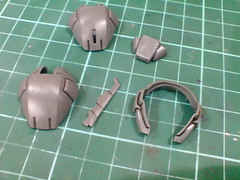
Simple panel lining for the armor parts.

Refinement for the panel line work on the head's inner frame parts.
Excessive panel liner paint is wiped away using cotton swab soaked with enamel thinner. New panel lines are applied to some details using normal panel liner as well.
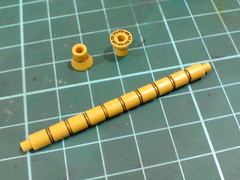
A little bit of gold and silver treatment using normal pens for the pipes inside the inner frame and tail unit of the head.
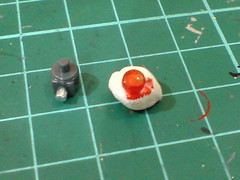
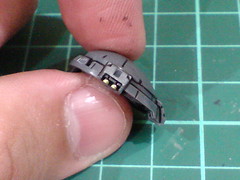
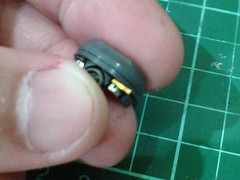
Same old same old silver and red marker treatment for the mono-eye camera part.

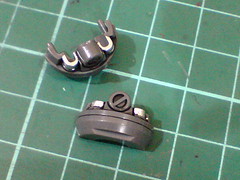
The silver bits of the neck parts' fixed hydraulic pipes are done using normal pen.
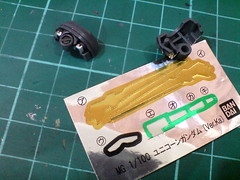
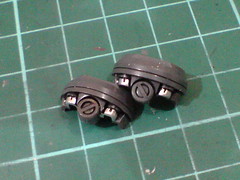
For the golden rings at the base of the pipes, instead of painting them using normal pen as well, I chose to use tiny cutouts from some random leftover foil sticker sheet (this one is from MG Unicorn Gundam Ver. Ka). ^^
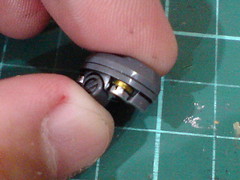
The look should be all the same with actually painting the parts using a pen, but using foil stickers did save me from having to do some follow-up task of cleaning up excessive golden paint off the pipes. ^^
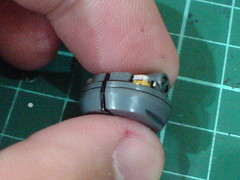
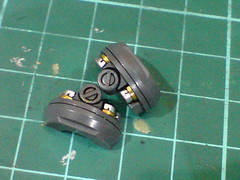
Painted black for the "borders" between connecting neck joint parts so that the line separator would be very obvious when assembled.
Up to this stage, the work on the entire model kit can be considered over, but there are another three parts that need some really delicate paint and panel line work. They can't be lumped together with any of the work so far which I just stormed through based on the sense of familiarity from working on MG Char's Customized Gelgoog Ver. 2.0. The last batch of work for this kit coming up next will be focusing on those three parts. ^^


No comments:
Post a Comment