Continuing with the assembly of HGUC Unicorn Gundam [Unicorn Mode] after the previous posting. ^^
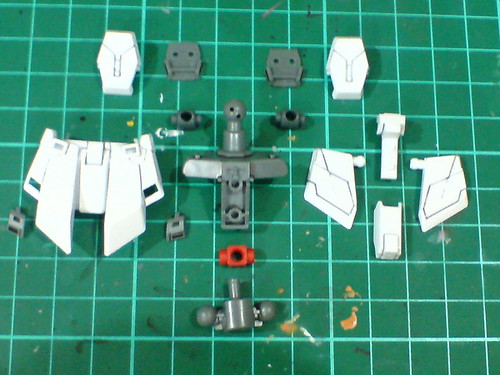
Parts of the skirt armor.
The red polycap part is from the Destroy Mode kit actually. Not wanting to throw away unused polycap parts in that kit, I'm trying to empty the polycap set of the Destroy Mode kit first before resorting to using the set included in this kit. ^^
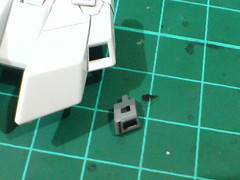
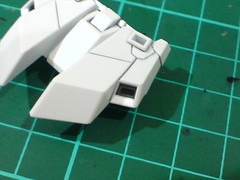
Very small vent part for the rear skirt armor.
It's certainly nice to see that all the skirt armors' vents are designed as separated parts instead of requiring paint work. ^^
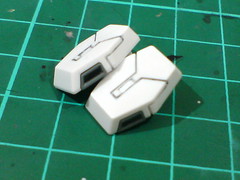
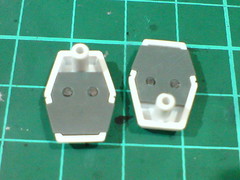
The exposed pegs behind the side skirt armor parts are painted gray using Gundam Marker to match the vent part's molded color, but the dark and uneven paint result sort of ruined the feel. ^^;
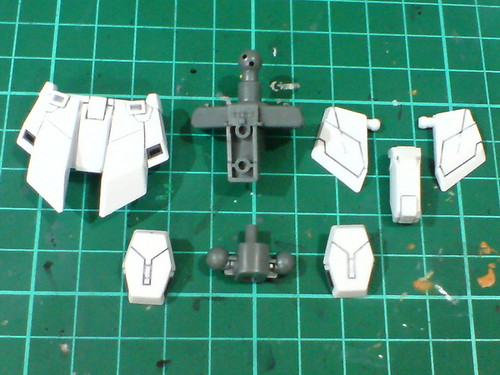
Separable components of the skirt armor before the final assembly.
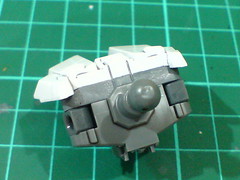
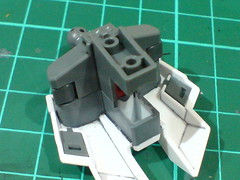
It was a good call to paint the interior portion of skirt armor in Part 3. The hip looks more "complete" with the painted area. ^^
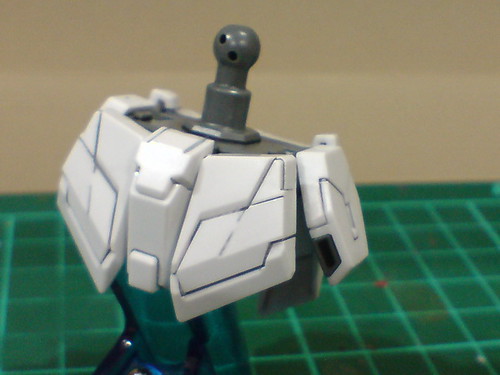
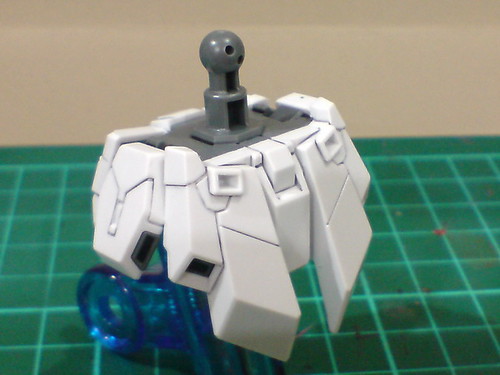
Done with the skirt armor.
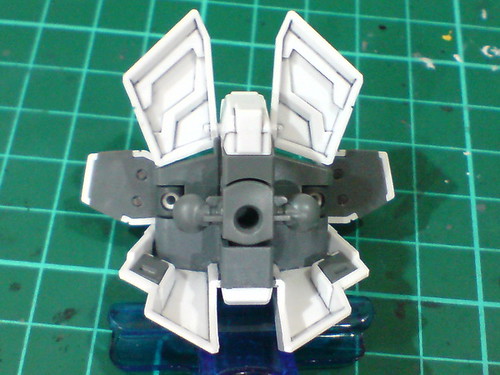
No mechanical details whatsoever beneath the skirt armor.
Perhaps it would be better if the entire bottom side is painted gray? ^^

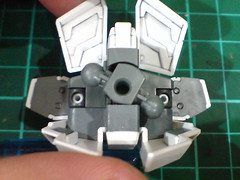
Swivel joint allows the hip to be rotated.

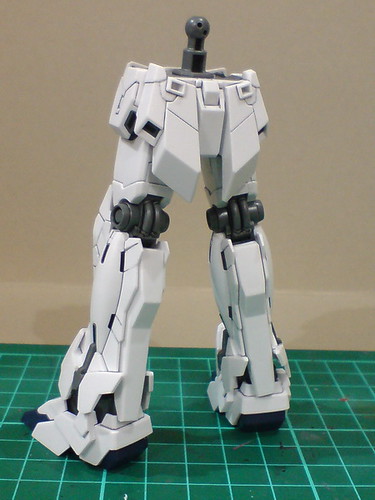
With the legs from the previous posting, the lower body is now done.
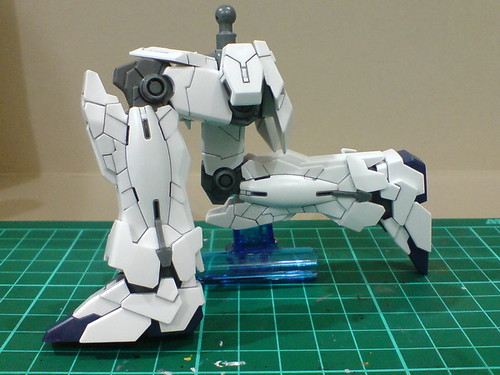
Long legs with short thighs. Kneeling pose? Don't bet on it, folks. ^^;
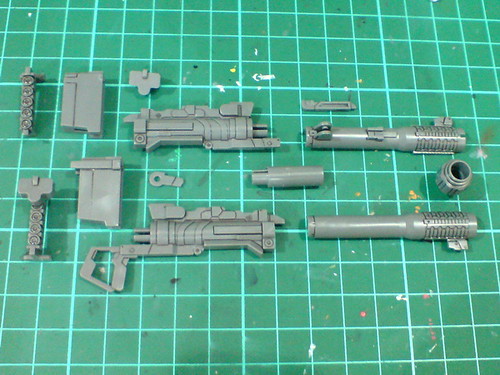
Parts of the bazooka and an extra magazine.
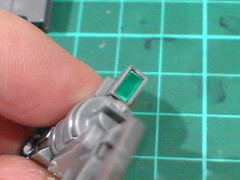
Foil sticker for the targeting sensor.
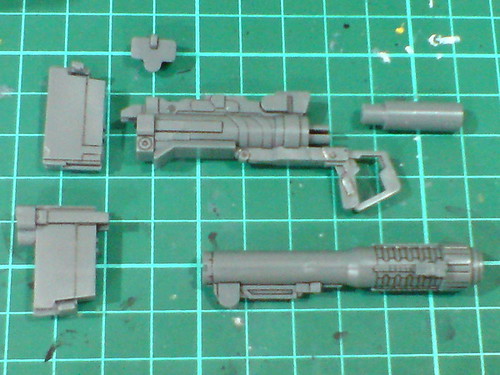
Separable components of the bazooka.

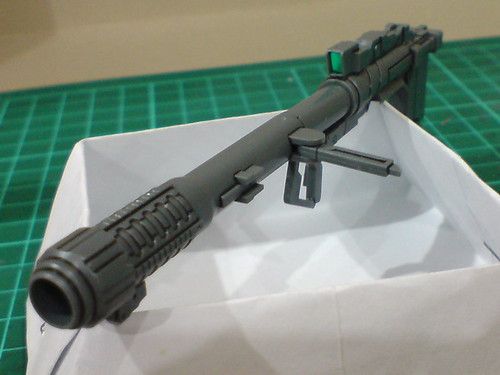
The bazooka is completed.
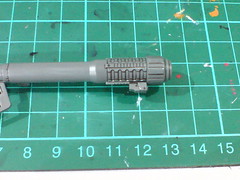
Length of the deployed bazooka: 13cm.

Part of its body and the entire rear end with the magazine are removed to configure the bazooka to its storage mode. A cap is swapped onto the rear end to replace the removed magazine.

Unicorn Gundam's bazooka in storage mode.
I really like the part-swapping design as the weapon looks seamless between the two modes, and the configuration is very simple as well. ^^
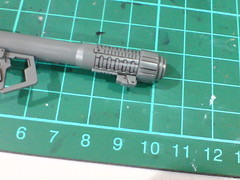
Length of the retracted bazooka: 10cm.
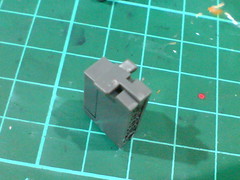
A little tab at the top edge of the extra magazine part allows it to be mounted on the rear skirt armor.
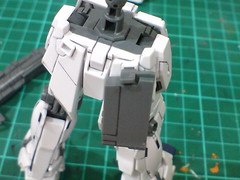
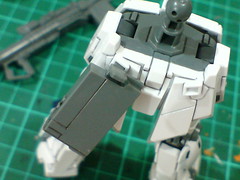
The tab's design is very specific to the right armor apparently. The design is meant to fix the Destroy Mode's extra magazine for Beam Magnum on the left armor I guess. ^^
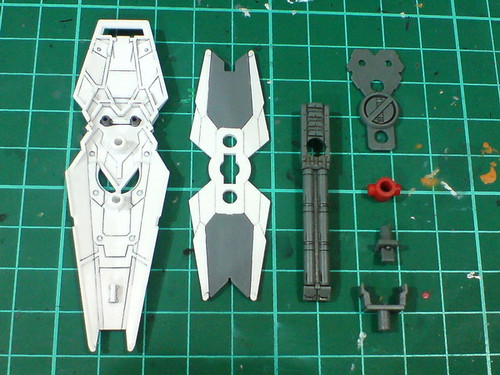
Parts of the shield.
The red polycap is from the the Destroy Mode kit as well.
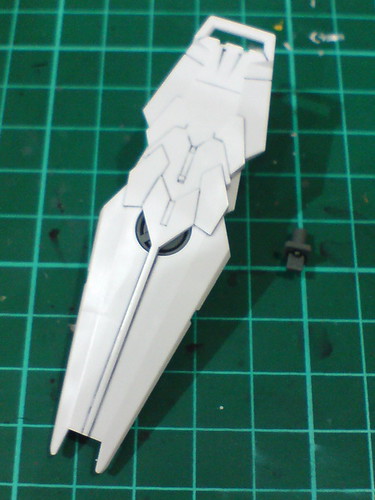
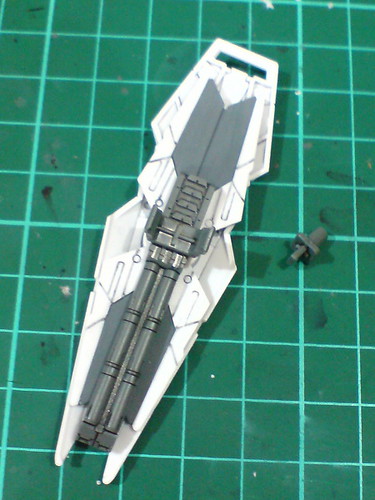
Done for the shield.
The assembly is might simple give the main part is molded as a single-piece part.

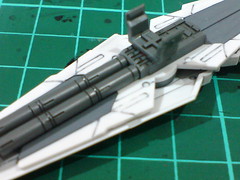
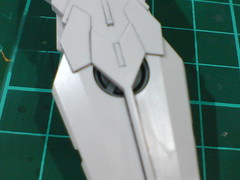
A lot of the shield's details panel lined in Part 2, especially the ones on the rear face are concealed between the parts. ^^;
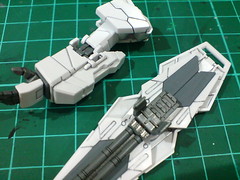
The default clip-type mount rack.
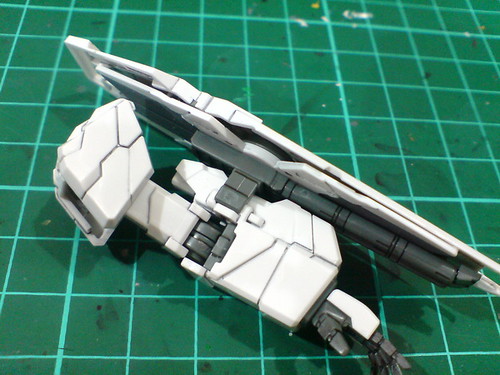
Using the clip-type mount rack, the shield can be mounted on top the forearm.
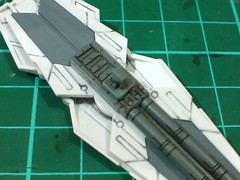
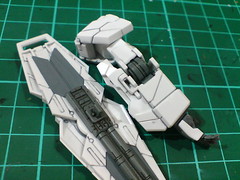
The optional tab-type connector.

Using the optional connector, the shield can be mounted behind the forearm.
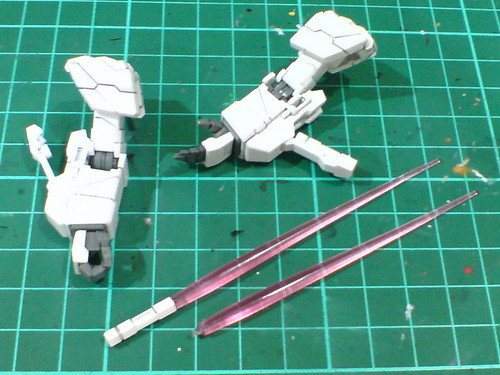
Two standard beam saber parts
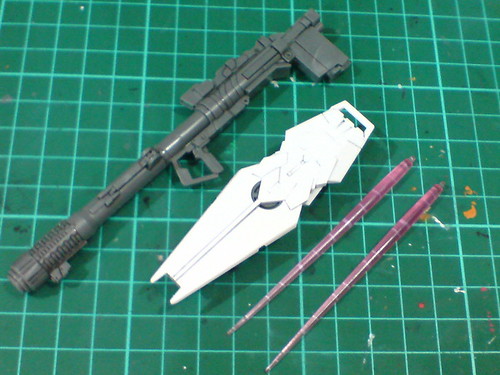
A gathering of all weapon components for this kit.
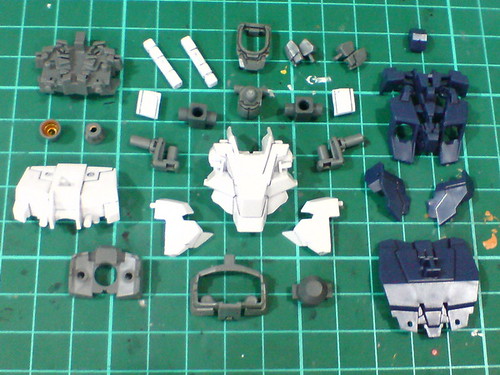
parts of the body.
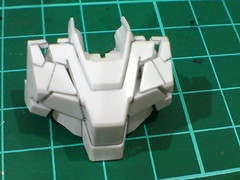
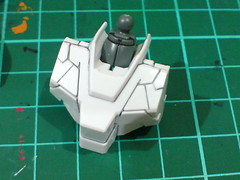
Very nice part separation for the chest pieces. ^^
The splits between the chest vents and shoulders are formed seamlessly. ^^
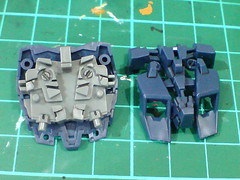
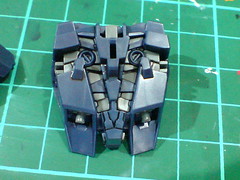
The part separation design of the backpack is the highlight of this kit's assembly I think. ^^
All the molded details (nicely separated in terms of their colors as well) are going to be concealed by the beam sabers though. ^^;
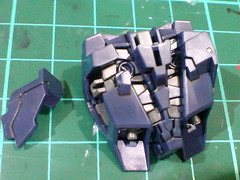
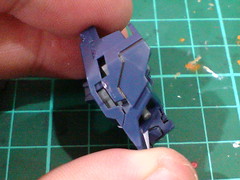
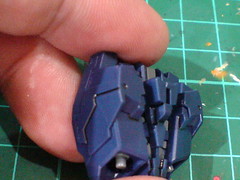
Even though the side panels are not movable, the parts' design is able to show off the panels' splits nicely. ^^
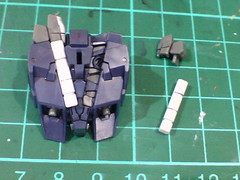
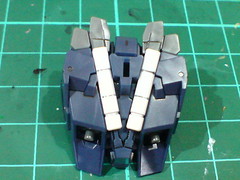
As mentioned before, the beam sabers hide all the nice molded details inside the backpack. ^^ Looking at the joints' design, the beam sabers are meant to be fixed on the backpack too.
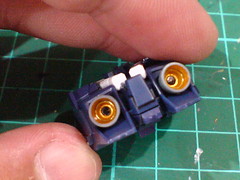
The golden interior of the thrusters was painted in Part 2.
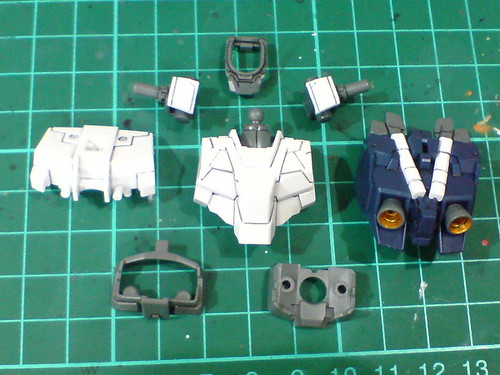
Separable components of the body before the final assembly.
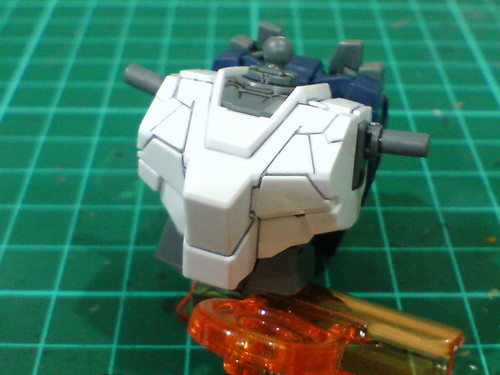
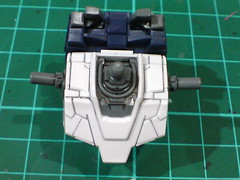
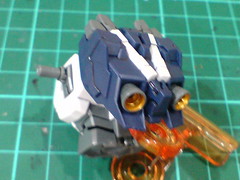
Done for the body.
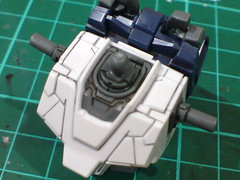
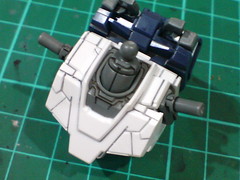
The shoulder joint can be tilted upward for a slight degree. The neck joint supports a much wider upward bend.
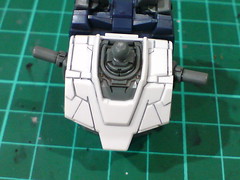
A rather standard design for High Grade kits: the shoulder joints can be bent to the front and back.
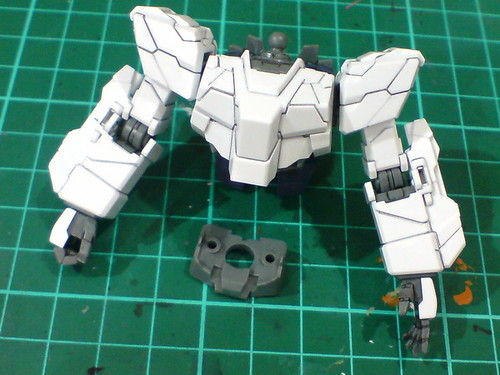

With the completed arms from the previous posting, the upper body is now done. ^^

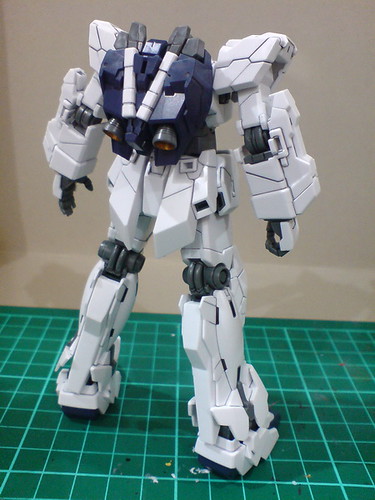
Only the head remains for this kit now. ^^
The waist can be stretched upward to enable a much wider range of movement for this body component.
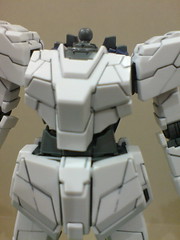
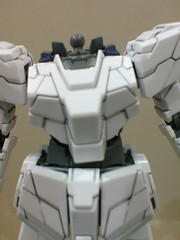
The waist can now be bent to the left and right. ^^
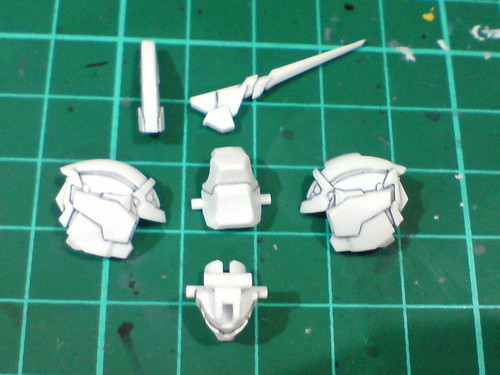
Parts of the head.
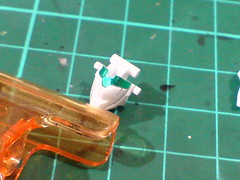
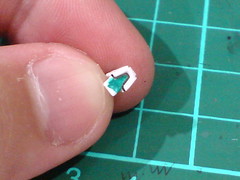
(Left) Foil sticker used for the goggles.
(Right) The forehead sensor is painted using metallic green pen since no foil sticker is given for it. ^^;
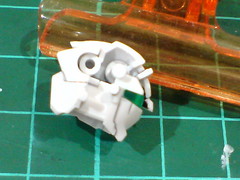

(Left) Side view of the head before it's completed. You can see how little the goggle is to be revealed. ^^;
(Right) Unicorn Gundam's head without the horn.
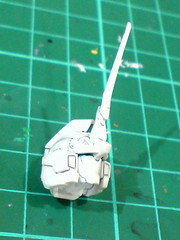
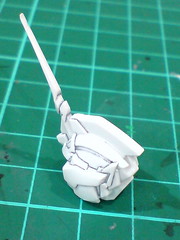
With the horn attached, the head is done. ^^
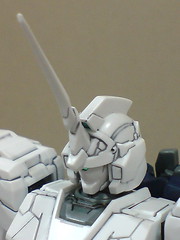
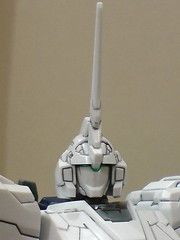
Connected the head to the neck joint.
More images of this just completed High Grade kit coming up next. ^^


No comments:
Post a Comment