Starting the work on HGUC Unicorn Gundam [Unicorn Mode] after the long introduction in the previous posting.
I mentioned that I'm going to apply panel lining to all the white parts in this kit, which is exactly the opposite of what I did for its Master Grade Ver. Ka equivalence built years ago. I actually thought about whether to do it or not for quite a while before starting on this kit. Because the Master Grade version incorporated the transformation function, many of the "lines" on its Unicorn Mode are actual armor splits that don't require panel lining. At the same time, there are other molded lines that aren't involved in the transformation that won't look good when they are panel lined while the above mentioned armor splits are left untouched. No panel lining for the armor splits mean no panel lining for all white parts, so to speak.
Amazingly for this HGUC version, it's the complete polar opposite: because there's no transformation gimmick, all the splits between parts will depend on panel lining to realize their details. But when one part is panel lined, everything must be treated equally to get that cohesive feel.
Everything. ^^;
I applied panel lining to the 1/48 scale Head Display Base model as well, but that was done because the entire model is too big to look good without any panel line, especially with the line details molded are just on the same level as the Master Grade version. In other words, the panel lines (as with all the additional markings) applied are meant to give the model something more to look at apart from the colors and size. My plan for panel lining this HGUC kit isn't to fulfill that objective though. ^^;
Even though the purpose is not the same, two tools debuted in the work on that head display base model can be used for this kit. ^^

Panel lined all the "non-white" parts (XD) using Tamiya's Panel Line Accent Color (Black). For the white parts, the same panel lining solution in gray is used instead.

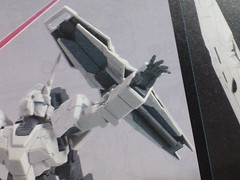
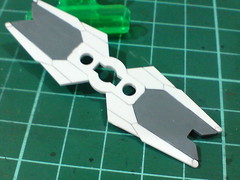
Since no transformation is involved, the shield has no clear red part for the Psycho Frame panels. In plain white, the panel part should be painted to realize its intended color.
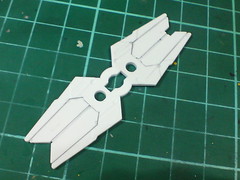
(Left) Panel lined the part using Tamiya's Panel Line Accent Color (Gray) first.
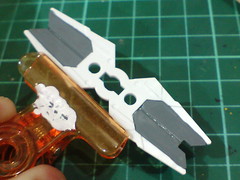
(Right) The Psycho Frame panels are painted using Tamiya Color Acrylic Paint Mini XF-53 Neutral Grey.
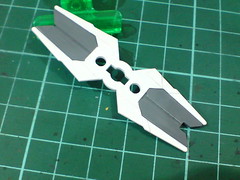
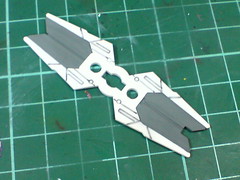
With excessive gray paint scratched away using a knife.
Panel lines applied to the white portion on the part.
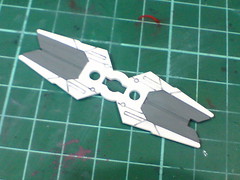
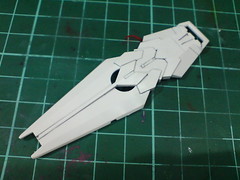
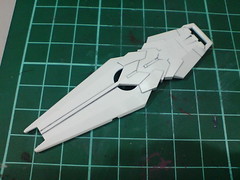
(Left) For the rear facing side of the part (of the entire shield), the molded details that were panel lined using the Tamiya panel liner solution didn't look great at all, so all the lines were wiped clean before all of them are redrawn using Gundam Marker GM02 Gray with fine tip.
(Right) The lines are "refined" (made thinner and "sharper") using toothpicks. ^^
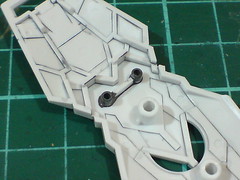
Two peg connectors on the rear face of the shield are painted gray using Gundam Marker so that their color matches the mount rack part when assembled.
Some of the details on the surface of the shield are drawn using Gundam Marker GM02 Gray with fine tip, then refined with a toothpick just like the panel part shown earlier on.
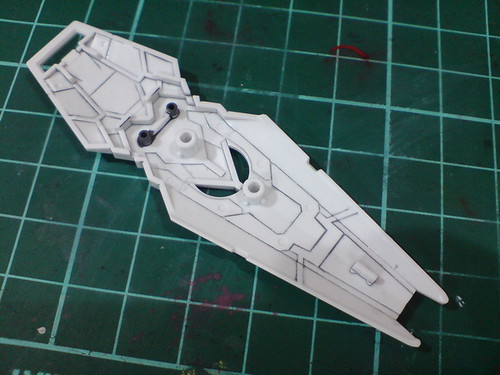
Panel lining on the back of the main shield plate.
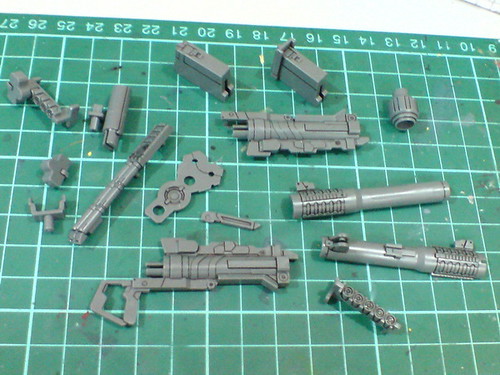
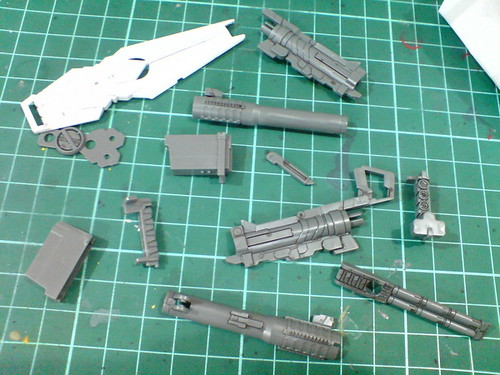
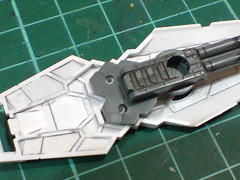
Cleanup for the bazooka parts. Some new lines are added using a normal panel liner as well.
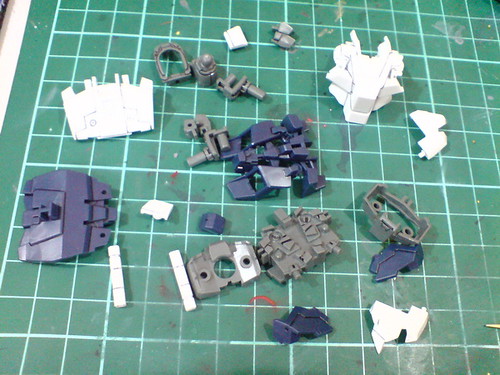
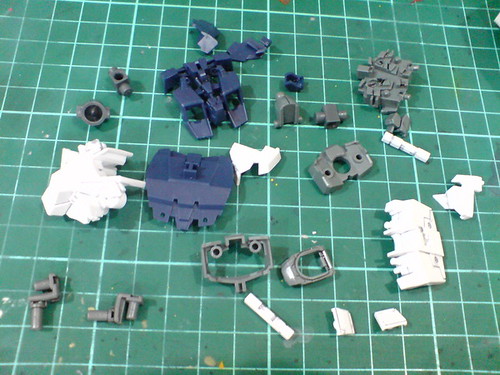
Cleanup for the body and backpack parts.
Unlike the bazooka, three panel lining paints/tools are used for these parts: Tamiya's Panel Line Accent Color Gray and Black, and normal panel liner.
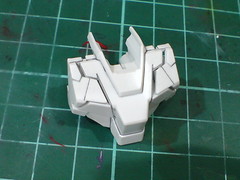

(Left) The armor splits between the chest areas are now more visible with the gray panel lines ^^
(Right) The awesome mix-match of blue and gray segments on the backpack parts, which need no panel line to realize the details, even though none of them would be seen anyway when the beam sabers are stored.
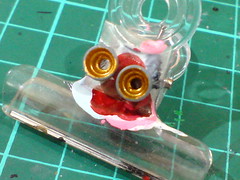
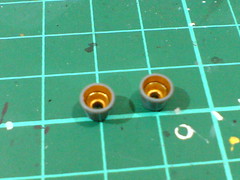
(Left) To "rekindle" the "connection" between this HGUC version and the Master Grade Ver. Ka equivalence (^^), the thruster parts are painted gold using Gaia Metallic Color No. 122 Star Bright Gold.
(Right) With excessive paint around the nozzles' edges scratched away using a knife and a ring of panel line added between the inner layers.
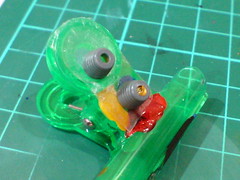

Panel lining the thrusters' exterior is a bit troublesome given how small the parts are. Sticking them onto a piece of double-sided tape on a supporting part makes the entire work feels like nothing at all. That's partly due to the size of the parts that doesn't require much work.
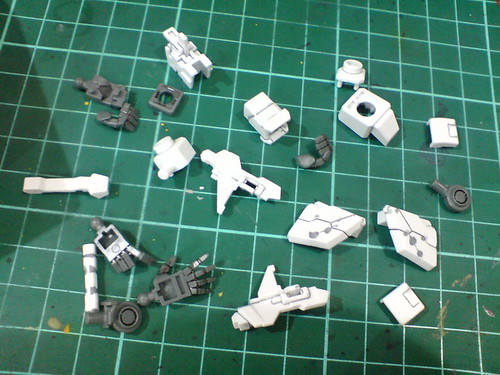
Done with the weapons and body, the work on the arms and lower body will be next. ^^


No comments:
Post a Comment