The transformation part in a Transformers review is always very interesting to talk about, especially when the vehicle mode is just as awesome as the robot mode. ^^ In the case of "Transformers: Dark of the Moon" Voyager Class Shockwave, how can the sharp look of the vehicle mode be passed on to the robot mode? (or the other way round) ^^ It's time to find out about that through this posting. ^^
Well, technically speaking, I already knew the answer when I transformed Shockwave from robot mode straight out of his box before the previous posting. This transformation sequence is just a reversal of what I did actually. ^^
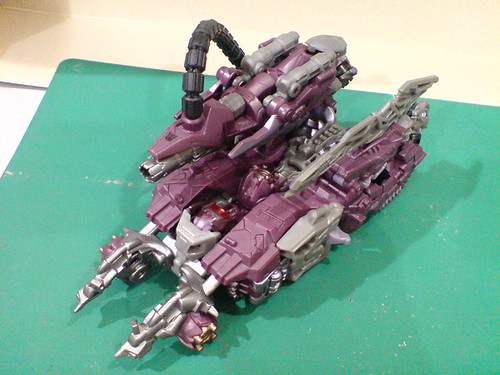
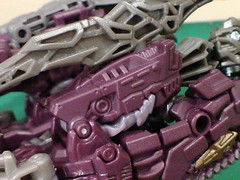
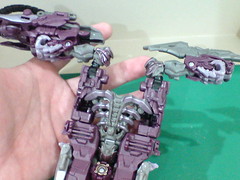
Shockwave in tank mode.
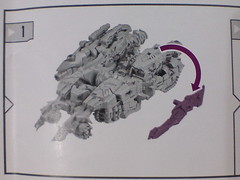
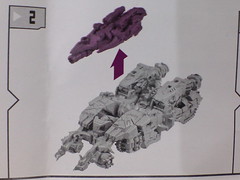
According to the instruction sheet, the entire cannon along with the forearm blade need to be removed prior to the transformation. This step can be omitted actually. ^^
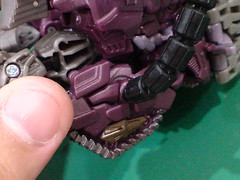
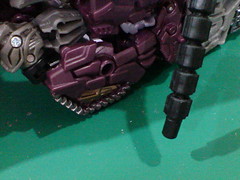
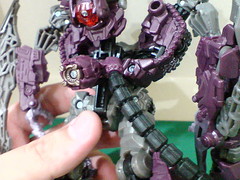
The cannon's hose needs to be detached from its dedicated port on the left rear caterpillar block though.
The arms are detached from the tank's body. You can see the double peg and tab that secure the forearm and upper arm respectively to the top of the tanks in the right image.
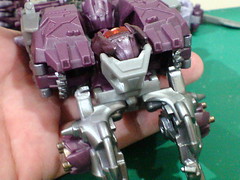
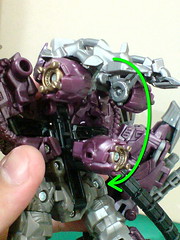
Both arms are lifted and then bent outward at their shoulder joint areas.
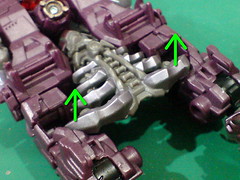
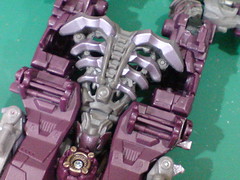
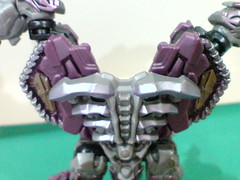
The rib cage is lifted.
A pair of large pegs secured the rib cage to the rear caterpillar blocks.
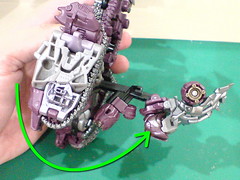
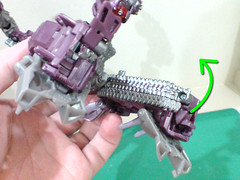
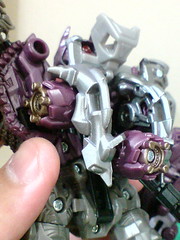
The rib cage needs to be lifted more actually, but the rear caterpillar blocks must be adjusted first to create more room for the former.
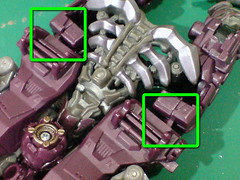
By loosening the tabs that connect them, the rear caterpillar blocks are released from the front segment of the tank.
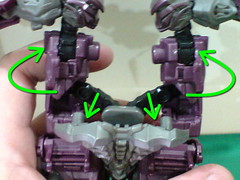

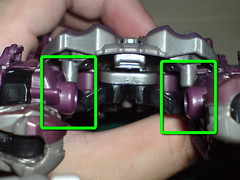
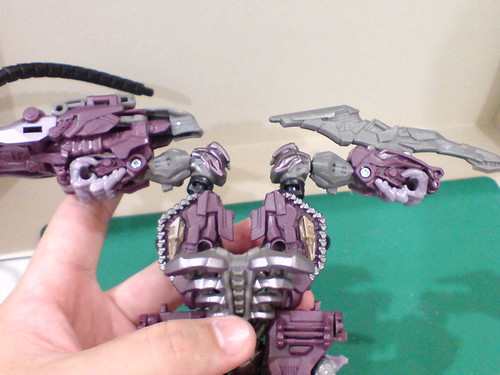
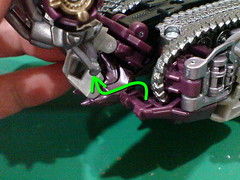
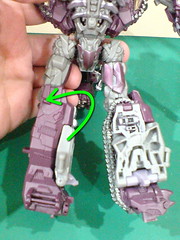
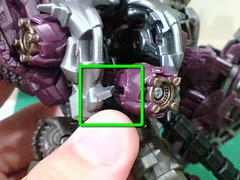
(Left) In this position, the rig cage is pulled frontward (previously described as being lifted when the tank is placed on the surface). The rear caterpillar blocks are rotated 90 degrees to the front (wrong arrows in the left image ^^;).
(Right) The large black peg will slot into the ring right next to it to secure the connection.
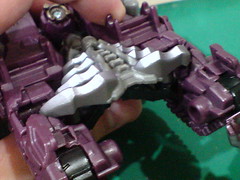
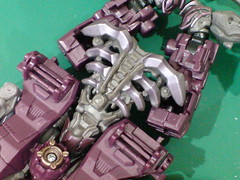
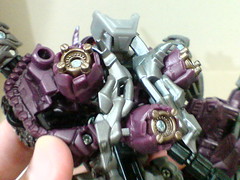
The caterpillar tracks now face either side of the upper body.
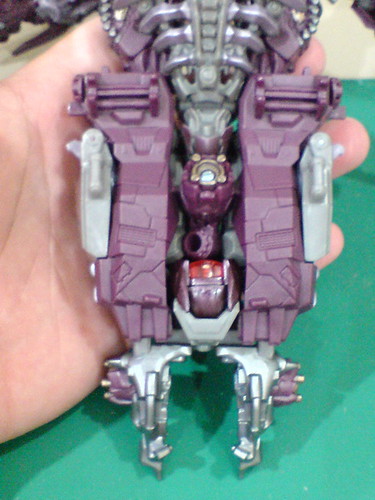
The "temporary" form of the upper body up till this point in the entire sequence.
Moving on to transforming the front segment of tank/lower body before returning to the arms.
The two spikes in front of the tank are released from the body.
The tabs that hook to the bottom edge of the tank's armor can be a bit troublesome to detach. ^^;
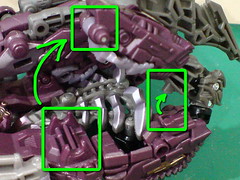
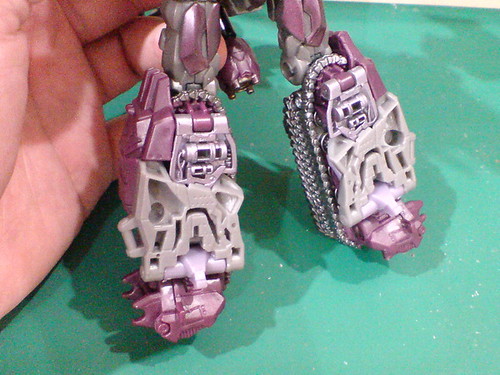
(Left) Each half of the tank's body, forming the lower leg is rotated outward.
(Right) The thighs are adjusted as well to clear up some room for the spine's movement.
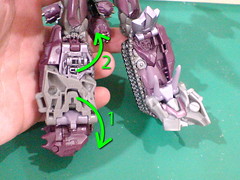
The tank's spine that forms the head and backpack is swung to the tank's bottom side.

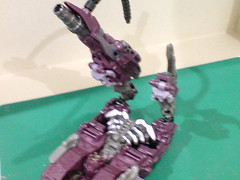
The legs are bent downward for 180 degrees, and then rotated forward at thigh joint level for 90 degrees.
Opposite of the rear caterpillar tracks that form the shoulder blocks now, the main tank tracks are positioned to be facing inward on the robot mode's legs. ^^
(Left) Two panels in front of each leg are flipped forward to form the foot and knee armor.
(Right) A panel beneath each leg is flipped to the back to form the heel.
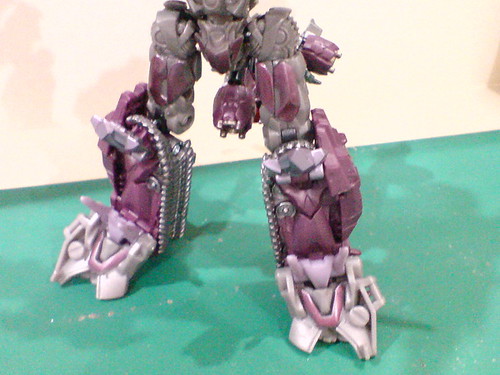
Shockwave's lower body is done. ^^
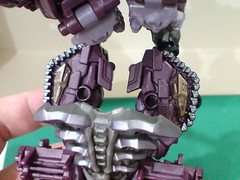
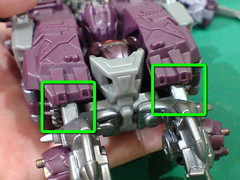
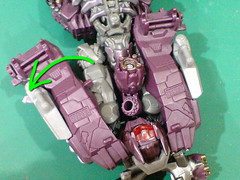
With the legs done, the shoulder blocks now have more room for adjustments. They are bent downward slightly until a set of slots on them line up with a pair of pegs behind the rib cage.
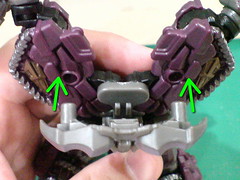
The large pegs behind the rib cage secure the body's connection to the shoulder blocks.

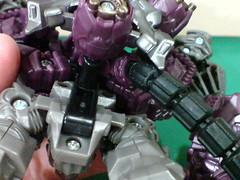
The arms are flipped downward.

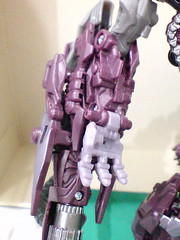
(Left) The left hand is flipped downward for 180 degrees.
(Center) The right hand can be tilted downward as well, but I prefer not to do so to keep the entire right arm as a huge cannon. ^^

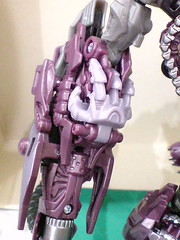
As shown back in Part 1, a port on the backpack is slide to the right hand side.
The cannon's hose can be connected to the backpack port at this stage.

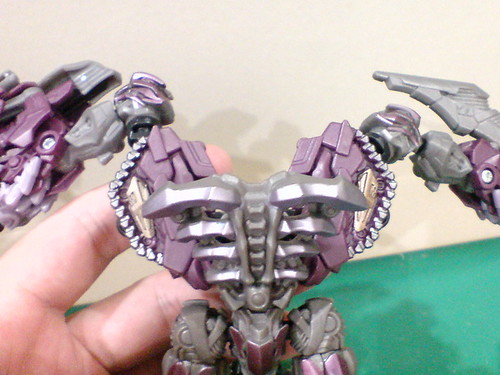
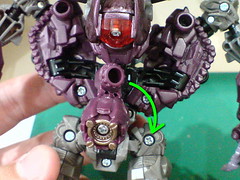
180-degree rotation for the tank's spikes to form both the neck area and backpack.
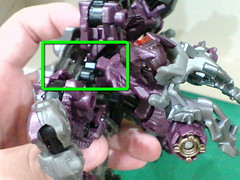
A peg in front of the neck joint is pegged into its corresponding rectangular slot behind the rib cage.
The tank's spikes are bent downward for 90 degrees.
Another already shown step from Part 1, a tab on the edge of each spike is pegged into a dedicated slot on the bottom barrel to complete the backpack's transformation.
There's just enough room for the cannon hose's port to sit right beneath the right side of the backpack. ^^
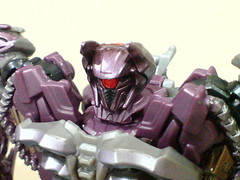
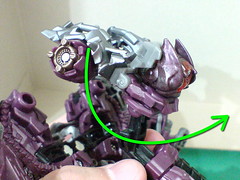
The head is flipped forward to complete the entire transformation.
Putting this step as last is purely "ceremonial" since it could have been done a few steps back. ^^;

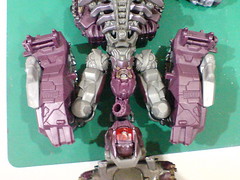
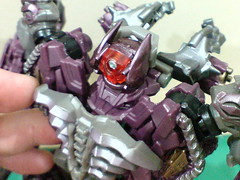
All done for Shockwave. ^^
Overall, the transformation sequence is simple, but not overly simple like the last Transformer figure reviewed - Transformers United Rodimus Prime. ^^; All the parts move easier and properly, so there's no parts which are frustrating or confusing.
Also, you probably notice it as well from the images above: the number of pegs and slots to secure Shockwave in either mode are just staggering. ^^ Every component that isn't supposed to be movable has either more than one pegs to hold them (the rib cage, shoulder blocks and neck area in robot mode) or the pegs are designed to be difficult to detach (the rear caterpillar blocks or frontal spikes in vehicle mode). The security of all connecting parts is amazingly high, which is a very good feature to keep everything locked in properly and securely in either mode. I bet everything would stay intact even if I drop the figure from the top of my table to the ground.
Oh wait, what is that about dropping stuff to the ground again? ^^;
More images of this Transformers figure coming up next. ^^


No comments:
Post a Comment