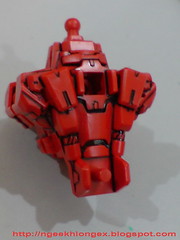
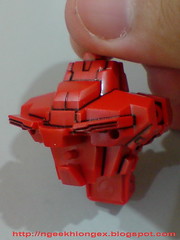
More painting and panel-lining for my 1/100 Astray Red Frame.
Red for the two little spots on the chest. For such obvious spots, you would expect foil stickers to be included, but no. ^^;
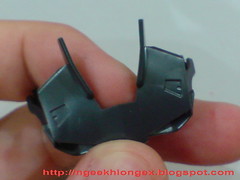
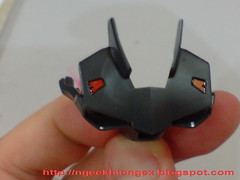
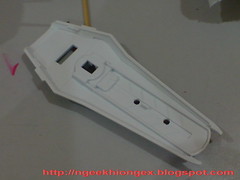
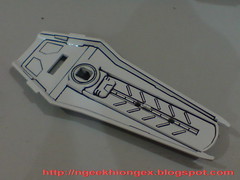
The body unit, especially the back is one of the parts with the most details, and with the not-so conventional design of the Gundam, you don't really know how much of the details are going to be shown. I just panel-lined all of them to be sure. ^^
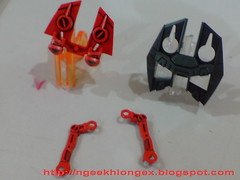
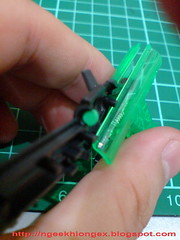
The red connector for the backpack has quite a bit of details to look after as well.
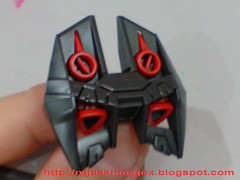
Two spots on the rear skirt armor that are supposedly red come molded on the same white part. Can be taken care of using Gundam Marker Red, but there is a deep slit inside each of them that can't be reached by the tip of Gundam Marker.
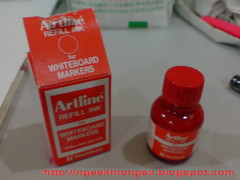

Red refill ink for whiteboard marker saves you the trouble of squeezing paint from your Gundam Marker into those slits. ^^
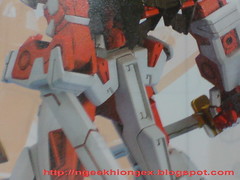
Unbelievably, there's no foil sticker included for the targeting sensor of the rifle as well. ^^; I used Gundam Marker Eye Green for to paint this part.
I just panel-lined the interior of the shield rather than following the manual, which had the whole plate painted in dark gray. This would save up that color for my Gundam Marker big-time, because a few other shields of the same types I have from 1/100 Sword Strike, MG Aile Strike, 1/144 Astray Red Frame and the yet to be assembled 1/100 Duel would have to be painted so as well.
Less updates it seems this time, actually I did the other leg and arm while working on these few parts. Since there's no deviation between parts on the different sides, the steps taken are pretty much repeated, which are not going to be shown.
Moving closer to working on the katana now ^^


6 comments:
i screwed up on the two red spots on the chest. somehow my gundam red marker doesn't do the job of 'beating' the base color. i put too much layer and when i tried cleaning the spill with tamiya thinner i accidentally touched the spot i multi-layered...causing the smooth layer to look 'rough'..sigh
thinking of just painting excess foil sticker red and cut and paste onto the two spots.
the katana is gonna be a headache. i notice at the tip of the sheath there's orange-ish gold.
well as someone who's already made this kit i have to say im impressed with the job you're doing. it all looks very clean. but the scabbard is the true test.
well peter u could always re-do the red spots.. ;)
just re-apply gundam marker (any color) onto those spots, press & rub it off using cloth in a splitsecond. (on a 2nd thought, u'd prefer the same color.. red in this case) repeat if there's still unrub-able red on the plastic.
i've tried this before & it worked. ^ ^
Dayum, I must buy this whiteboard marker refil ink. Your use of it is genius dude.
haha got my yosogo permanent marker set! there's black, blue, red, green, yellow, orange, brown and purple.
the bookshop i went only had two sets for sale...and they're like hidden at the bottom of the locked glass display. -.-" could have missed it easily.
still experimenting to get the orange that i want..but its a good start.
thanks for the heads up Ngee
>>Peter
I'll be using Yosogo orange for the edge of the scabbard ^^
Post a Comment