

I have been quite busy with my work since last week, resulting in really slow update on EX now. ^^; Those who left me questions in the chat box and previous postings' comment section, so sorry for the wait. ^^; I'll sort out your questions when I can concentrate on my own Gunpla-ing time, which include answering many emails as well. ^^;
Usually each part of the review for a particular Gunpla I'm doing is the result of one or two nights' work. As of now, each review is about four or five nights' work instead.
And that probably tells you how s--l--o--w I'm with my Gunpla ^^;
Also, I didn't bold that tag line this time because it felt so embarrassing to say it out (so) loudly XD
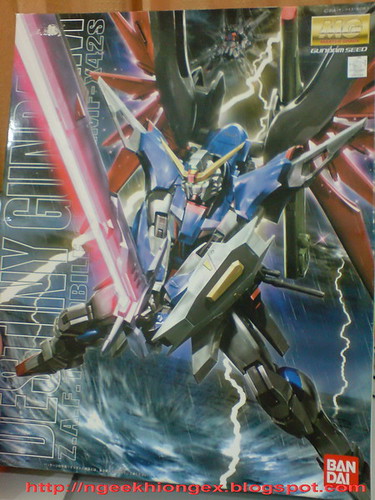
Yup, my first MG since more than a year ago. I used to pull the box out to look at the manual and runners now and then, put it back, pull it out again a few weeks after that, put it back again, for countless times throughout the period since I bought it, which was in January/February 2008. Some edges on the box are chipped, and the pages in the manual are no longer silky smooth XD

And it's still a new model for me XD
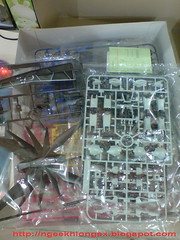
As being the first MG for me in such a long time, the amount of parts and work totally overwhelmed me. ^^ Separating the parts from their runners took me a whole night, cleaning off the nub marks took another. There are so many components to separate I actually used up all the origami paper trays I have ^^;
It's not that I'm unprepared for the amount of work needed. MGs from the SEED and SEED Destiny series are always hard to do, but since I just got back from the super-enjoyable work on HG 1/144 Tieren Ground Type, this MG Destiny is going to be quite a ride for me. ^^;
Expect more than 10 separate reviews for this kit, half of them my journey working through the separate components.
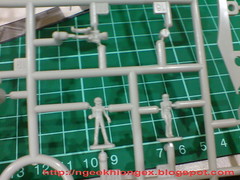
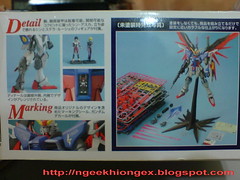
1/100 scale figures of Shin (in sitting and standing poses) and Stella. I think I'll just paint the sitting Shin and leave the other two (as with Kira and Lacus from my MG strike Freedom).

Keeping the empty runners before completing the particular model is very important - just in case you miss a part. Imagine the ultimate aura of depression to emerge when you realize you threw all the runners already when tragedy strikes >_<


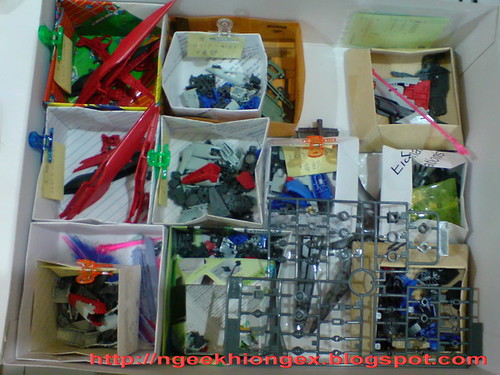
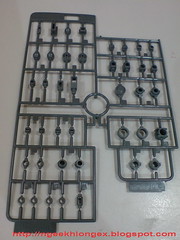
All 13 paper trays of parts. I used note papers to help me identify components of opposite sides, like the arms, legs, and the wing units.
Now, let's have a look at some of the very interesting parts for this MG: ^^

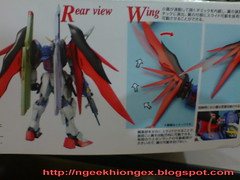
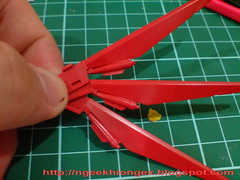
Pipe-like design inside the wings, five long and short ones inside each wing.
Gold & silver mania brewing XD
All hail Bandai's molding technologies - top cover of the wing molded in one piece that still has details inside. Don't think I want to be troubled that much to panel-line them though ^^;
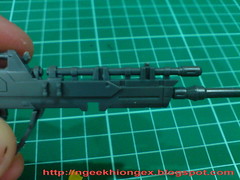

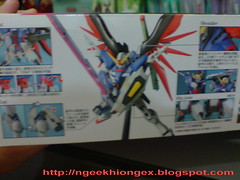
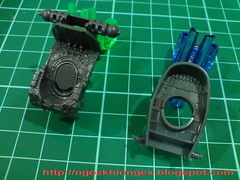
Pipe-like design for the interior of the beam rifle, the little pull-out of the beam launcher, and the inner frame of the leg.
Even more gold & silver mania under planning XD
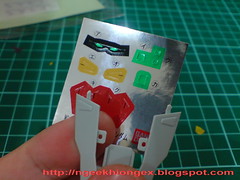
Yellow foil sticker for the two spots on the standard shield is quite a letdown.
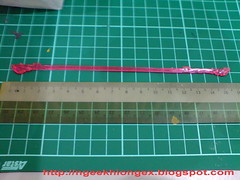
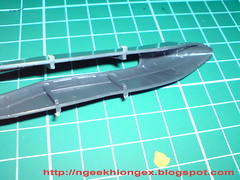
15cm long beam part for the anti-ship sword! Can't wait to try this out ^^

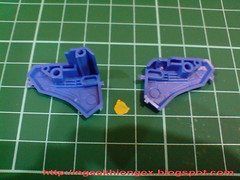
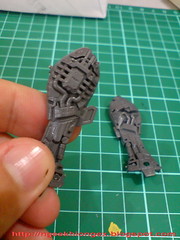
Very rich details behind the skirt and shoulder armors, interior of the main thrusters and the neck area. These are the parts which would make you feel that just panel-lining them seems really plain ^^

Painted the palm cannon of my BB Senshi version gold, so this MG version will get the same treatment as well, to be consistent.

Parts where painting is mandatory according to the guide: black for the handle of the anti-ship sword and gray for the triple thrusters on the smaller wings.

Being just blue and transparent, the color of the beam shield definitely loss out to the later one used by Infinite Justice, but being just snap-on to the beam generator on the knuckle armor, I suppose it's going to be easier than Strike Freedom.
The screws are used for the display stand only.
Another shared characteristic of all SEED and SEED Destiny MGs: PC-130, B or this extended C type. If I remember correctly, Gundam Mk. II is the only MG not from this series to feature this polycap set.
Panel-lining and painting on the different parts start in Part 2.


3 comments:
I have to warn you about the wing design. The wing has this tab like function(sorry I cant describe it,) which pulls up triple thrusters, Make sure that the triple thrusters tab isnt below the wings or else the wings joint would snap.
Sorry I cant describe it clearly -_-
wait for me ooi, slow down man...
How come you didn't get the EBM version?
Post a Comment