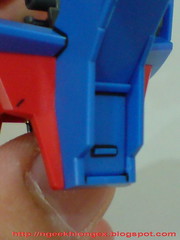
Sunday, May 31, 2009

HCM-Pro Exia & SRW OG 1/144 Valsione

From across the sea


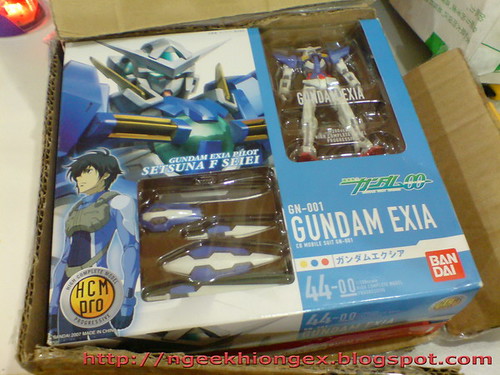
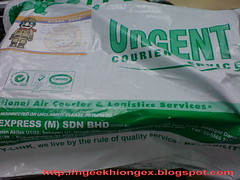
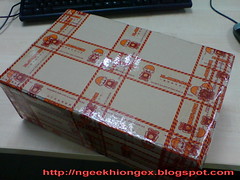
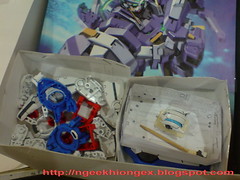
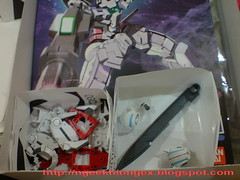
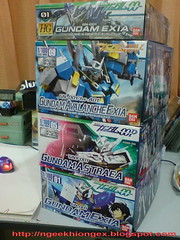
HCM-Pro Exia from Hong Kong, didn't expect it to have the special display stand still included ^^


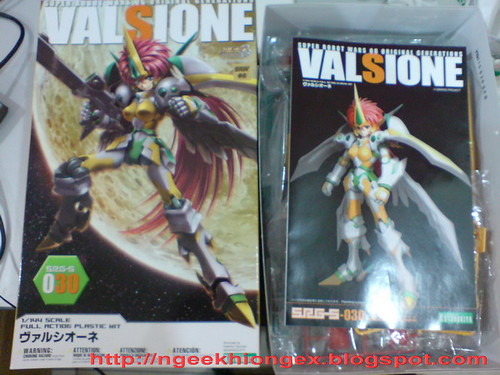
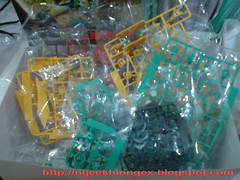
SRW OG 1/144 Valsione from West Malaysia - My second Kotobukiya plamo after 1/100 Alteisen, it's the perfect combination of mecha and moe ^^

Tuesday, May 26, 2009

The All Exia Project Part 9 [Final]

The end ... ?

Panel-lined most of the parts in the previous review, two more components to go to conclude the work on all the parts selected for my All Exia Project ^^


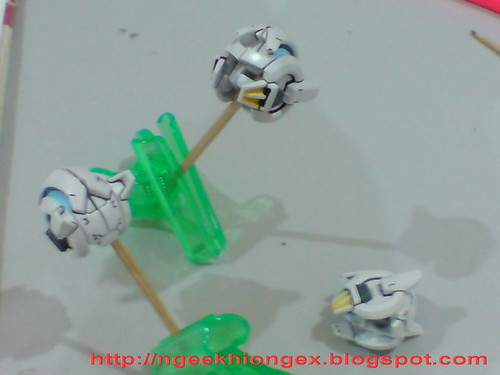
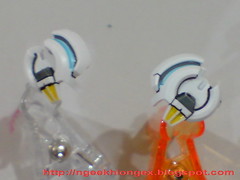
Panel-lined the helmets, which were completed in Part 5.


No panel-line for the yellow vernier on the sideburns to avoid the color being becoming messy.


Black beneath the forehead is something I do regular for all my Gundam-type Gunplas. ^^


More details to panel-line on Astraea's helmet as compared to Exia's. Some of them can be quite hard to reach for being in very narrow space.


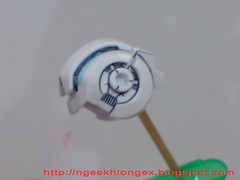
Panel-lined the back of the shield completed in Part 4


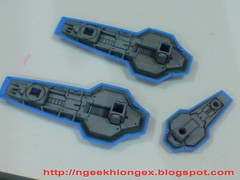
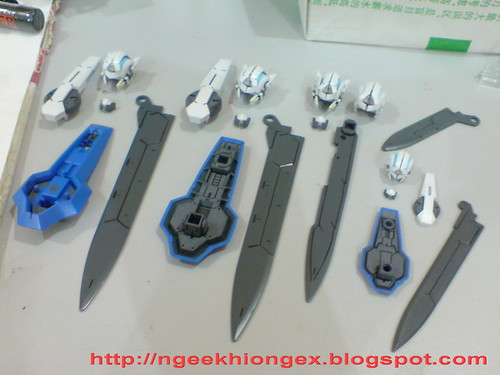
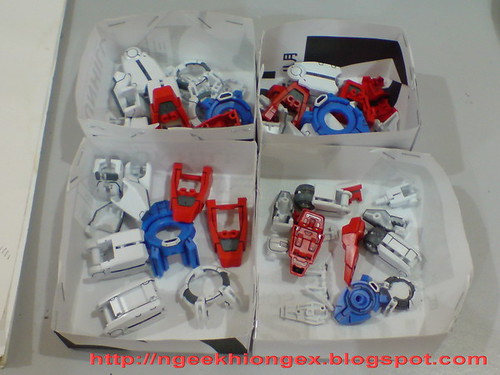
Showing you the parts for each of the 4 Exias, in before the other body parts ^^


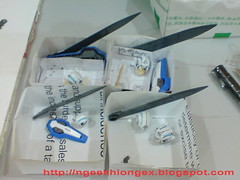
Storing them in boxes. I used paper tape to secure the helmet inside the box, so that it would stay in place and not get some of its painting scratched off when stored later on.


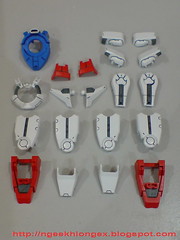
Parts for HG 1/144 Exia


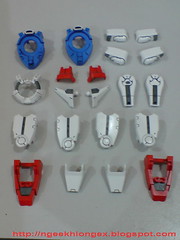
Parts for 1/100 Exia


Parts for 1/100 Avalanche Exia


Parts for 1/100 Astraea

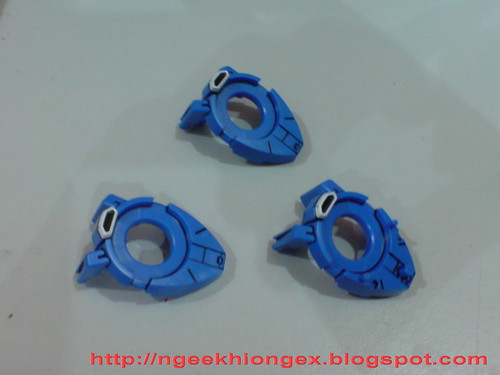
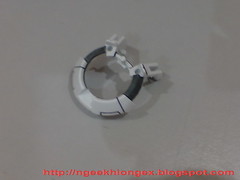
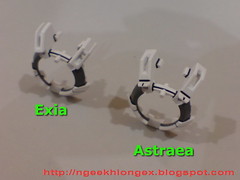
Speaking of which, there is a bit of differences between Exia and Astraea's chest rings. They are so similar to each other when I first look at them, I thought Astraea will be using the same part as Exia. Not till Quentin told me that there's another chest ring for Astraea that is. ^^;


While the ring is the same, the major differences between the two can be observed from the base for the secondary V Fin near the collar. Astraea has two smaller protruding parts, which Exia lacks, and the V Fin is to be fixed in place; which Exia's is movable.

On the inside, Exia's chest piece has two pins to insert into the base of the GN Drive on its backpack. It's the opposite for Astraea though. It has two sockets instead, waiting the pins from the backpack to snap into them instead ^^


Sockets on Exia's backpack, pins on Astraea's

So, the more important question is, are they compatible? Let's try them out ^^

(1) Astraea's chest ring on Exia's backpack


Socket type chest ring on socket type backpack. Perfectly compatible, but can't really snap onto each other. That's fine actually, because the major joints are on the body's frame actually. Those joints will still be able to bind the chest ring and backpack in place.

(2) Exia's chest ring on Astraea's backpack


Pin type chest ring on pin type backpack. Luckily enough, the pins are not facing each other directly, so you can insert both parts into each other, no problem, but the backpack would stand a little taller than the chest ring in front.

I haven't try putting everything together, so I won't be able to tell exactly if they can snap well onto each other. Even if they don't, the remedy won;t be too hard I think - just cut out a bit of parts from the collar on Astraea's backpack to allow Exia's pins to fit in more accurately.

Can't confirm on that though, until I try it out myself ^^

Finally, "packaging" :D


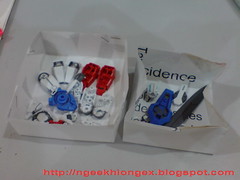
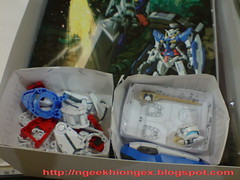
Putting them into different boxes from the helmet. These are much bigger parts, so the chances of scratching off the colors would be less.
Even if that happens, painting the holes on them would be much easier than the helmets ^^;


Paper and clear tape to secure parts of the head inside the boxes.


Storing everything in their respective boxes until they are to be summoned again.

The end of The All Exia Project.

...


Done

...

Finish

...

Really?

The GN Sword is still bugging them X_X

A sequel to the All Exia Project under planning ... I think ^^;

Monday, May 25, 2009

MG Destiny Part 13

Back to Gunpla-ing after a few days with my new possessions ... ^^

Prevention is better than cure

Yup, I always believe in that.

Applicable to Gunpla too ^^

When you know that something is not going to work before the final assembly, I'm sure you'll deal with it before encountering it (again) when you're supposed to be enjoying the fun of assembling all the parts later on. And that's exactly what I'll be talking about in this review.

Mention about this particular component in Part 12. Do you know which part is that? ^^

Answer: the cockpit hatch.

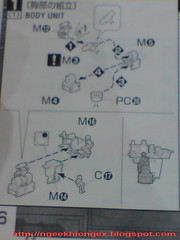
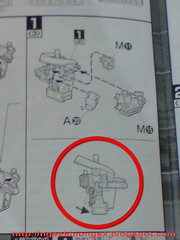
On the manual,


It's smooth, perfect.

For my MG Destiny,


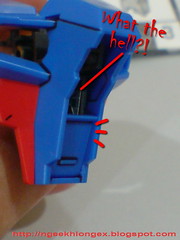
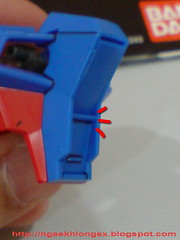
Shin's feet is kicking the door all the time, making it impossible to close the door properly ^^;

Initially, I thought it was my painting of the pilot figure that caused the problem. Maybe the painting is too thick and the feet became bigger than the original part. But another friend of mine who recently built his Destiny has encountered the same problem as well, with no painting done on his pilot figure. So it seemed like I'm not the only person suffering from this trivial but annoying problem.

Do you have the same problem with your MG Destiny?

Nonetheless, the problem needs fixing.

The simplest way is to shave off a bit of Shin's feet to give way to the hatch door, but I didn't want to do so in the first place, because it would probably affect the look of the pilot figure. Considering the other alternative: shave off a bit of the back of the entire cockpit.


Everything is so well connected to each others, there's no room for any changes. ^^;

Going for the easiest way then. ^^; So sorry Shin. This will be your punishment for slicing off an arm from Cagalli's Akatsuki.


Chopped off a bit from the feet of the pilot figure, until there's no more parts standing out of the cockpit hatch anymore.


All well now. I actually did it wrongly in showing the cockpit hatches - the upper one should be covering the door beneath it. But the important point is how well it can close, before and after.

Now I can really say that all the work before the final assembly is done ^^

Sunday, May 24, 2009

Feeling Pink & Purple

The beginning of a new chapter


Max Factory's Figma Lucky Star Takara Miyuki and Yamato's Macross Zero 1/60 Complete Transformation SV-51γ Nora's Unit. ^^

Saturday, May 23, 2009

My Precious

Finally...

... it has come to me ...


... mine, my own, my love ...


... my preciousss

Tuesday, May 19, 2009

The All Exia Project Part 8

Mass production

With MG Exia announced at Shizuoka Hobby Show 2009, I believe the reception for 1/100 Exia and its variations are going to take a toll now, since everyone would be anticipating the upcoming MG version, and the almost-definite streams of variations based on MG Exia.

I do welcome the arrival of MG Exia, and yes, it's on my list of purchases. Yet, I'm not going to give up on all the Exias I have in hand (not that anyone would want them anyway ^^;). Now there's a higher standard to follow as the benchmark for all my Exias when it comes to painting. Hopefully, when all the Exias are standing side by side when they are all done, the non-MG versions are still going to be as color accurate as the upcoming MG as well.

Very much like the head in Part 5, I'm done with all the parts highlighted in Part 6 and 7:

Shoes (1/100 Exia, Avalanche Exia & Astraea)
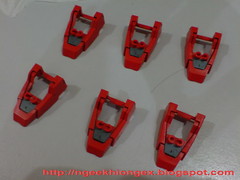

- the front portion is painted in gray, there will be a slit between the shoe and the white part put on top of it in the final assembly that will be exposed.
- the tiny slits on both sides of each part is very hard to panel-line - I keep on rubbing the entire line off. So by using an art knife, I made a cut on each of the slits and panel-lined all of them again. The black lines stay in the "wound", and are much more visible if compared to the first attempt without the cut.

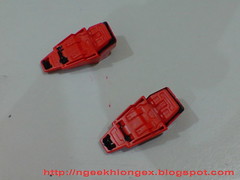
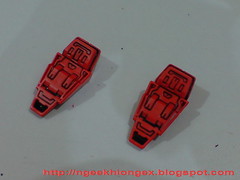
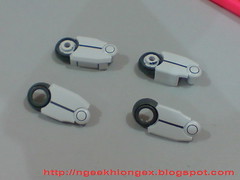
Feet's armor (1/100 Exia, Avalanche Exia & Astraea)
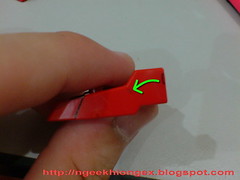

- Painted the slits beneath each part in gray
- Panel-line the lines on the surface

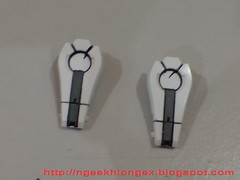
Thigh armor (1/100 Exia, Avalanche Exia & Astraea)
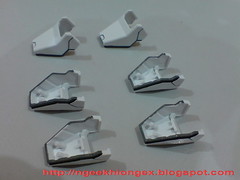

- Painted the slits on both sides of the armor in gray
- Panel-line the other details

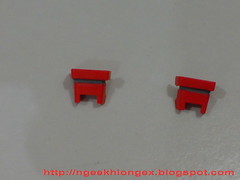
Base of GN Drive (1/100 Exia & Avalanche Exia)


- Painted another layer of white for the vernier
- Panel-line the other details

Can you differentiate which one is for Exia and which is for Avalanche Exia? ^^

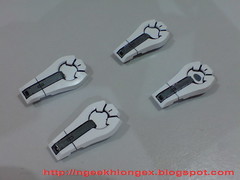
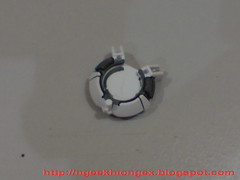
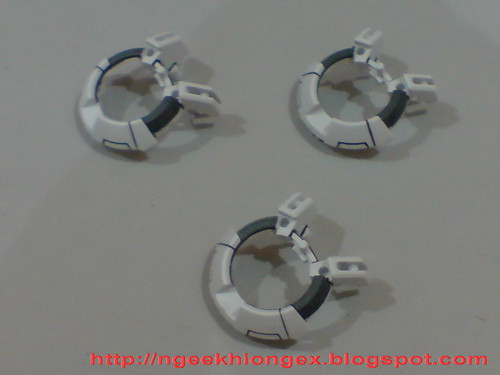
Chest Ring (1/100 Exia, Avalanche Exia & Astraea)


- Painted the top left and right corner, as well as the wall inside the ring in gray
- Panel-line the other details

Do you know the differences between the one for Exia and Astraea? Will tell you more in the next review. ^^

Waist (1/100 Exia, Avalanche Exia & Astraea)
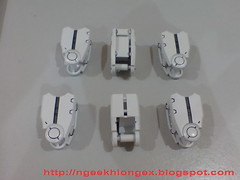

- Trimmed the gray painting done for the slits in Part 6 by scratching off excessive paint on the surface using an art knife.
- The only panel-line done for each of them is the short vertical line on the surface

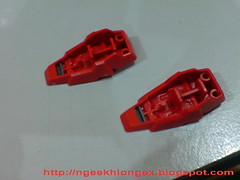
Upper arm and forearm (1/100 Exia, Avalanche Exia & Astraea)


- Painted gray for the base of the GN Stripe on the upper arm, and the GN Vulcan on the forearm
- Panel-line the other details

Moving on to HG 1/144 Exia, which has more work to handle than the 1/100 equivalence. ^^;

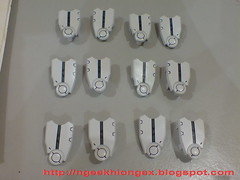
Shoes


Painted the little slit in front in gray. It's quite different from the 1/100 scale version, since they have a larger surface for the marker to go in and paint on them directly. The slit is really "a slit" for the HG version, ^^; the space is too narrow for the marker to go in and I had to use a toothpick to get the paint into the tiny drain.

Since the whole shoe is in one piece, you get all the details to panel-line as well. Some of the lines are too narrow for my panel-liner to go in as well, as I just use the whiteboard refill ink trick mentioned in 1/100 Astray. Much more effective than running the risk of damaging the head of the panel-liner squeezing into those tight spots.

Cleaning the part up by scratching off excessive ink will give you the result shown on the right photo.

Feet and thigh armor
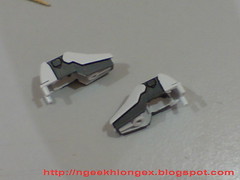

Not so easy parts as compared to the 1/100 scale version ^^;

Like the feet, the armor is molded in one piece as well. So instead of painting the slits at the bottom of this part, the mecha part of the feet in the middle needs to be painted as well.

Still quite easy since the area to be painted is quite wide, and I could just use the tip of the marker itself to paint that part.

The thigh armor, is much harder though. Molded with the pelvis joint, there's a very narrow gap between the joint and the armor below it. No way for the marker to go in, that's for sure. It's time for the toothpick to come in and save the day again :D

The slit between the armor is a bit more difficult to paint too, as it's much narrower than the 1/100 scale version. Running Gundam Marker on it could do the job - letting the paint to flow into the slit, but the excessive paint to be trimmed off from the top of the wall would be wastefully a lot as well. Using a toothpick to draw the gray line into the slit would be much more effective.

Body
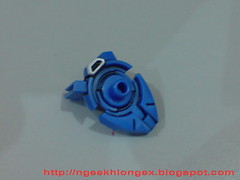


The vernier on the back and the red waist are very similar to that of the 1/100 scale version, So naturally, painting and panel-lining for both these two components are done in similar fashion as well. However, the earlier has got a peg and details around it to panel-line, as compared to a hole on the ones in 1/100 scale; while the waist lack the vertical line in the middle.

The chest piece for the GN Drive is quite different though. The same part in 1/100 scale is a ring, and the distance between the interior wall (painted in gray earlier on) is much closer to the white exterior. The HG version however, has a solid part in the middle, and has more area that needs painting in gray as well.

As you can see, there's quite a bit of spilled over color on the center of the chest piece. That's alright for me, as it's going to be covered up by foil sticker in the end nonetheless.

Upper arm and forearm
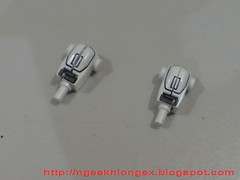

Almost identical to their larger equivalences, but the forearm does have less details to panel-line though.
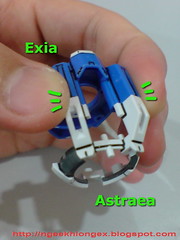
Final review for my All Exia Project Part coming up next.