A look at the display base included for HCM-Pro Gundam Exia.
As mentioned in Part 1, this is a special prize included for HCM-Pro Gundam Exia, which was only available for the first batch release of the figure. I've seen HCM-Pro Exia without the base quite some time ago before getting mine, I thought I was never going to get it again. I was extremely lucky to have found this particular set.

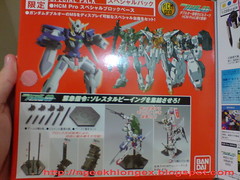
This is how one side of the red box containing the display base is attached to the back of HCM-Pro Exia's box. ^^
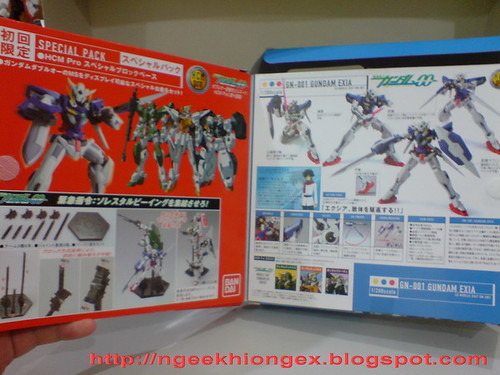
A different cover design for the box.
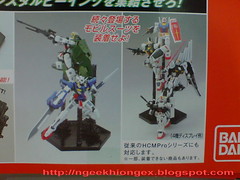
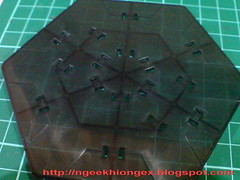
The base is meant to support either one or a few HCM-Pro figures as a set display. It can be used by units other than "Gundam Double O" series as well.
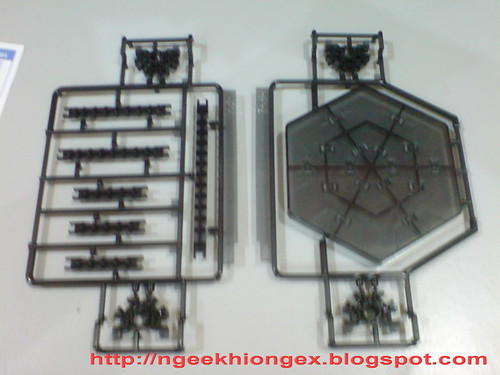
All parts are on runners.
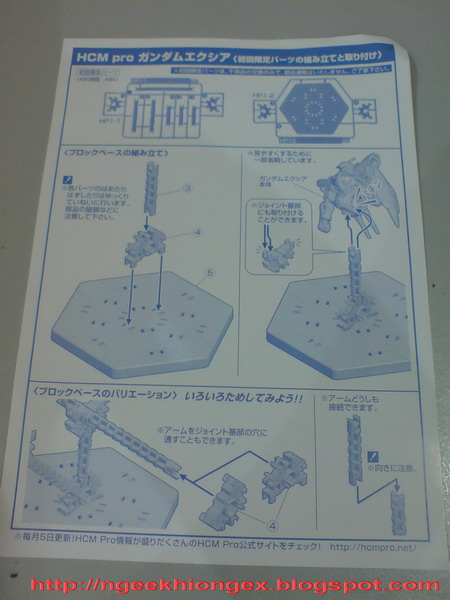
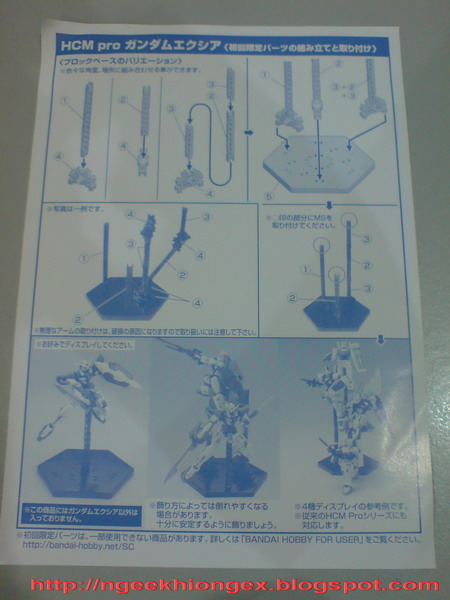
The manual showing how to use the base. Click for larger view.
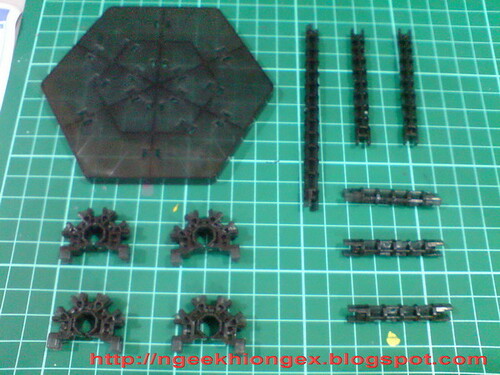
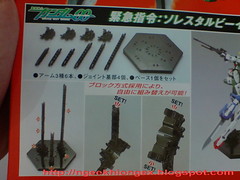
All the parts from the entire set. I think they are made of ABS.
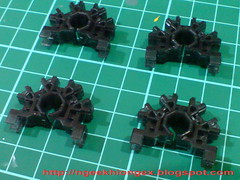
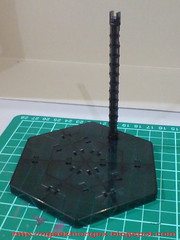
The base and the "connectors"
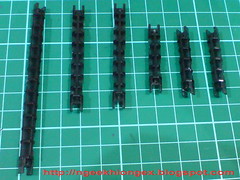
6 stands with different lengths. The shortest ones help better as extensions for the connector instead.
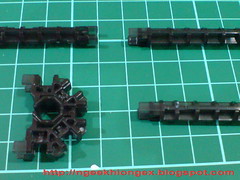
The different parts are connected via clip-on.

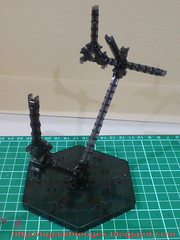
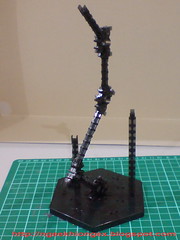
Different patterns one can choose to make for the display stand.
There are various pin holes on the base to place the connectors and stands.
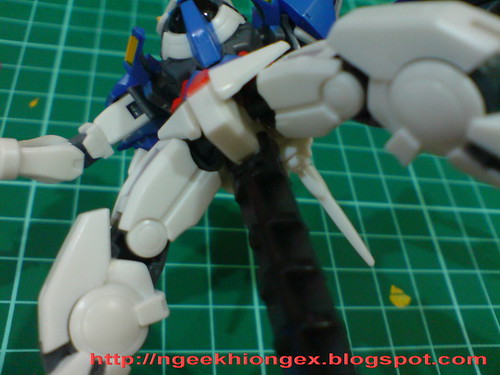
The same clip-on method to attach the stand to the figure.
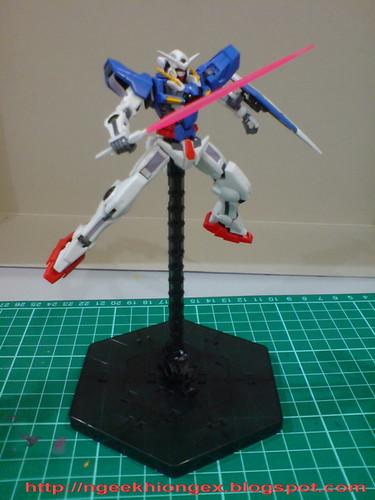
The simplest combination is the best way to display just HCM-Pro Exia I suppose. ^^
More HCM-Pro Exia on the display base in the next review.


No comments:
Post a Comment