Continue from the previous posting, still working on the weapons of MG Crossbone Gundam Full Cloth.
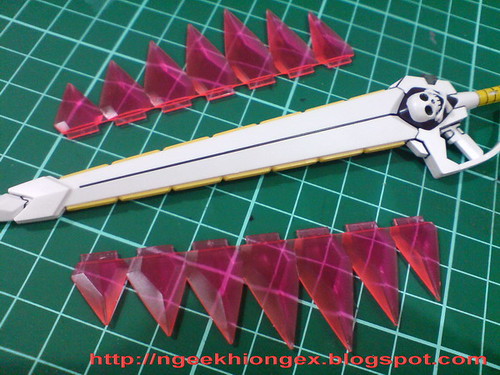
Another special weapon of this Gundam included is the Murasame Blaster - a blaster it is called, but most of the time, I see it being wielded as a giant sword with 6 beam spikes on each side of the blade instead. It does come with a beam rifle type handle, and the sharp tip of the weapon is removable. In this form, it does resemble a blaster.
Like the Peacock Smasher assembled in the previous posting, this weapon is extremely heavy, even before the clear beam parts are mounted. While such weight issue is unavoidable for the Peacock Smasher, let's see if we can do anything about the parts of this sword to help it loss some weight. ^^
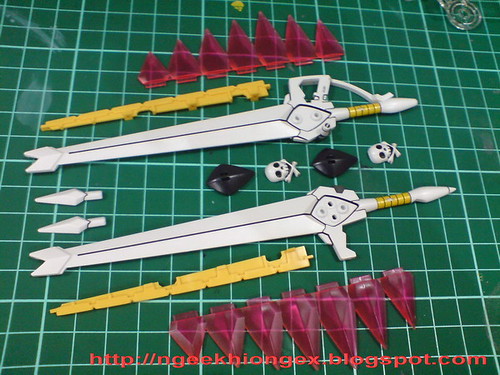
All parts for the Murasame Blaster.
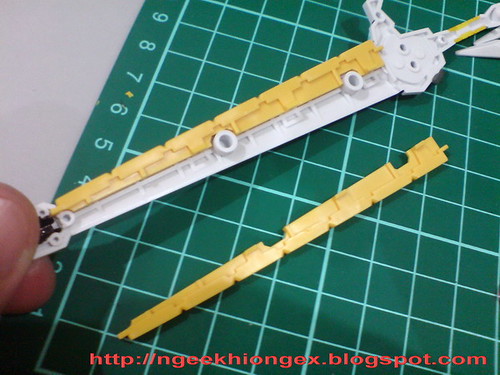
The yellow beam emitter inside the sword comes as 2 solid parts.

Some weight can be taken off the sword if the middle portion of the yellow parts is cut off.
This is fine in my opinion since only the edge of the yellow parts will be exposed when the sword is done.
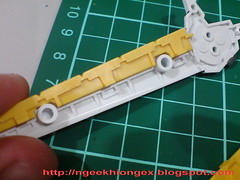
Clip off some of the yellow parts using plastic nipper first.
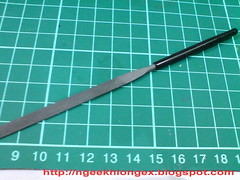
The metal file tool from Bandai's basic Gunpla tool set then comes in for some serious kill.
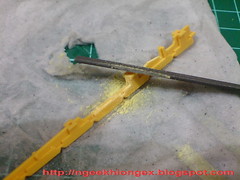
Sand off the even more of the middle portion using the metal file tool.
Wet toilet paper (cheaper than tissue) under the parts helps to prevent the dust from going all over the place.
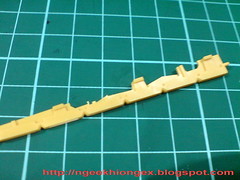
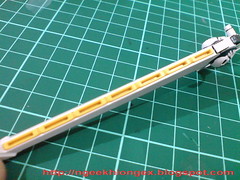
Comparison with one yet to join the weight loss scheme.
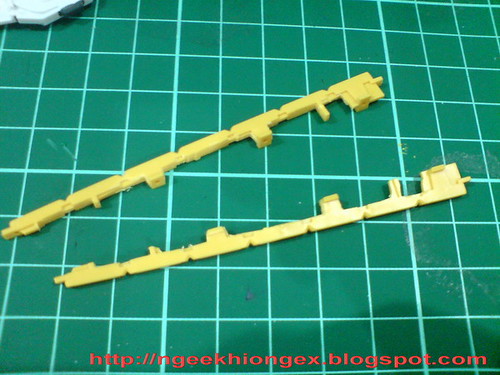
Done for both yellow parts.
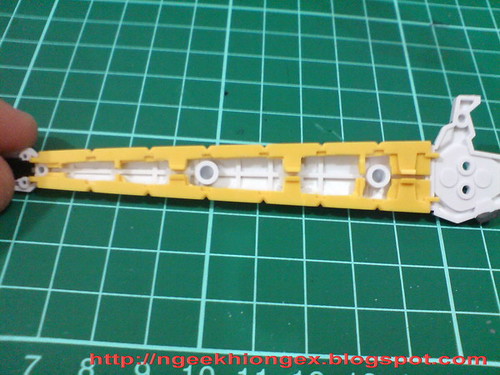
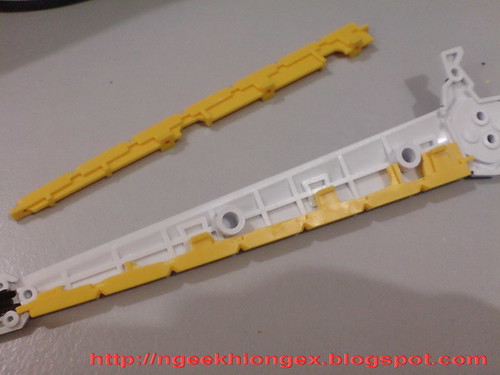
This is how they will look inside the sword, which will never be seen again when the other piece of the sword comes on.
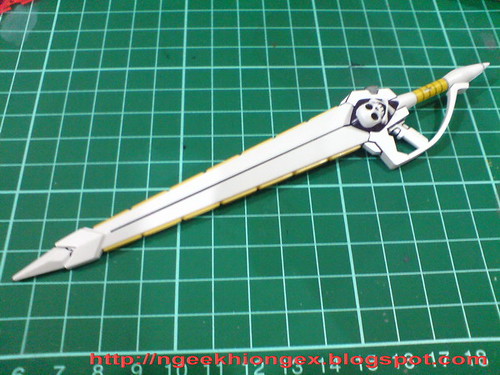
The completed Murasame Blaster.
The work did on the yellow part is totally not visible from the outside. ^^
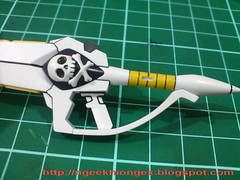
Details on the sword guard and handle.
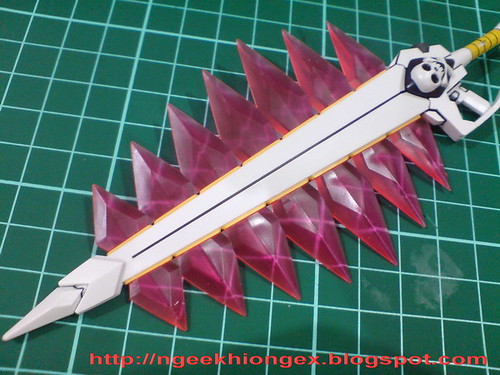
Mounted with the beam parts.

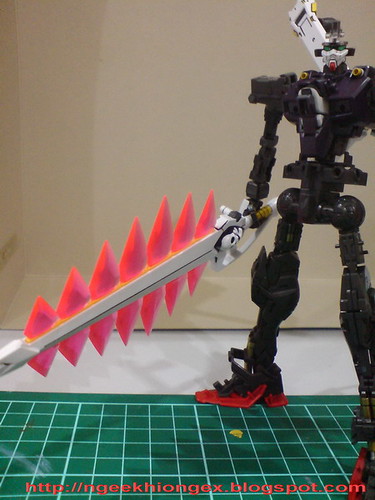
It's still quite a heavy weapon for the model to actually hold it.
Done with the hand held weapons that require assembling, moving on to the cloth armor. The Gundam does feature quite a few more weapons, all on its waist armors. This will be shown when I move on to assembling the armors onto the Gundam.
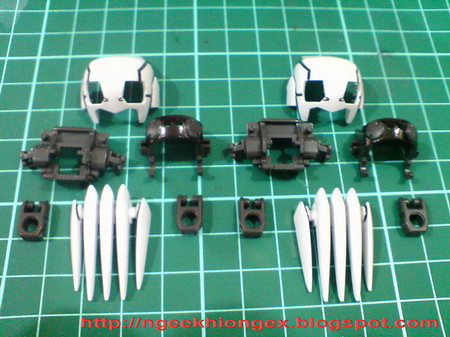
Parts for the shoulder armors, which can be used as boxing gloves later. XD
There's one part I didn't put in here I think.
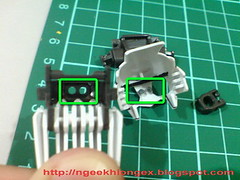
2 pins on the white part are painted gray so that they would look like they are part of the mecha interior in line with the gray part.
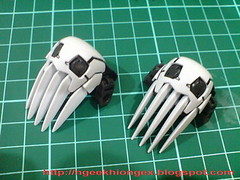
Done.

The teeth can be folded inwards for the armor to be used as the skull knuckle.
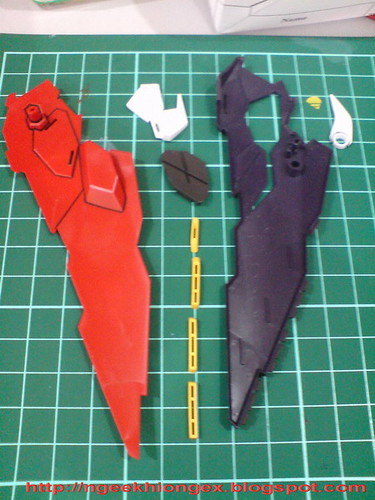
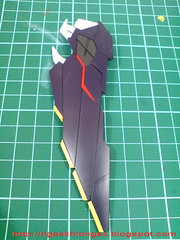
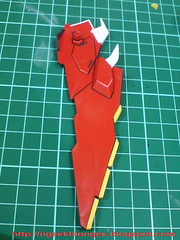
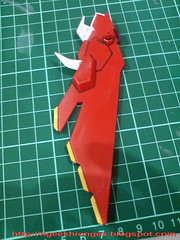
Front body armor (right) assembled.

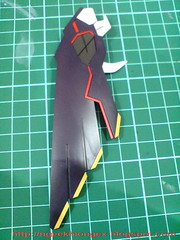
Rear body armor (right) assembled.
The left hand side of the body armors are just parts mirroring the one shown above.


2 comments:
Whats the weight difference after you cut out the yellow parts? Did it feel like it was half the weight?
I think it just reduce like few grams only, better start to tighten up those loose joints of Crossbone. ( happens on both of my Crossbone, but not on F91, weird..)
Post a Comment