Done with the painting in the previous review, time to go in and clean up the parts.
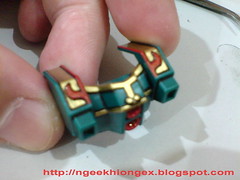
Repanel-line the different sections of the body armor.


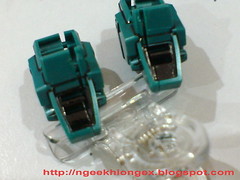
Optional spots: painted red for the chest thrusters (not sure if they are thrusters ^^;) to make them consistent in color with the abdomen.
Skirt armor is panel-lined. The dragon pattern is showing clearly. ^^
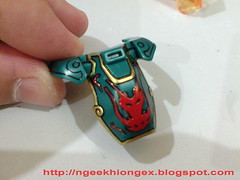
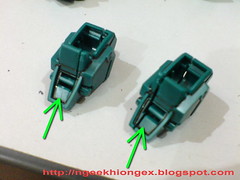
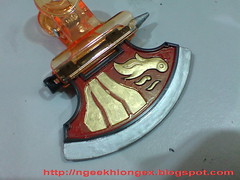
The completed shoulder shield.
On the rear side of the shield, the edges are painted in gold, while the interior part will be painted in black.
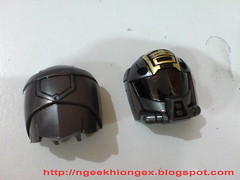
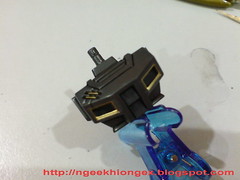
Clean up and panel-line the parts for the head and helmet.
The eye area is painted in black so that I can use the self-made eye sticker later.
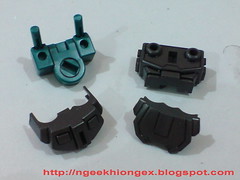
All the parts for the head are done.
Two spots on the head will be using foil stickers.
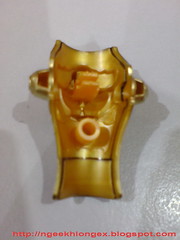
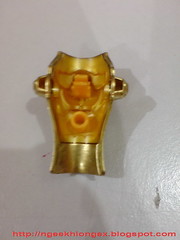
Clean up for the body part with gold paint and then repanel-lined.

Simple panel-lining for the shoulder and arm parts.
Painted black for the interior of the shoulder armor to show more depth for this area.

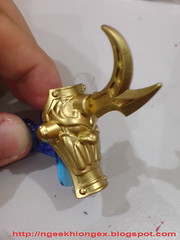
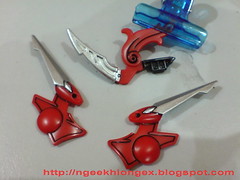
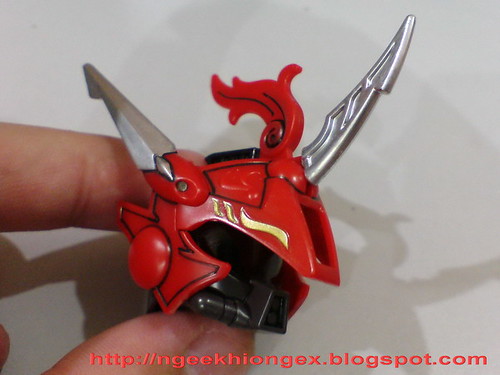
Hand painted the blade part of the ax using Mr. Hobby's Mr. Metallic Color Silver - the same silver on the GN Swords from my All Exia Project.

The patterns in the middle of the ax's body are painted with Gundam Marker Gold.
Some spilled over paint will have to be covered with another layer of red. ^^;
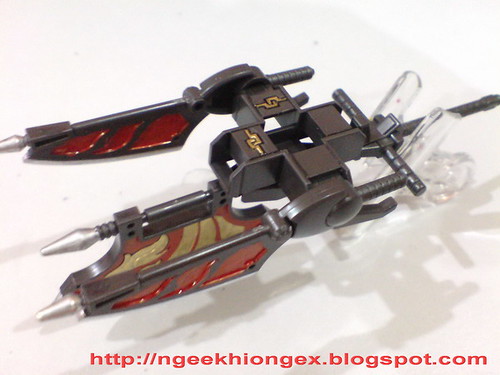
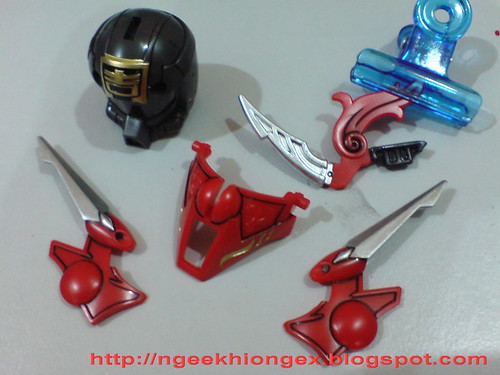
Testing on how the weapon will look like in the end.
Almost done with everything. ^^


6 comments:
what kind of silver marker you used? because my silver seems like grey and not glowing ><
>>Ric
This one: http://farm4.static.flickr.com/3341/3233925963_141d2cea26_b.jpg
in silver.
from http://ngeekhiongex.blogspot.com/2009/01/plamo-review-30-bb-senshi-sangokuden.html
oh thx and where can I find it? hehe
Try stationery shops or shops that sell art tools.
haha ok i will try tabuan first :p thx
hi, how much you paid for the Pilot Gold marker?
Post a Comment