Continue with the assembly on HGM 1/550 Dendrobium after the first posting yesterday. ^^
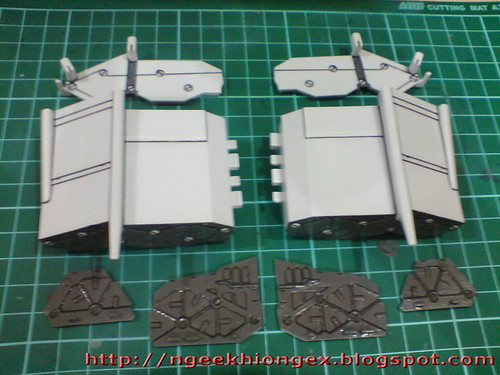
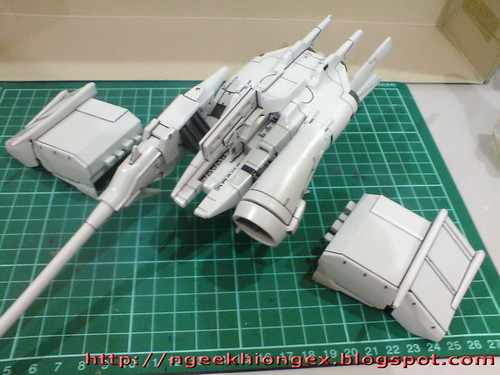
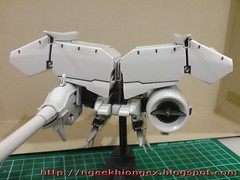
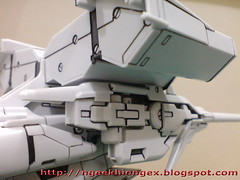
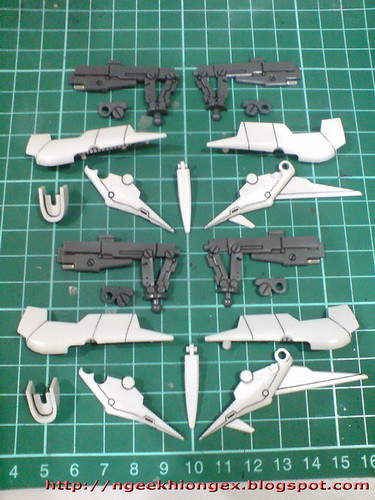
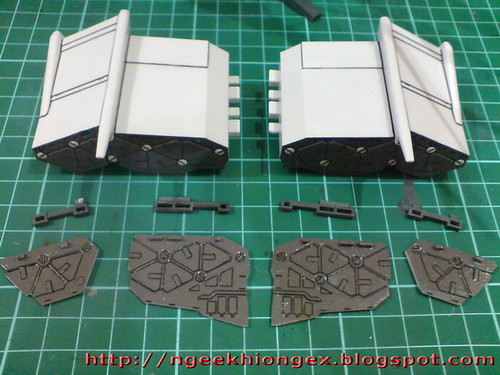
Very large parts for the weapon containers.
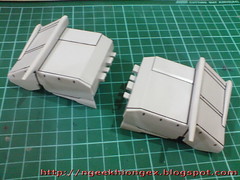
Assembled 2 little boxes there XD
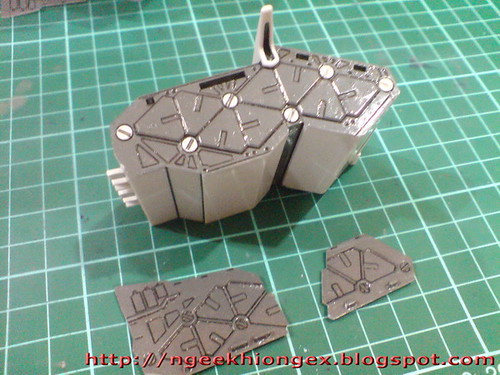
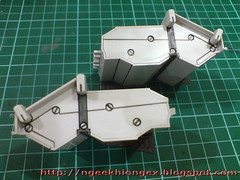
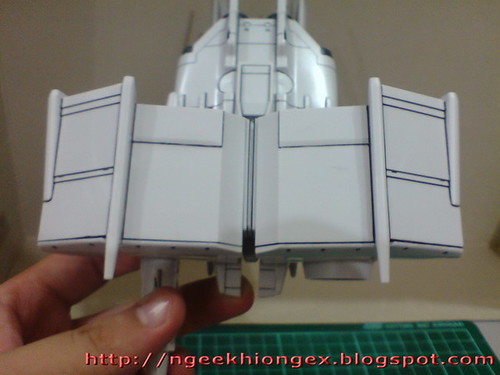
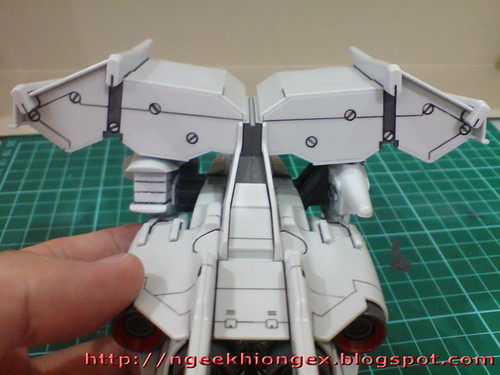
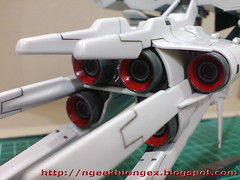
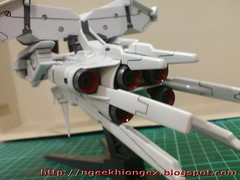
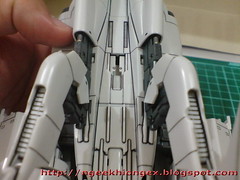
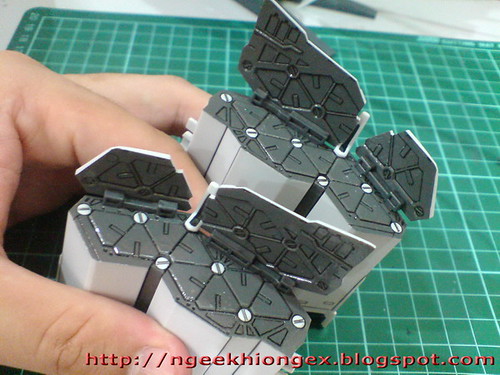
Panel-line details on the containers and behind the covers.
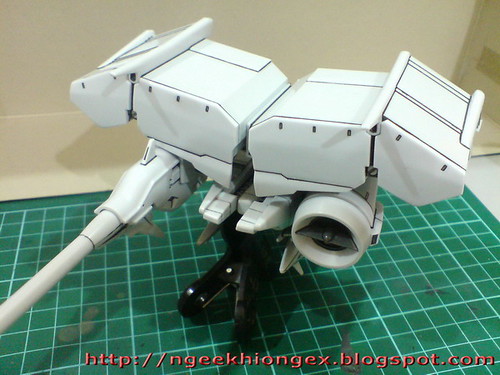
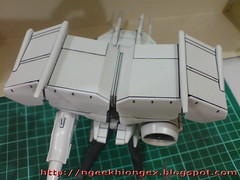
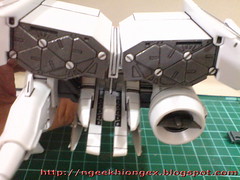
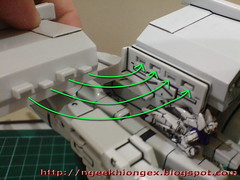
Mounting the containers onto the main body.
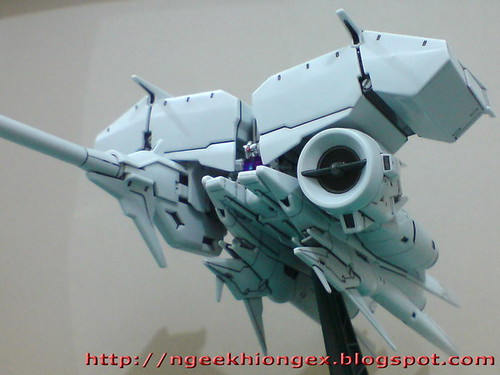
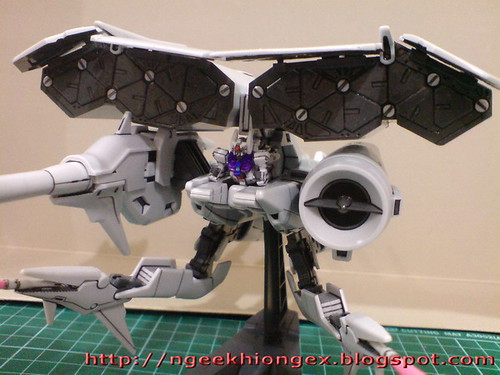
Top and rear views of Orchis.
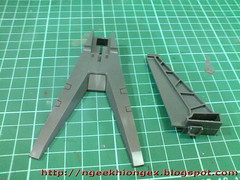
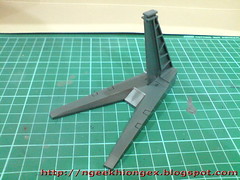
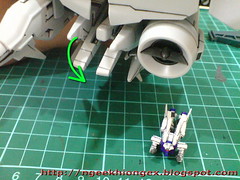
2 rather big parts for the display base.
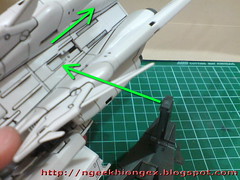
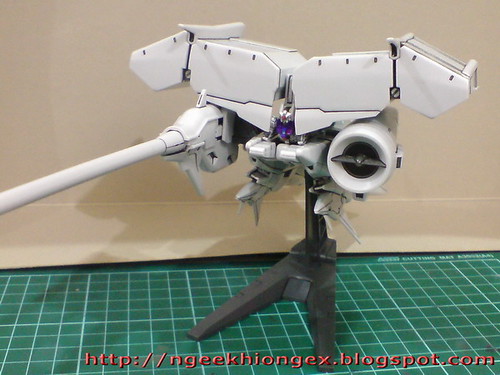
Attaching the display base onto the Mobile Armor through the tab mentioned yesterday.
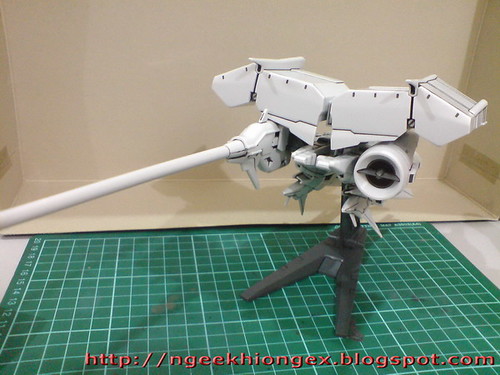
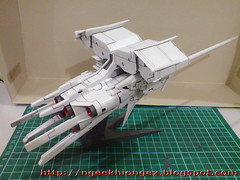
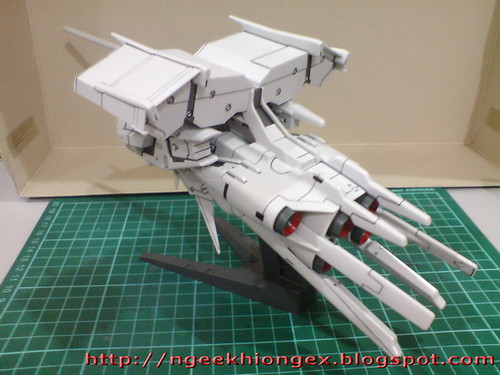


GP03 Orchis completed.
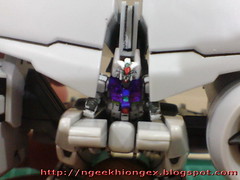
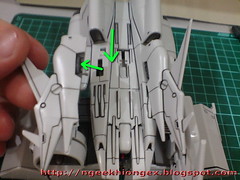
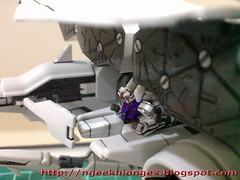
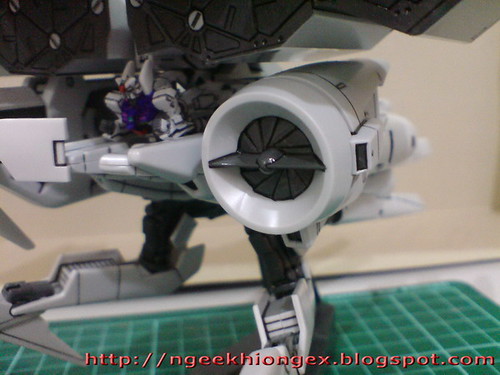
Flip down the "panels" on the main body to insert the figure of GP03S into the Mobile Armor.
A bit of deviation from the manual: the work is a lot easier if you remove the covers of the weapon containers first.
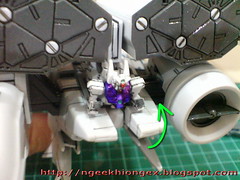
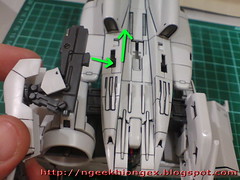
Flip up the "panel" to lock the position of the figure.

GP03D Dendrobium done.
Parts for the extended claw arms.
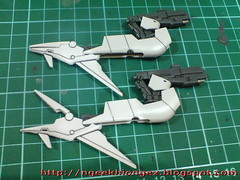
Completed.
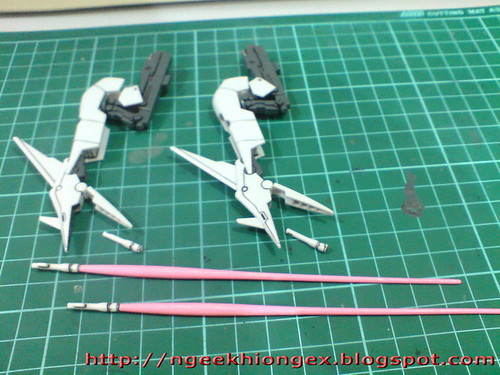
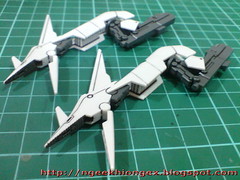
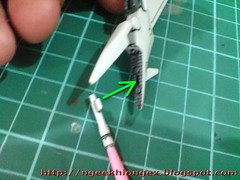
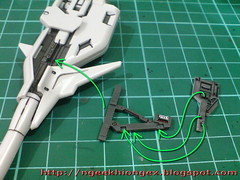
Beam saber parts.
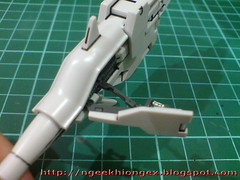
The "empty" beam saber handle can be inserted into its designated positions inside the claw.
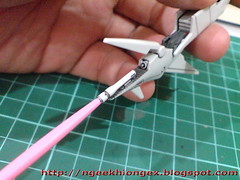
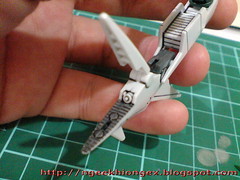
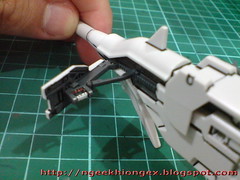
Mounting the beam saber onto the claw.
There's no need to remove the smaller beam saber from its mount racks. ^^

Claw arms with 2 beam sabers.
Part-swapping between the fixed and extended claw arms.

With one beam saber.
With 2 beam sabers.
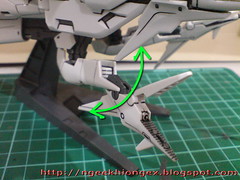

The "wrist" of the claw can move upward and downward.
The "shoulder" portion is designed with a ball joint and can move in all angles.
Extra parts to show the weapon containers in open mode.
Like this.
Very interesting way to connect between the 2 weapon containers. They are very easy to remove for storage. ^^
Done.
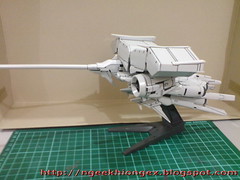
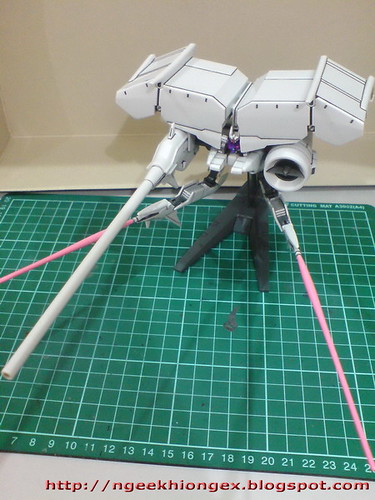
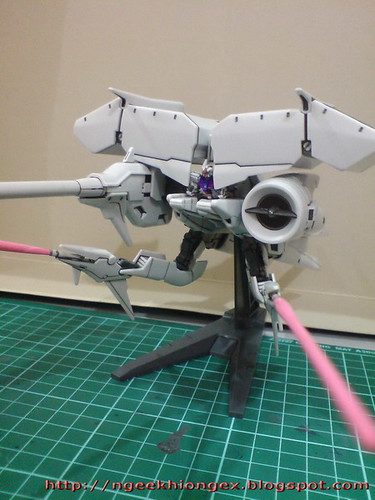
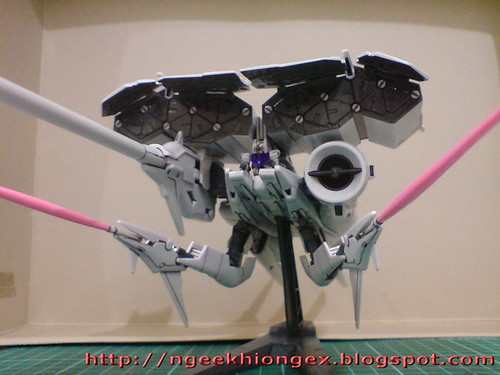
Swapping on the handle part for the Mega Beam Cannon.
Done.

There's absolutely no way for the Gundam to reach the handle though. ^^;
Looking at the distance between the arm and the handle of the model, I don't think it's possible for him to reach it even with his expanded arm.
Part swapping for the alternate interface of the I-Field generator.
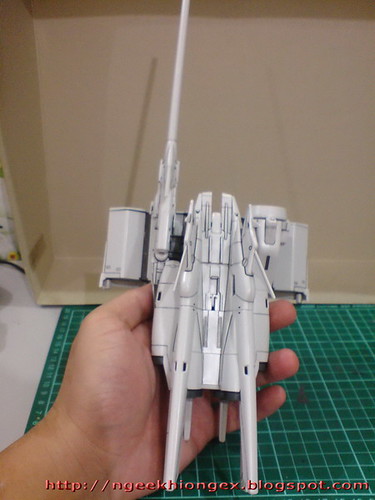
As a Mobile Armor, this model only looks big from certain angles of photography. ^^; As long as there's nothing else coming into the picture for comparison, he can get away. ^^
More images of the model in the next posting. ^^


No comments:
Post a Comment