Moving on to "all other" parts not covered in the previous postings for 1/100 Gundam Dynames this time. ^^

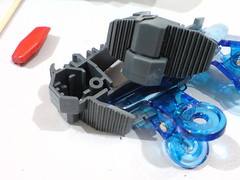
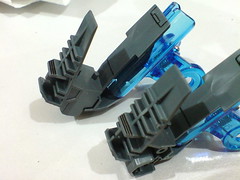
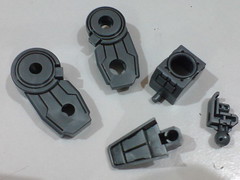
Simple panel-lining for the rear thruster parts.
Quite a lot of line details there for the gray parts. ^^
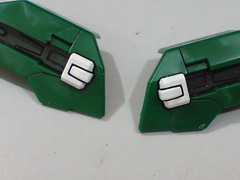
Happy with the multiple layers of Gundam Marker White on the beam saber joints on the sides of the rear thrusters' green parts (from Part 4), the sections are panel lined to complete these two parts.

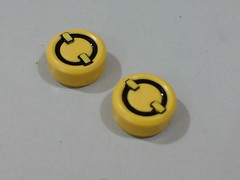
Black whiteboard marker ink dripped into the slits of the yellow thruster parts, then scratched away using knife to get the narrow black "valleys".
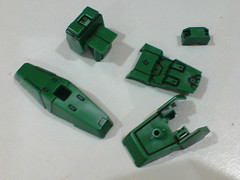
Simple panel-lining for all the other leg parts - gray and green ones that are not covered in the previous posting.
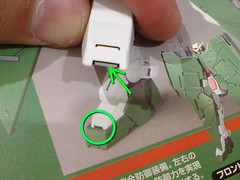
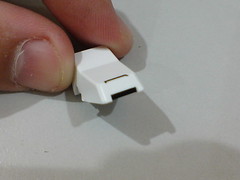
A bit of black at the edge of the white foot part, painted using just normal marker.
Not really sure if it's supposed to gray or black actually. ^^;
Done with all the body parts, moving to the head of Gundam Dynames. If you've been following this blog, you would know that the work on the head is always the "ceremonial" sign-off for a particular kit. ^^ There's no exception for this green Gundam, but quite a bit of work is needed for him, since one of his signature gimmicks - the sniper sensor located here. On top of that, the GN Stripes that characterize all the Meisters' Gundams in the first season of "Gundam Double O" is here as well.
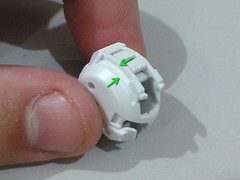

Sections to be painted: (left) light blue and gray for the GN Stripes and mecha portion of the helmet, and (right) green for the protruding plates near the face.
I'll be using the foil stickers included for those two plates, so just a bit of normal marker green for the edges and rear faces would be sufficient.
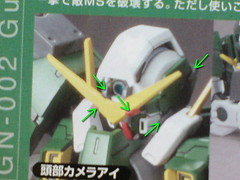

Gray and red for the V-Fin, and a bit of gray for the highlighted areas on the cheek parts.
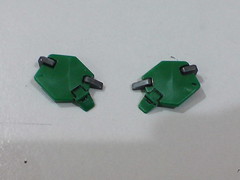
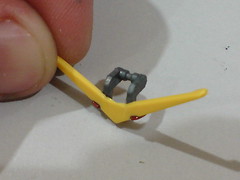
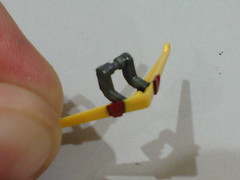
Painted the V-Fin and cheek parts using Gundam Marker Gray and Red.
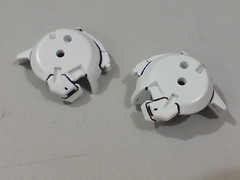
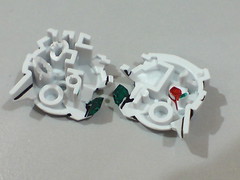
Panel-lined the helmet parts first before proceeding with painting the edges and interior portion of the face plates in green using a normal marker.
As you can see from the picture on the right, I also chipped away the main pins and slots combining the two parts. This would help a lot in the assembly later on, with lower risk of damaging any painted areas.
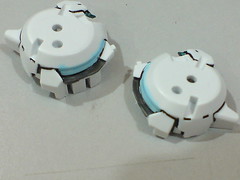

Gundam Marker Gray and Light Blue for the mecha component and GN Stripes respectively.
Panel lining everything before painting the said parts helps to make the border clearer to see.
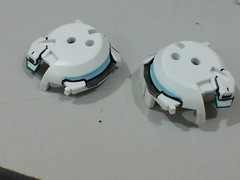
Cleaned up the painted areas by scratching away excessive paint and re-panel line some of the areas.
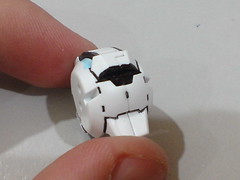
Painted the rear portion of the helmet in black using normal marker.
A piece of foil sticker is included for the black area, but using normal marker is way easier. ^^
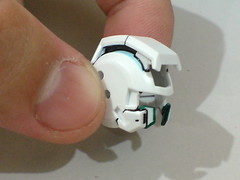
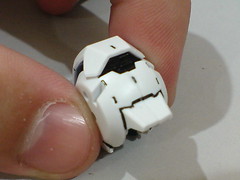
Test fitting with the top part.
Part separation for this component is commendable really, since the top part not only covers the seam lines between the two helmet parts, it locks them together tightly as well.
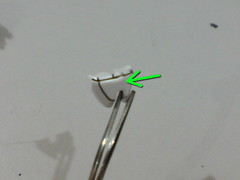
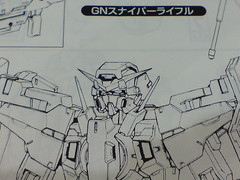
A bit of deviation spotted for the face part: a vertical line in the middle of the face, which is shown on the "redefined" lineart of Gundam Dynames for this kit (right), but is absence on the actual part (left).
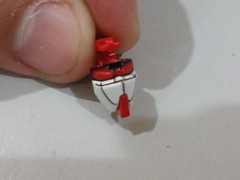
I like the line in the middle of the face part actually, so I just did it myself by cutting it on the part using a knife, then panel line it just like a normal line detail. ^^
Quite a lot of different paints put into the head alone, which is really no surprise to me, since all four Gundam kits from Season 1 of "Gundam Double O" have a lot of details and colors for their heads. ^^; Gundam Exia done before this is a good example, and I did 5 of that in one shot. ^^; It was quite an experience back then. ^^;
All done with Gundam Dynames with this posting. The next review or work series would be a mystery at this point. ^^
Actually I haven't decided on anything yet XD


1 comment:
What kind of knife do you usually use to scratch off the dripped ink on the yellow thruster parts?best if there's a picture of it~^^
Post a Comment