Back to MG Shin Musha Gundam after Lego and Milla Jovovich. ^o^
Done with all the repetitive work on really tiny parts for the leg frames in the previous posting, I thought I should go for some really large parts in this kit for a change of mood. ^^ The largest parts you will get for Shin Musha Gundam are his shoulder shields.
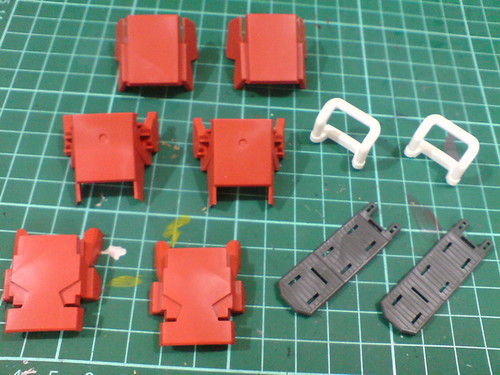
Large parts for the shoulder shields
They are Gigantus if compared to the hydraulic pipe sets covered in the previous posting. ^^
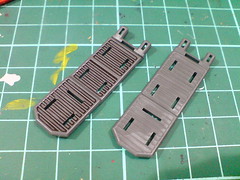
Super straight and straight-forward (no pun intended) line details on the plates that connect between the different armor parts on the back of the shields.
It's been quite a while since I last deal with such great simplicity on an MG kit. ^^
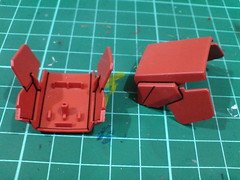
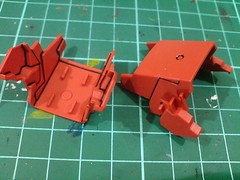

Simple panel-lining for the elevation in front and behind the three sets of armors.
Not sure which would be shown and which wouldn't, so I just panel-line them all. ^^
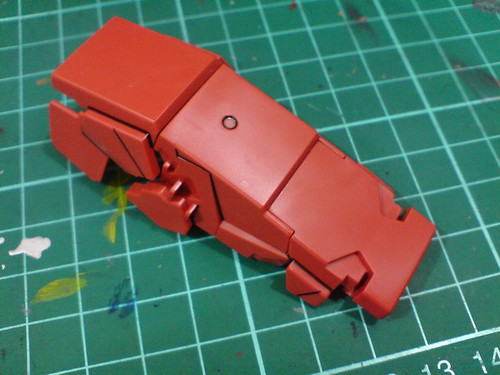

A preview of the simple details to be shown in front and behind the shields.
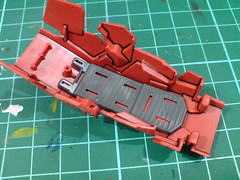

The red connector parts poking through the slots on the gray plates are a bit out-of-place for me.

Painted all the protruding parts in gray using Gundam Marker

Done with the panel-lines on the plates as well.
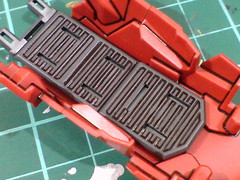
Now the entire plate seems to be in one piece when view from behind. ^^
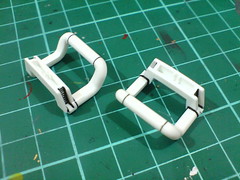
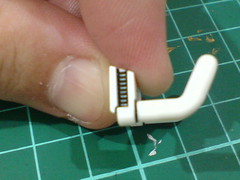
Some ladder details at the edge of the white hanger parts.
Luckily, the valleys are not too deep enough so the tip of a normal panel-liner can go in to finish the job. ^^
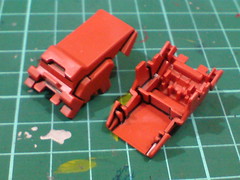


Simple panel-lining for the gauntlet parts.
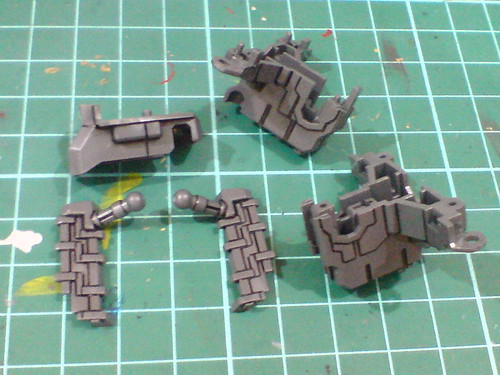
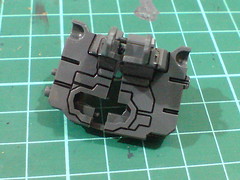

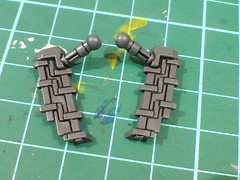
Simple panel-lining for the waist parts as well.
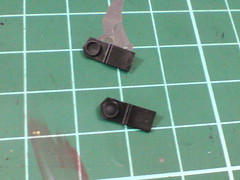
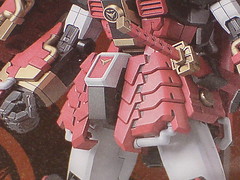
A bit of detailing can be done to the pair of tiny vents on both sides of the groin, which is one of the design features from Gundam RX-78-2 Ver. Ka.
From the manual, they are shown to be in gray (right image).

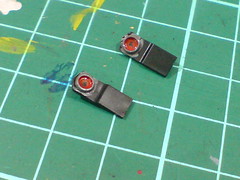
(Left) Painted the interior of the vents in red using Gundam Marker,
(Right) Painted the "mouth" and exterior in gray using Gundam Marker.
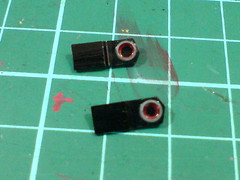
No need to scratch away the excessive gray paint spilled from the previous task actually, just paint everything around the wall in black (the original color of these two parts) using normal marker, which would effectively cover all unwanted paint. ^^
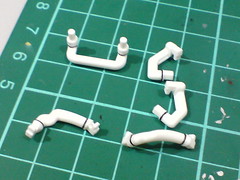
Simple panel-lining for another bunch of twisted parts. ^^
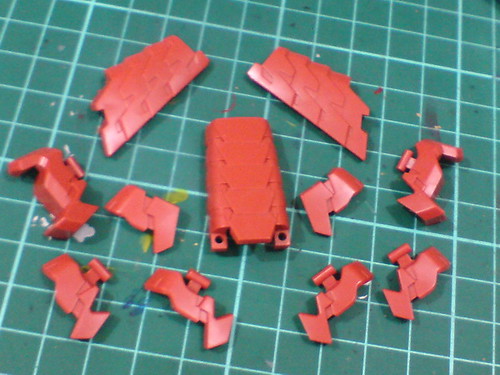
Parts for the front and rear skirt armors.
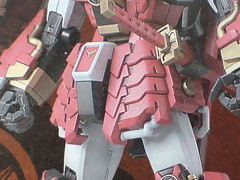


As shown in the manual, those teeth-like splits between the different armor segments are in black.

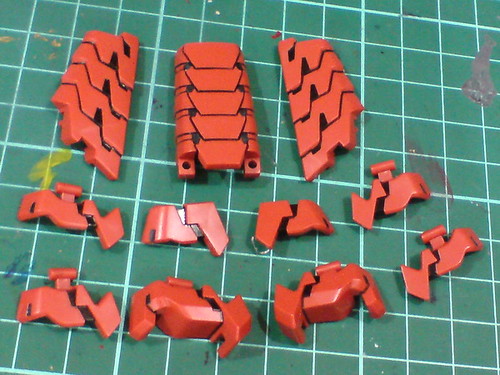
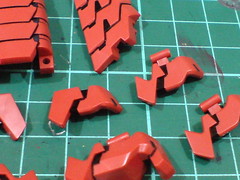

Panel-lined and painted using panel-liner.
Very fast and simple. ^^


For the side skirt armors, the space where a golden coin-like part is supposed to sit in is "highlighted" in black.
"Highlight" because the black paint will effectively create a contrast against the red surrounding color and make the coin stand out even more when assembled.


No details what-so-ever for the rear face of the side skirt armors, so I just send the whole thing into darkness using black whiteboard marker ink. ^^

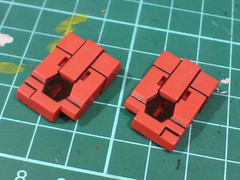
(Left) Scratch away excessive paint on the edge of the parts.
(Right) The front portion is not affected at all. When not even the white knee parts on 1/100 Gundam Astray Red Frame were affected by the same paint done behind them, there shouldn't be any problem at all with these red parts on Shin Musha Gundam. ^^
As hoped before the whole task, most of the parts are very easy to deal with, definitely easier and more relaxing as compared to the many hydraulic pipes sets done in the previous posting. I think I'm a bit spoiled by the smoothness of the whole process up till this point. XD There are still quite a lot of parts with great amount of details coming in soon, so the work is not going to be easy all the time. ^^;


2 comments:
The large Shin Musha shoulder armours remind me of Avalanche Exia's.
Avalanche Exia...
Post a Comment