Starting to work on my MG Shin Musha Gundam.
As mentioned in the previous posting, one of the major components targeted are those supposedly-golden-but-are-actually-dark-brown armor parts that are not too appealing to look at. ^^; Spray can gold would be a great tool to give them a new shade of gold, and it would a more effective paint tool in covering larger areas as well, as compared the usual method of hand-painting that I prefer.
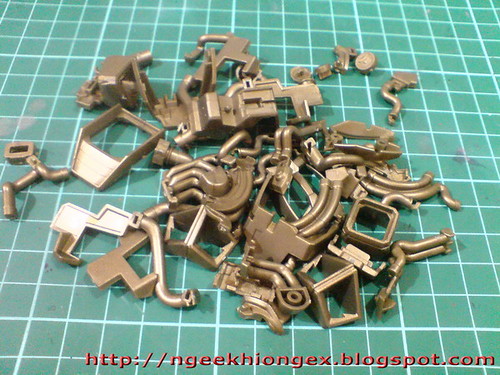
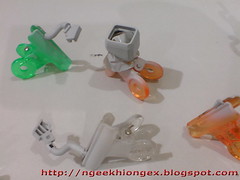
All the golden parts for the kit are removed from their runners first. They include big ones like the tube and plate combo for the shoulder armors, medium-sized ones like the forearm parts and tiny ones like the round emblem parts for the side skirt armors and knee armors. Since the parts are supposed to be covered in different layers of paint later on, no proper organization are made. I'll have to depend on the illustration in the manual to identify which part is for where later on. ^^;
Once decided on using spray can for the job, the first thing to do is not to get a spray can just like that and finish everything straightaway. For the color to stay on the parts better, the first layer of paint should be surfacer. Most people call this process priming.
Getting the different spray cans is one thing, there are other tools needed as well.
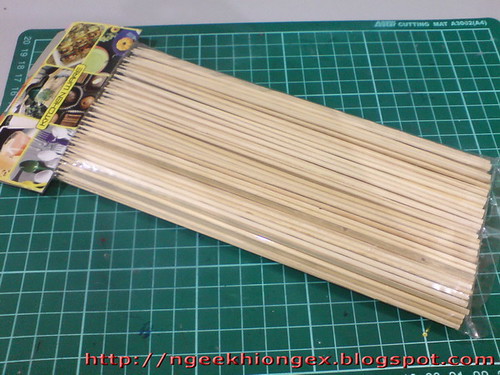
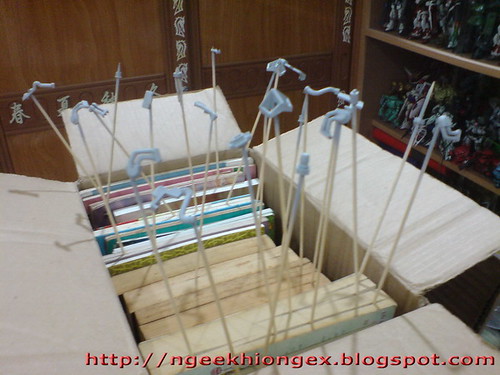
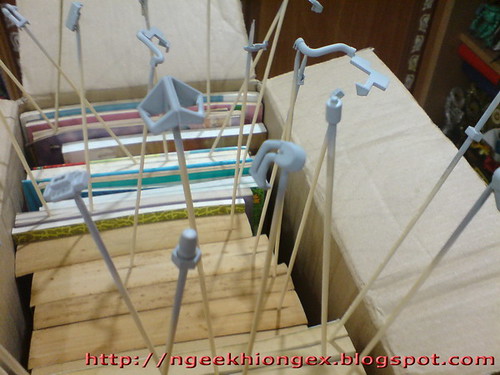
Satay sticks - long bamboo skewers to hold the parts as they are being sprayed.
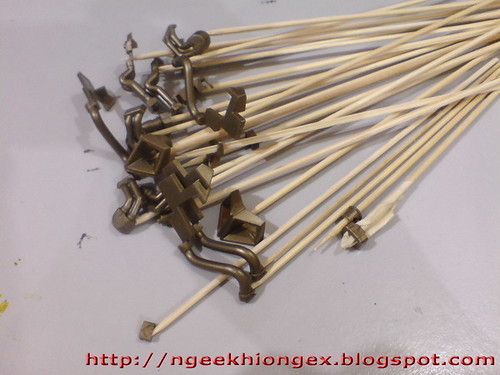
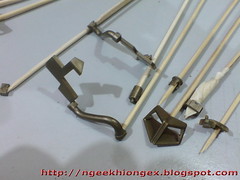
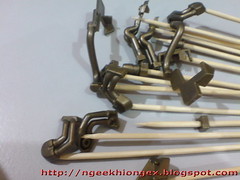
Sticking the parts onto the skewers must be done carefully so that you don't break the part in the process. It should be tight so that the parts won't be blown off when sprayed, but not too tight that the parts would be damaged when removed later on.
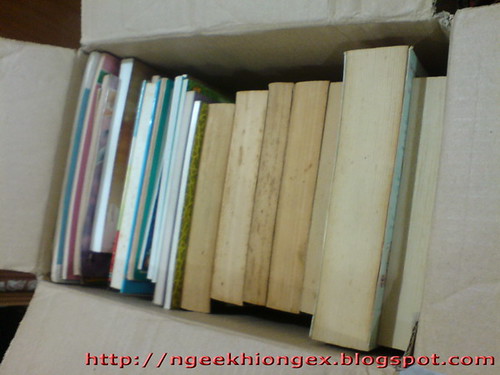
Poor man's rack to hold the skewers of parts ^^;
A rack of books packed in a box would do just fine.
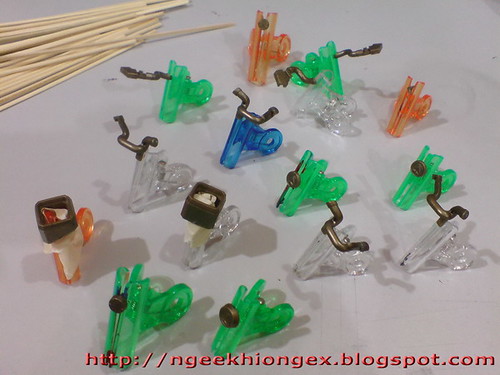
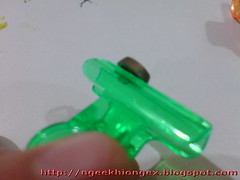
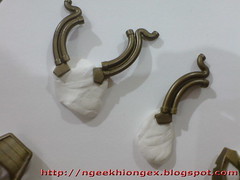
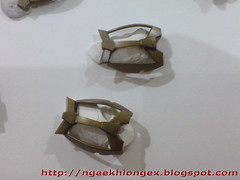
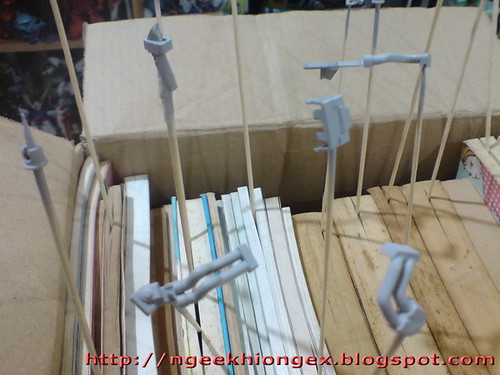
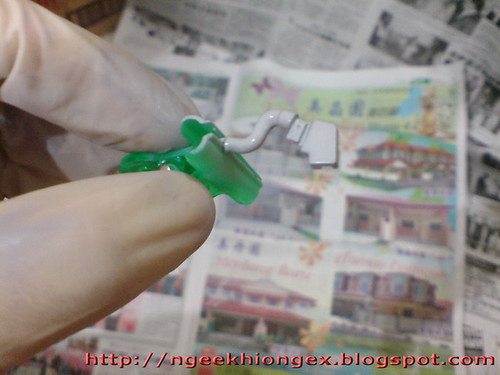
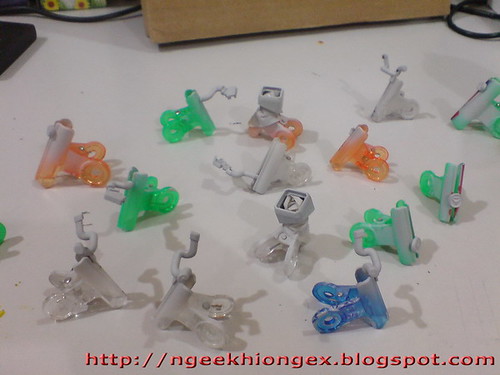
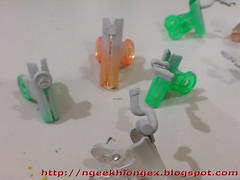
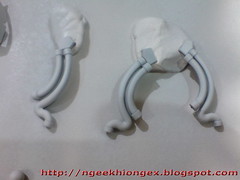
There are of course parts that cannot be fitted onto the sticks. The ever versatile plastic paper clips would be great tools to hold them.
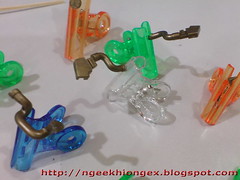
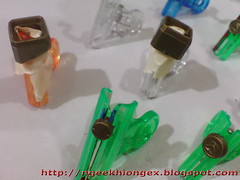
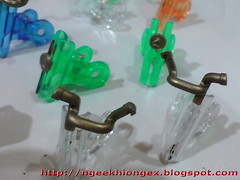
Even before starting the task, I realize the risk of having some of the connecting points of these parts broken after going through multiple layers of paints. Hopefully those parts are expendable and cement for model kits would be able to connect them to their intended locations on the model later.

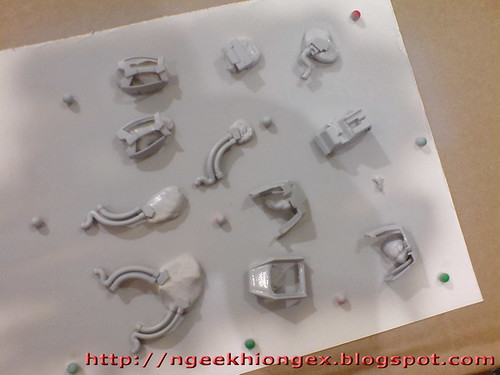
Even bamboo skewers and paper clips may be unsuitable for certain other parts on the list. The universal "holder" for these sort of parts would be "Tack-It" adhesive, which has been very helpful in holding parts for painting of several kits as shown on this blog, including MG F91, HG 1/144 Tieren Space Commander Type and others.
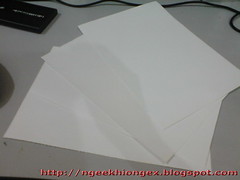
Pictures show cardboard slides and papers to be used to hold these parts.

Using Tack-It adhesive to hold the parts ...
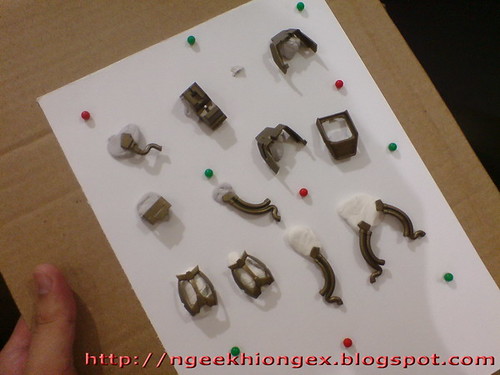
... and pinning everything down on the cardboard slide so that they would be much easier to hold and maneuver when spraying the parts later on.


The reason a white sheet of paper is used between the parts and the cardboard slide is easier identification of the parts. Brown parts on brown cardboard slide may be hard to see.
Quite a bit of work there is done to ensure the "security" of these parts. ^^;
Bringing out the main character for this particular segments of the task:
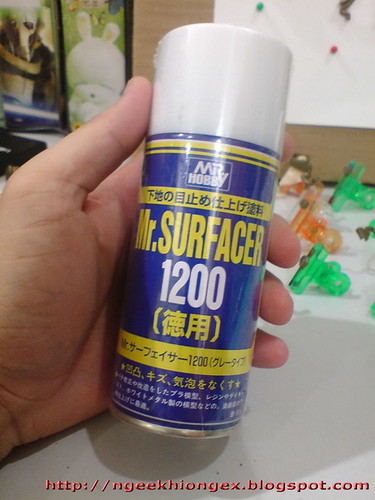
Mr. Surfacer 1200 from Mr. Hobby.
I don't know much about using surfacer on model kits, but I do know that it's like applying a layer of cement on bricks before painting them, as in the example of building a house. It's the first layer of material to hold the paint that will come on top of it later on. Using spray can directly on the parts without surfacer would work as well, but I've seen examples where the paint would crack and bits of it falling off later on. So, going through the more secure route, surfacer would be up first on these parts. ^^
The magnificent thing about surfacer is that it totally covers up the base color of the parts. I've seen the opposite of that a lot through personal experience, where multiple layers of Gundam Marker paint (the usual paint method I use) and bottle paint must be applied to conceal the base color, especially when it's light color on dark surface. The parts usually ended up becoming a bit thicker than what they used to be because of the multiple layers of paint applied. Therefore, seeing how a surfacer can do its magic to conceal whatever base color it's on would be something new and fantastic for me. ^^
And of course, another two compulsory tools to go with the whole task:
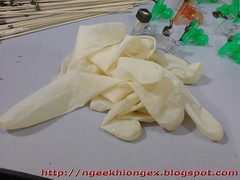
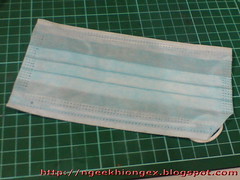
Latex gloves and mask for personal protection. ^^
Setting of the space for the work, which I didn't take pictures of: a well ventilated room, with all windows opened. I'm using one particular corner of my room with newspapers covering the wall so I won't have a blink-blink corner after the entire work XD

Effect of the surfacer on an empty runner for testing.
Painted the ones on skewers.

Painted the ones held by paper clips.

Placed in paper box for better storage.

Painted the ones on the cardboard.
No picture during the process of spraying the parts, obviously, since I was working with both hands. On and off I did take off the gloves to take pictures of the temporary result from the work, making the entire process somewhat longer to finish than it could have been. ^^
It's a very easy task really, and pretty quick too. "Fast and furious" - swift run through with the spray can without pause in between for a single part or a collection of parts. The idea is to keep the surfacer layer as thin as possible, but still manage to cover the entire base color. "Slow and indecisive" will only make the surfacer layer thick, with uneven result as you would predict from other forms of painting. That would be very bad indeed when there are supposedly two more layers of paints to come in, as in my planning for these parts that is. So far, the result turns out to be pretty good.
The surfacer is supposed to dry off after a very short time, but I'm not taking my chances and ruin this good beginning I'm still very happy with. I'll leave everything till tomorrow for the next round of "onslaught" on these parts. ^^


1 comment:
Nice work!!!!Good to see your painting this model :). the primer looks good too.
Post a Comment