Back to demolition and rebuild of my Lego Creator No. 4997 Transport Ferry set after 2 months. ^^ Currently, the alternate model it's in is the cargo plane, supposedly the second alternate model after the one I'm trying out this time, the transport hovercraft. It's not compulsory to follow the different builds in that order of course, as I didn't follow that anyway ^^;). It's based on the level of complexity of the different models I believe.

Anyway, the transport hovercraft is very similar to the original ferry from this set, with large space in its body reserved for the container area, functional gates and comes with 2 vehicles. Therefore, some of the build processes would be very similar to that of the ferry then I suppose - lining up the various large or long plates to form the lower platform and the body first, then building the whole thing up from there until the bridge. The whole model would be somewhat smaller than the ferry though, since the cargo area is fully enclosed, as compared to the "open-air" type of the ferry.
Interestingly, this hovercraft also spots one particular similarity with the cargo plane, and that is the 4 sets of fins on top of the roof. So it's quite fitting to have this as the last model to try out, since it's almost like a conclusion from the main and second models. ^^
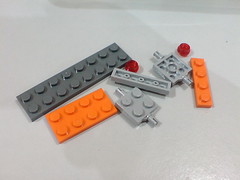
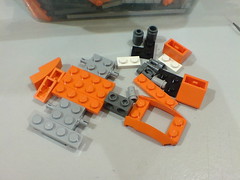
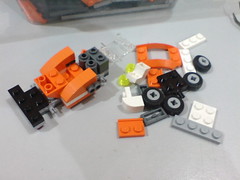
Assembling the first vehicle, which is a vintage car.
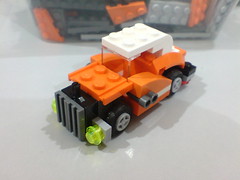
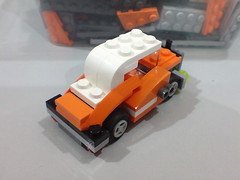
It's certainly very interesting to see how a speedboat from the original model turns into a vintage car for this hovercraft. ^^
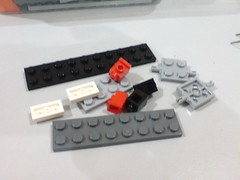
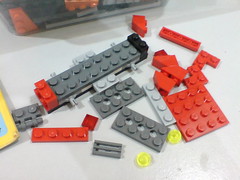
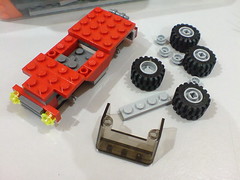
Assembling the second model - a jeep.

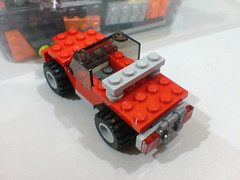
Looks pretty good as a mini jeep. ^^

Both vehicles done.
All the wheels can turn of course.
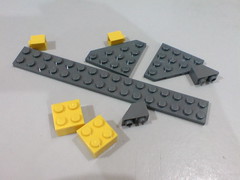

First few bricks that go in for the hovercraft itself are for the foundation of the tail portion.
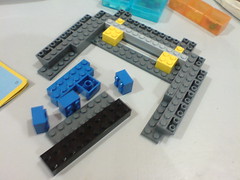


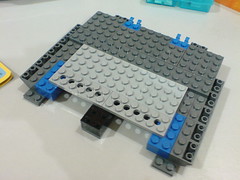
More bricks come on until a platform is assembled.
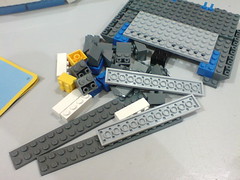
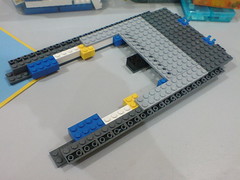
Long plates on both sides of the body define the length of the model.

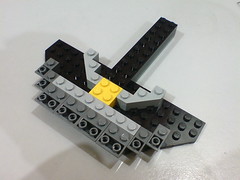
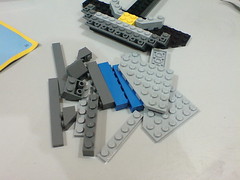
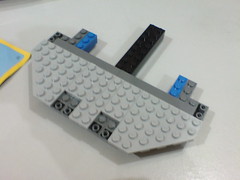
Assembling the head portion of the hovercraft.
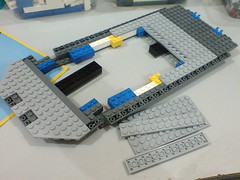
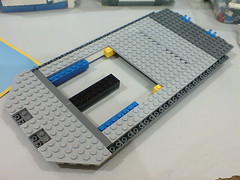
Join the two sections to form the foundation of the body.

More plates come on to form the floor.
Everything fits very nicely. ^^
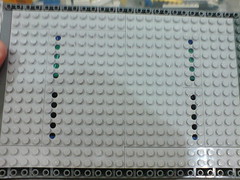
Some plates with holes in the middle.
After the ferry and cargo plane, I can tell straightaway that they are for the wheels beneath the body to allow the model to move when completed.


More bricks beneath the body to hold and support the plates that formed the floor.

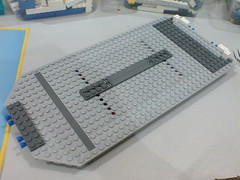


More bricks on top of the model to start separating the different sections of the body.

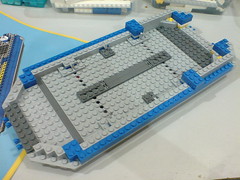

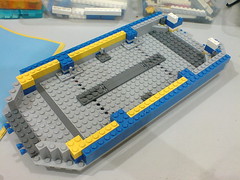
Colorful blue and yellow bricks to start building up the walls. ^^
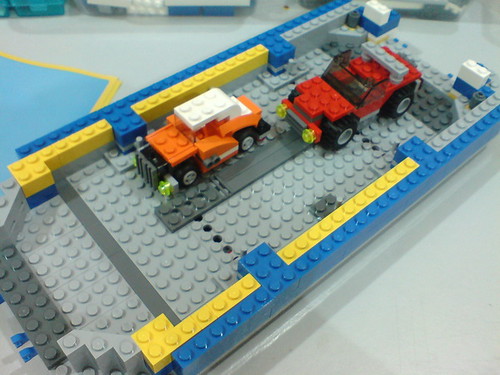
Testing out the size of the container area with the 2 vehicles.
Can fit in more as you can see, but the awesome design point is how accurately the floor is divided to hold one vehicle each on the left and right "lanes". ^^
Extremely realistic design. ^^
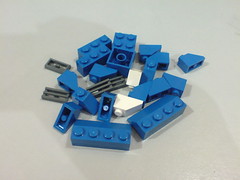


Even more parts to heighten the walls.
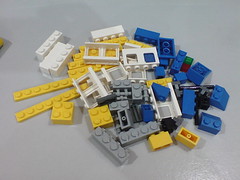

Parts for the windows coming on. ^^

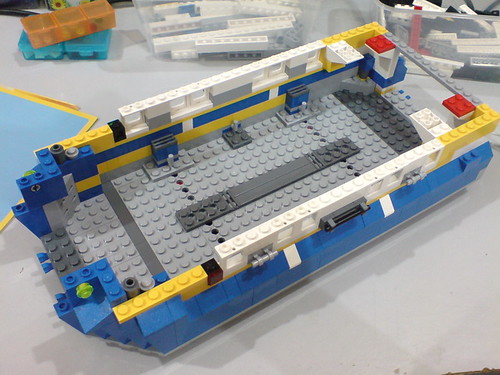
Very much reaching the top already at this point. ^^

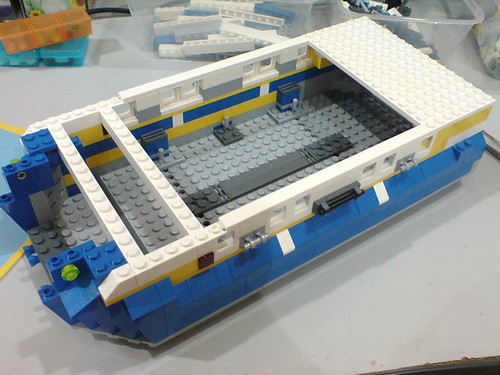
White bars define the beams for the roof.
The tail portion has been enclosed as you can see.

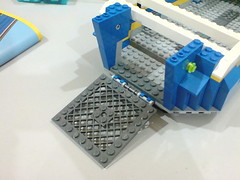

Building the front gates.
No fancy linked mechanism like the gates on the main model, just simple flips that allow the gates to be opened or closed.
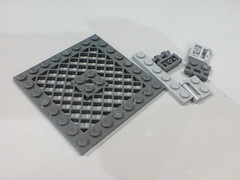

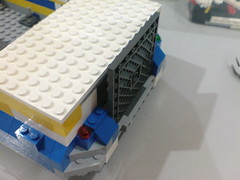
Same design for the rear gate.
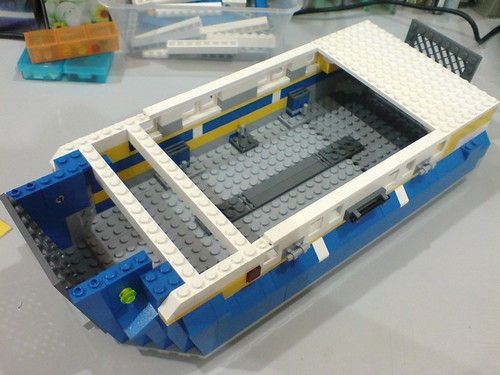
Progress so far.


Done for the front roof.
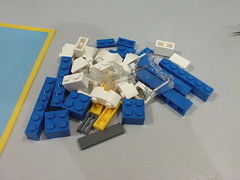
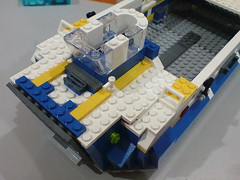

Assembled the bridge.
A really tiny one as compared to the main model XD
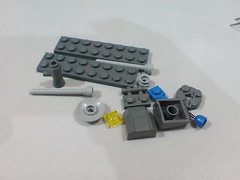

Adding in the roof for the bridge, with a few other accessories like antenna, loud hailer and light.

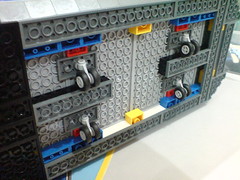
4 sets of wheels beneath the body.
Almost done actually. ^^ One large plate for the roof of the container area and 4 sets of fins are the major components left now, which will be covered in the next posting. ^^


No comments:
Post a Comment