Started working on MG Gundam Mk. II Ver. 2.0 introduced on last Saturday.
No better component to start with other than the very intricate legs I suppose. ^^

Panel lining for the major joint parts.
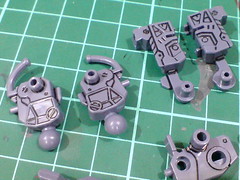


Abundant as they are, the details on each part are actually simple enough to be done using a normal panel liner. There's no hard to reach corner or deep valley that requires special treatment, which is something I'm deeply grateful of. ^^

The 4 main leg frame parts are a bit hard to work with, especially the ones shown on far left and far right. Some of the spaces in between the elevated parts are too narrow for my panel liner to reach.

Panel lined the parts using the method shown with MG Infinite Justice Gundam. The color used is the same as well: Tamiya Color Acrylic Paint XF-1.
More of a combination of methods actually: hard to reach spots are done using the paint, while other details are done using the "conventional" panel lining method in my book. ^^

Painted silver for the different pipes.
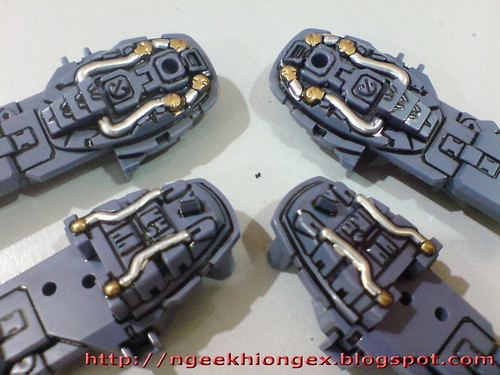
Added gold for the connecting points of those silver pipes on each part.
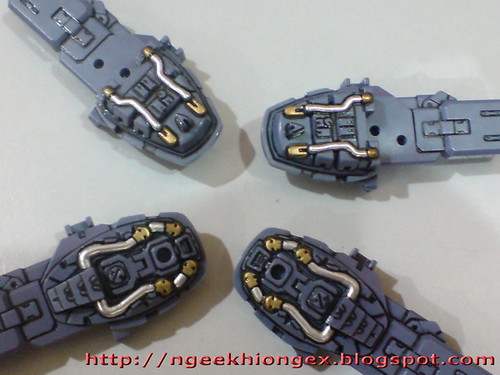
Cleaned up the parts by scratching off excessive paint around the intended areas using a knife and reapply panel lines to those spots.


As usual, me like bling-bling parts on me Gun-pu-la XD
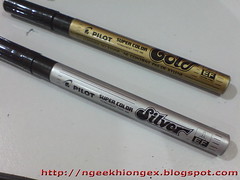
It's been quite a while since I last used them (for this much), but they are very handy markers with great results: Super Color Extra Fine Gold and Silver, which were first mentioned in the work for BB Senshi Sangokuden Shiba-I Sazabi back in January 2009. ^^

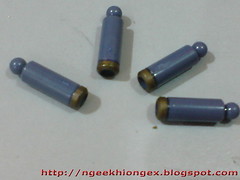
Painted the edges of the hydraulic pipe's hosts in gold using Gundam Marker Gold, but the color turns out to be quite murky. ^^;
Time for some shaking exercises for the marker. ^^
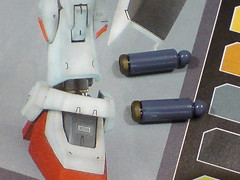
Very tempted to paint the entire host in gold, but I like the result of this part shown in the manual, so I'll keep it this way then. ^^
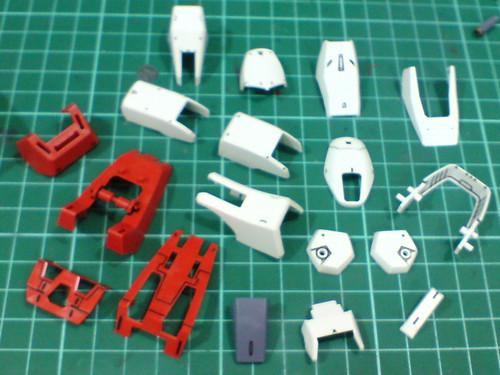
Simple panel lining for the many leg armor parts.

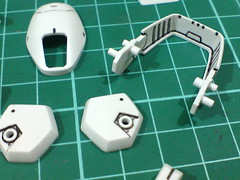

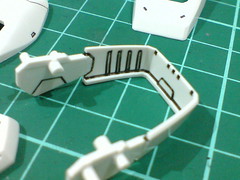
Out of the many parts, the rear face of the ankle guard has the most amount of details. When compared to the inner frame parts though, well... ^^;
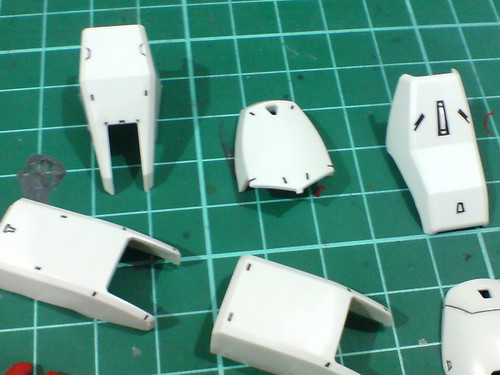
Very simple looking details on the larger armor parts, which are all designed after the Perfect Grade version.
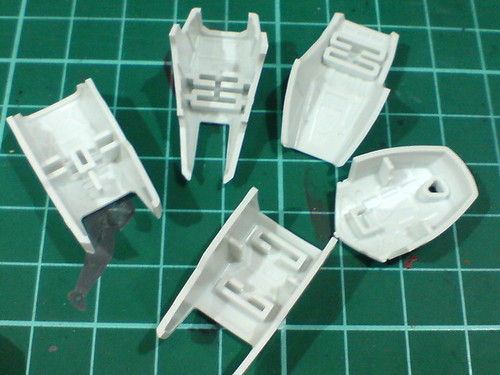
No work on the rear face of all the armor parts.
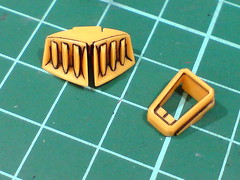
Panel lined the yellow vents using paint before cleaning them up using toothpick to reveal the lines of the fins.
And then repeat everything for the other leg. ^^;
Will switch to work on another kit for a change of mood then. ^^


3 comments:
I should get those Super Color Extra Fine Gold and Silver markers. I never thought of doing these to joints. Kind ring a bell.
Isn't it refreshing to have the moving hydraulics pre-chromed? Takes a lot of work off.
What panel lining marker did you use? Is there a risk of the ABS breaking as a result of the marker ink reacting with the plastic?
Post a Comment