Returning to work on MG Shin Musha Gundam after dealing with the golden parts in Part 5 about a week ago.
Very consistent with my penchant for gold and silver treatment for hydraulic pipes and many other smaller details on my kits, ^^ the focus of this posting will be on the various sets of hydraulic pipes on the pre-assembled inner frame of the legs. From the experience with MG Gundam RX-78-2 Ver. OYW, those components aren't easy to remove, let alone paint them. Even though I did managed to do so back then, the process was a bit rough to say the least. It was almost like Machiavellianism at that time, - "the end justifies the means", as long as they could turn out to be in gold and silver, I would do it in that method. ^^; Of course I did it, but I don't think I want to use the same method anymore. ^^; This time, I'm thinking of getting the same result for those parts, but through a way that won't be too damaging to the parts, I hope. ^^;
Before that, some easier work on the parts for the arms first:
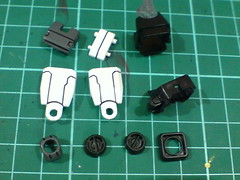
Simple panel lining for the exterior and interior parts alike.
A bit of gold and silver paint using normal pen for the static hydraulic pipes on the elbow joints.
Simple panel-lining for the shoulder joint parts
Pretty much like the ones on the shoulder joints, the fixed details inside the shoulder joint part are painted using normal gold and silver pen.

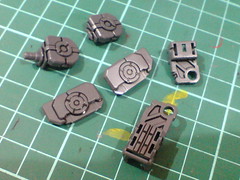
Panel-lining for the armor parts.
Even though I mentioned in the introduction of this kit that panel-lining can be omitted for those protruding details behind the shoulder armors, I did apply that to those parts anyway. An act of habit I suppose. ^^;

Repeated the paint work on the shoulder and elbow joint parts from the other arm.

A closer look at all the painted parts on both arms.
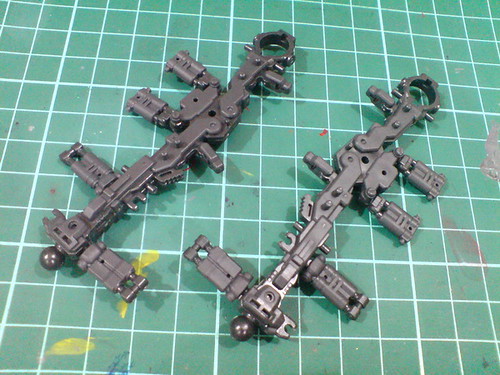
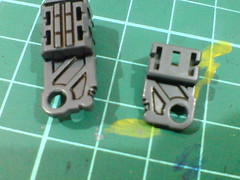
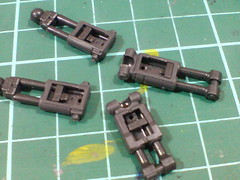
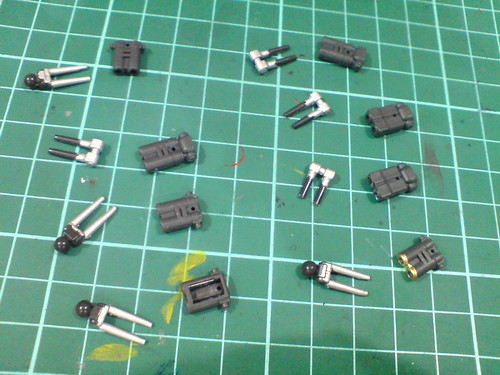
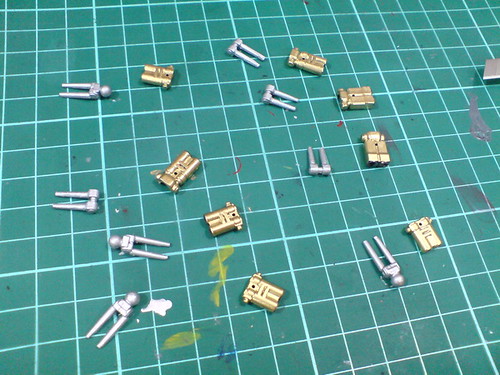
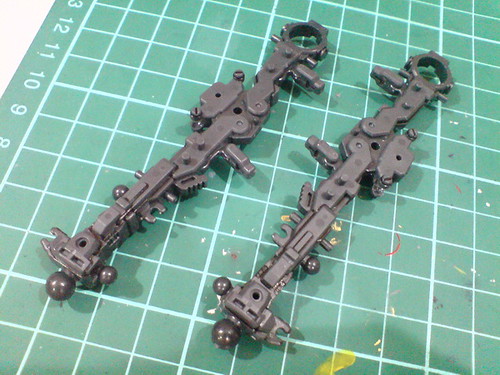
Moving on to the main course of this posting: the leg frames.

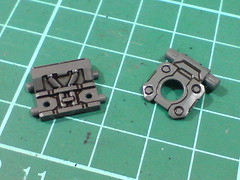
Each frame has 4 pairs of hydraulic pipe set: 2 linked to the knee and another 2 to the ankle.
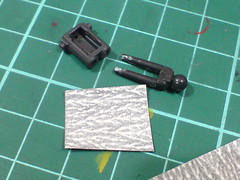
Detach all of them from the ball-type joints that connect them to the frames.
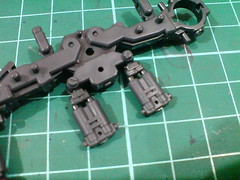
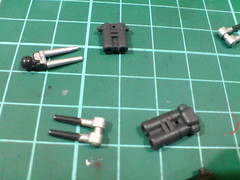
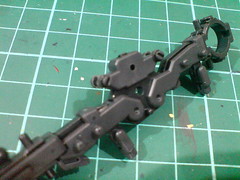
To paint them, the pipes must be removed from their respective hosts first, but that's not possible right away because each pair of pipes have fixed tabs inside the hosts on the rear side that prevent them from being separated.
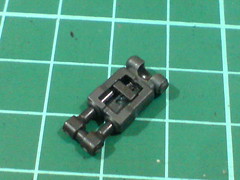
The exact function of those tabs is to prevent the pipes from "falling out" of the hosts when they move.
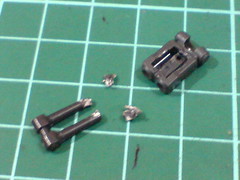
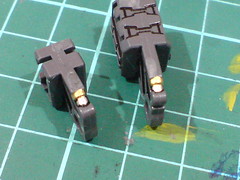
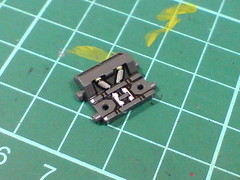
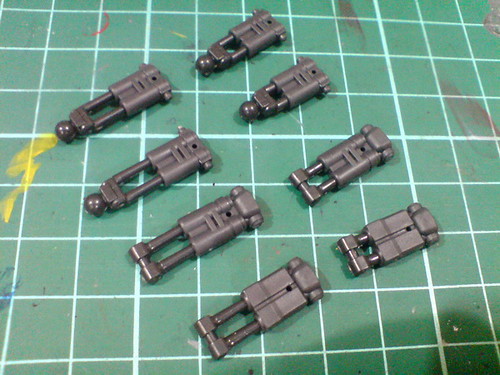
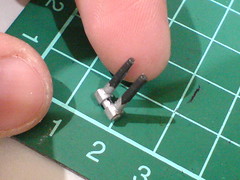
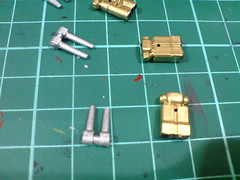
A bit of brute force here: ^^; "shred" the tab inside the host with nippers, remove all the bits until the pipes can be removed from it.


Done for all 8 sets of the hydraulic pipes.

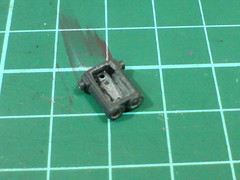
What remains of the tabs from the various hosts.
Security breached and totally destroyed. ^^;
Using sandpaper, the edge of the pipes is cleaned and smoothed.
This is the easy part actually. ^^;
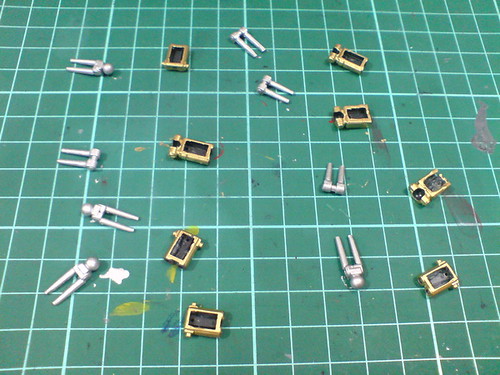
Perceiving that the extra layer of silver on the pipe is going to make the part thicker, the interior of the host is trimmed and smoothed to enlarge the space inside it.
A pair of tweezers, many tiny cutouts of sandpaper, plus many songs from my favorite CD over a very long time for all the repetitive work on 8 parts. ^^;
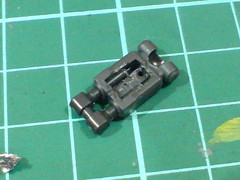
Now the pipes can be removed from the host very easily. ^^
The paint on the pipes is not rubbed off when the part slides out from the host as well. ^^
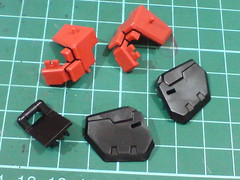
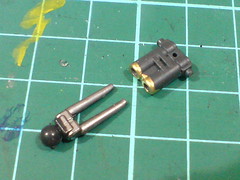
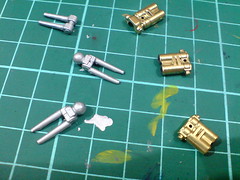
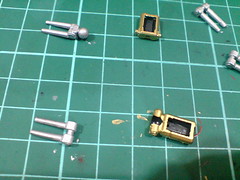
Painted the silver pipes first.
The reason they are "half done" like this is because I needed some portion of the parts to hold on when painting them.
Done with one half of the part, the paint is left to dry for a while before proceeding to the other half.

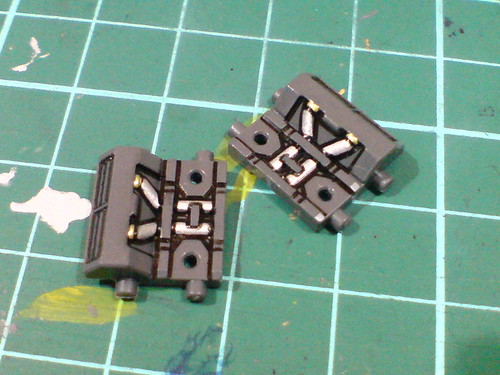
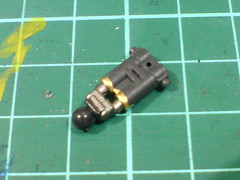
While waiting for the silver parts to dry, the hosts are painted in gold.
Much easier than its "minion" really, XD since it can be conveniently held using tweezers. ^^
Half done.
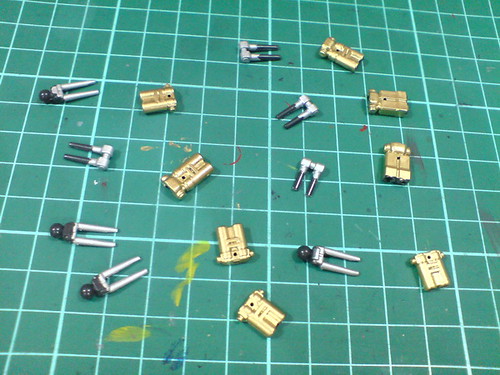
Almost-all done after about 2 hours of waiting for the silver paint to dry before the remaining half of the parts are painted.
Shiny bling-bling, me like very much. ^^
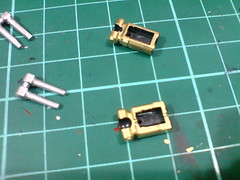
Rear view of all the parts

Completing the entire work by painting the bottom face of the host in gold.
This is the part where it was blocked by the tweezers when its body was painted just now.

All done. ^^

Paint markers used for the entire task: Gundam Marker Gold and the always reliable silver oil-based Zebra Paint Marker.

Store all parts in a pill box to give them a more secure location to dry even more over a longer period of time.

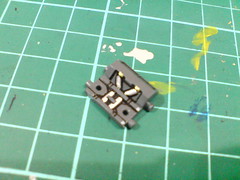
Panel-lining for some details on the frames.
All done is all done for the paint work, I will return to the hosts again to panel-line the details designed on their surface. ^^
Pretty good outcome in the end I would say. The most important objective of allowing the pipes to slide out from the hosts while not damaging the paint done on both parts is accomplished. ^^ Since this method is working, I believe I'm repeat it for the same parts on the limited MG G-3 Gundam, which has been left untouched for a very long time. ^^;


No comments:
Post a Comment