A look at HCM-Pro Arios Gundam's transformation feature this time. ^^
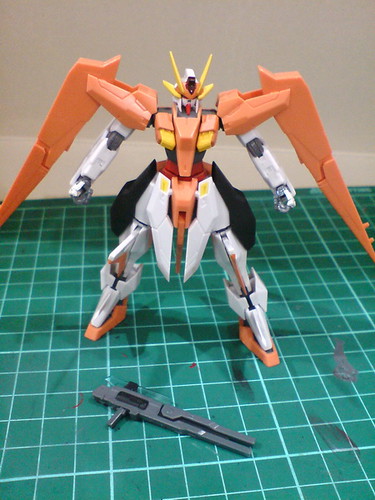
GN Twin Beam Rifle is removed first.
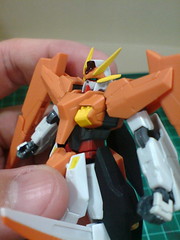
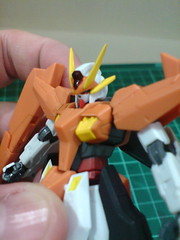
The head is tilted downward. As mentioned in Part 2, the mid section of the chest will move together with the head.
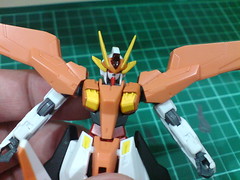
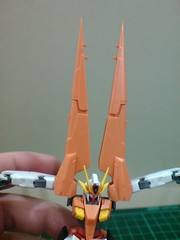
Similar to the same component on Gundam Kyrios, the shoulder armors are bent upward.
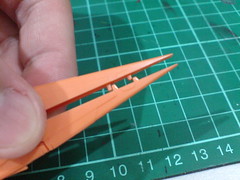
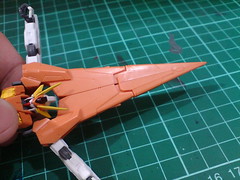
The tabs near to the end of the spikes allow the two to combine tightly.
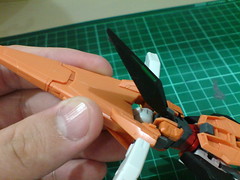
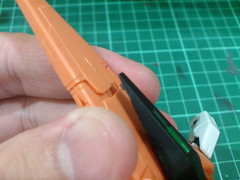
The black binder on the back is flipped all the way to the front, until the tab near its edge can be secured onto the top of the nose.
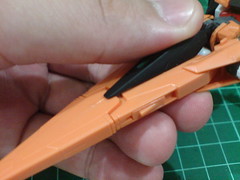
The spikes (now the nose of the MA) and the binder (now the sensor unit (?) of the MA) are tightly secured. ^^
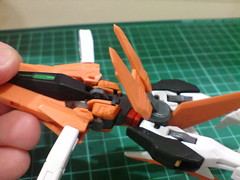
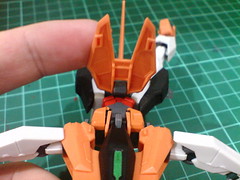
(Left) The rear skirt armor is flipped forward in similar fashion as the binder in the previous step to tab onto the back of the shoulder armors.
(Right) Two dedicated connectors behind the shoulder armor helps to lock the skirt armor in place.
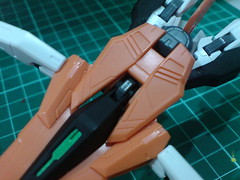
Unlike the High Grade and 1/100 scale Gunplas, No part swapping is required for the rear skirt armor. ^^
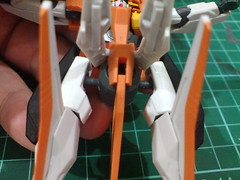
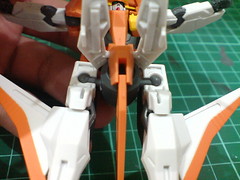
To transform the legs, the thighs are pulled outward from the hip joints, then flipped backward until the latter are secured to the dedicated space on the thigh.
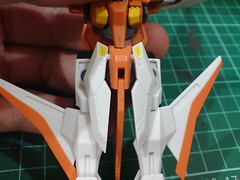
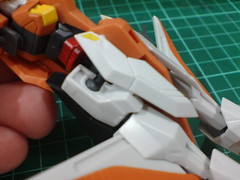
The front skirt armors are tabbed to the slots on the thigh.
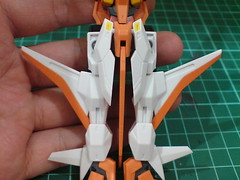
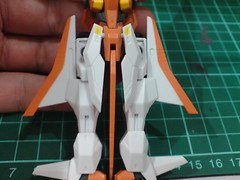
To transform the wings, they are first bent upward, ...
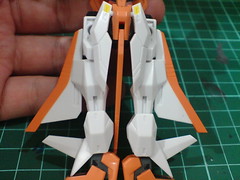
... then slide downward.
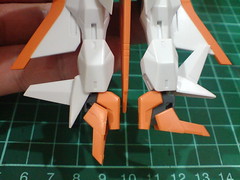
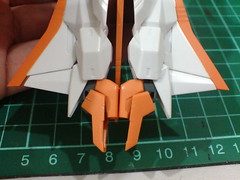
(Left) To complete the leg's transformation, the ankle guard and front portion of the feet are adjusted downward, ...
(Right) ... before the entire ankle area is pushed upward, until the ankle guards' blades connect to the back of the main wings. When adjusted well, you can get a seamless connection like the left leg shown in the image.
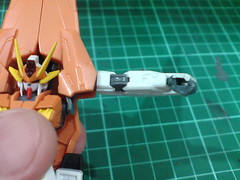
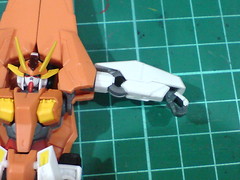
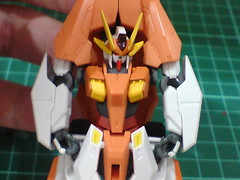
Very simple transformation for the arms: they are rotated at upper arm level until the forearm armors are facing outward, then bent downward.
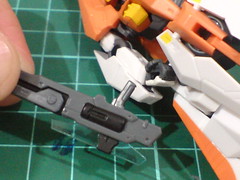
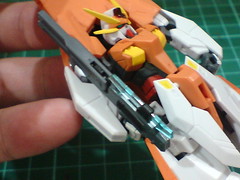
The very last step in the entire transformation sequence is to mount the beam rifle to the figure's right hand.
Unlike Gundam Kyrios, there's no special attachment part needed, so it would seem like the Gundam is holding the Gundam upside down XD
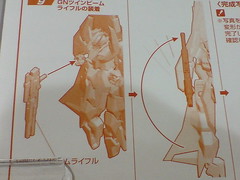
The instruction in the manual shows how the beam rifle should be attached pointing downward, then flipped to the front. I skip one step there to achieve the same outcome. ^^
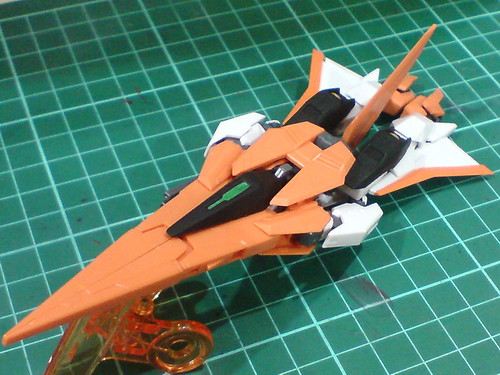
The completed MA mode of Arios Gundam.
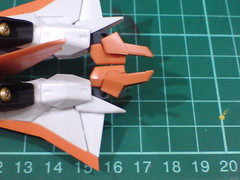
Length of the MA mode: about 18cm.
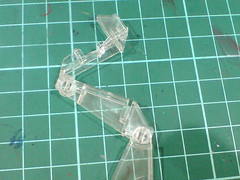
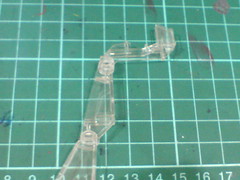
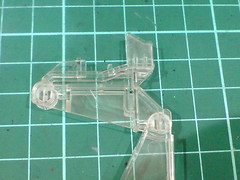
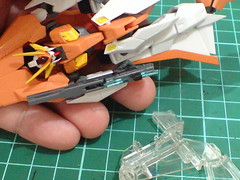
The same display base used for Arios Gundam in MS mode shown in the previous posting is the same one for it in MA mode.
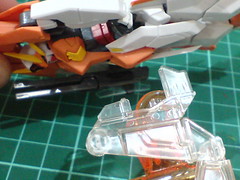
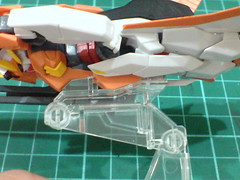
All you need to do is to reverse where the mount rack on the display stand is facing. ^^ The clip that connects to the tail in Gundam mode is now mounted to the groin, while the protruding point used to support the tail unit is now used by the abdomen. ^^
Th creativity and consideration thrown in to make the mount rack usable by both Gundam and MA modes is very cool. ^^
More images of Arios Gundam in MA mode:
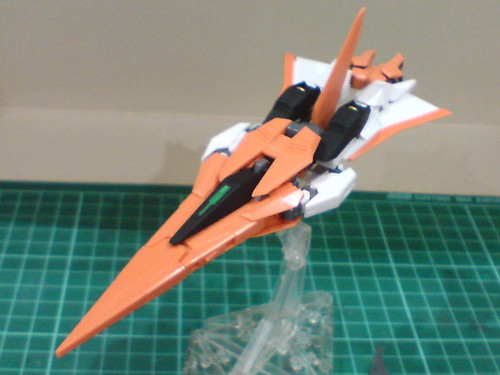
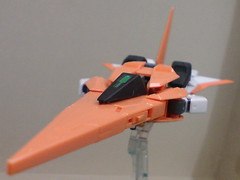
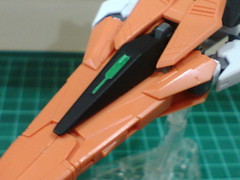
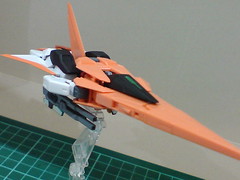
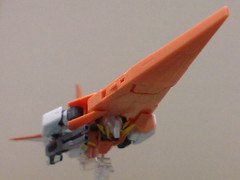
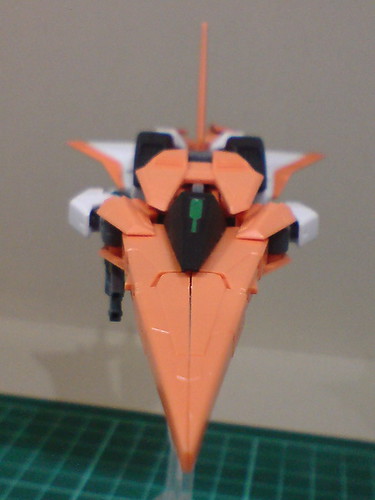
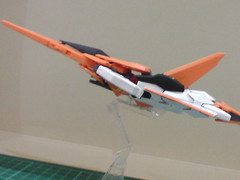
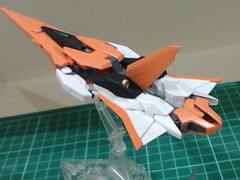
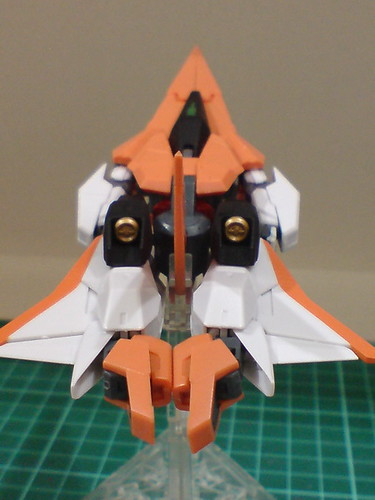
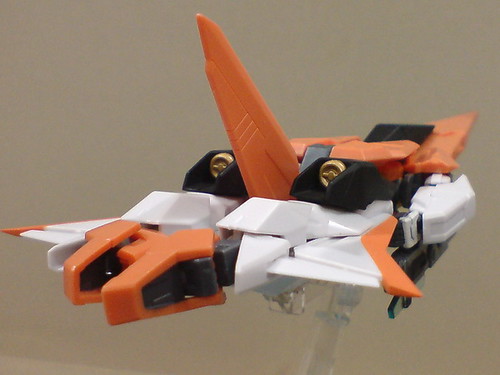
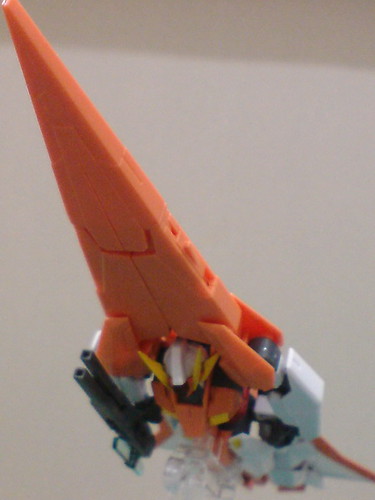
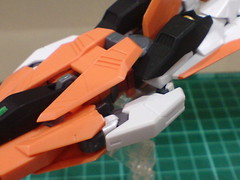
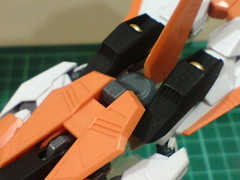
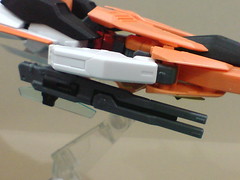
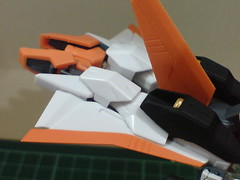
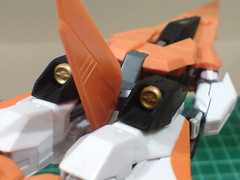
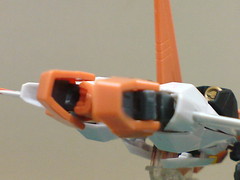
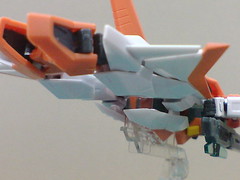
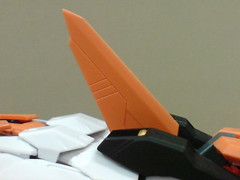
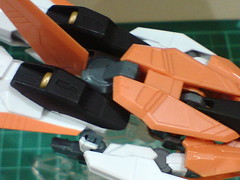
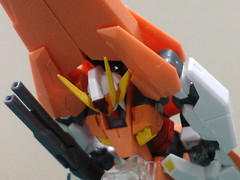
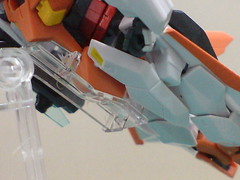
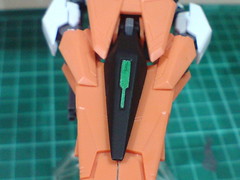
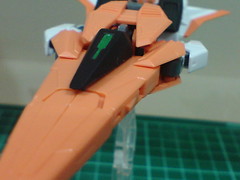
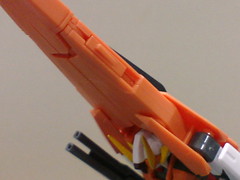
Much like Gundam Kyrios, the design of the MA mode is pretty aerodynamic. It's certainly nice to see how the somewhat "wasted" spiked shield of Gundam Kyrios in its MA mode is adapted into the huge pincer, which is definitely the signature feature of Arios Gundam's MA mode. ^^ It can be deployed in similar fashion as its predecessor's shield, just that the notorious single solid blade has been replaced by beam feature.
So instead of getting pierced to death slowly by a huge blade, the enemy will be snapped in half much faster by beam blades this time. XD That has to count as an improvement as well I suppose. XD The pincer's deployment is a contrast between two Gundams though: Gundam Kyrios can only use it when it's a shield in Gundam mode; while Arios Gundam can only use it when it becomes the MA mode's nose. ^^
The balanced feel of Arios Gundam is shared between its two modes I think. I definitely appreciate the design more than Gundam Kyrios. The latter is very good looking in MA mode, but the nose and tail that are "unable to be hidden" in Gundam mode is not good at all. ^^; Its successor unit is an MS that looks really good in both modes, even though like Gundam Kyrios, the simple transformation design makes it mighty easy to guess how it's going to be executed, right from the start. XD
Speaking of the transformation design, I like how almost everything that are movable during transformation are designed with dedicated slots and tabs to secure their position. As a result, the transformed figure is very firm, which makes displaying the figure easy and fun.
Some features designed for the MA mode:
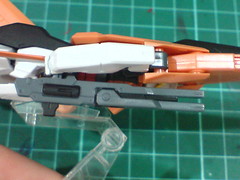
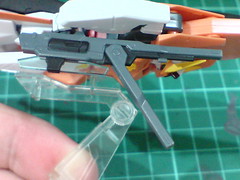
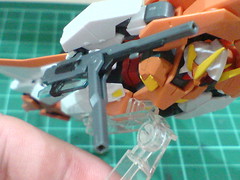
As mentioned in Part 2, the top barrel of the beam rifle can be bent downward.
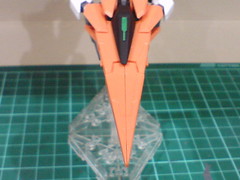
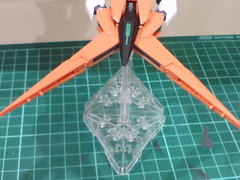
The pincer can of course be separated.
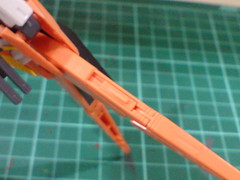
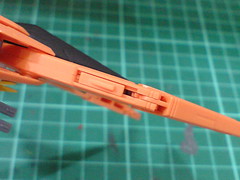
A feature not available on all other merchandise releases of Arios Gundam, including the Robot Damashii [Side MS] version: the movement of the pincer's front segment can be controlled by a slider.
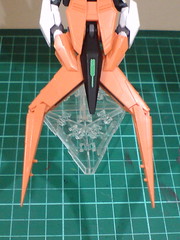
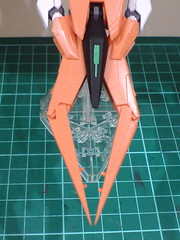
The base portion of the pincer is movable as well.
The tabs between the rear skirt armor and shoulder armors keep the latter locked in place when the pincer is moved.
The slider that controls the pincer's movement is indeed a unique feature of this HCM-Pro figure, but apart from a little bit of linked action, it's nothing too special really, which is why I didn't bother to talk about it actually. ^^;
I suppose the designer of the Robot Damashii version felt the same way when that figure was planned as well. ^^;
After three postings on Arios Gundam, it's GN Archer's turn to be featured next. ^^


No comments:
Post a Comment