Moving on to complete the upper body of MG Force Impulse Gundam after the previous posting. ^^
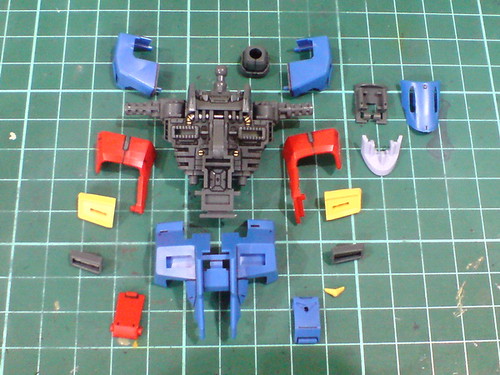
Armor parts for the chest.
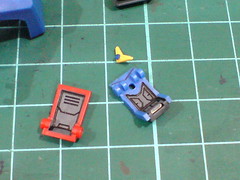
Details behind the cockpit hatch parts done in Part 12.
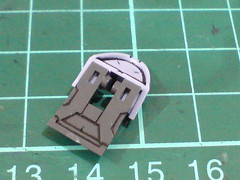
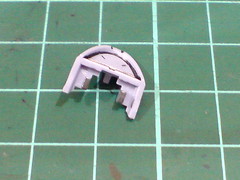
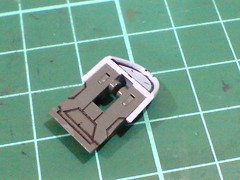
A bit of last-minute paint work again - the pins on the light blue chest part are painted gray using Gundam Marker to conceal its color when assembled onto the base.
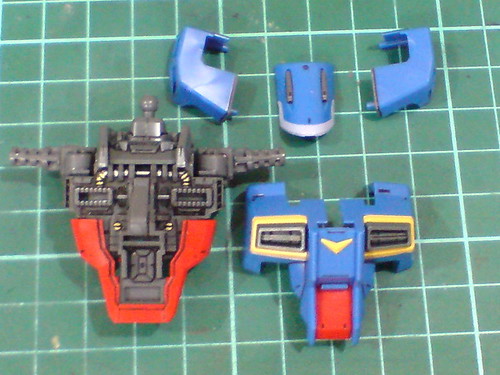
Major components of the body before the final assembly.
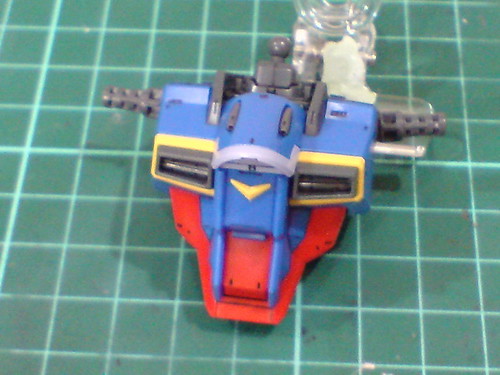
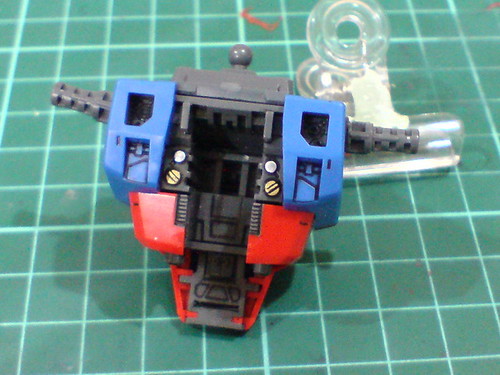
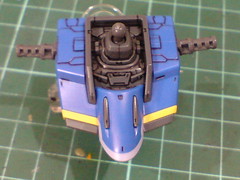
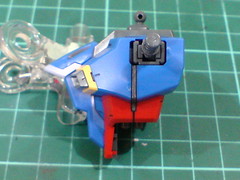
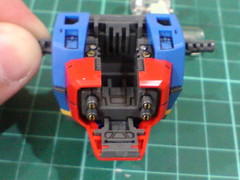
Done for the body.
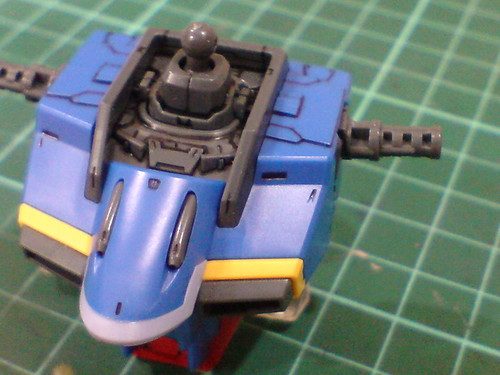
The rather funny error of mispositioned box-patterned details on top of the chest as mentioned in Part 12 is now in plain sight. ^^
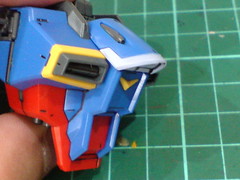
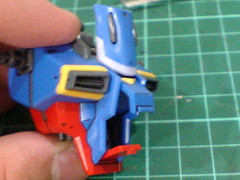
The cockpit hatches can of course be opened.
The chest top is designed to be able to slide upward, which will covering the Gundam's face in Chest Flyer mode.
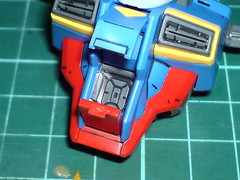
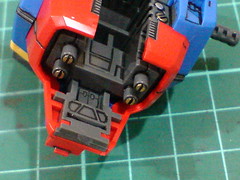
Impulse Gundam is perhaps the only MG kit where the cockpit hatch can be opened but no pilot figure to be revealed. XD
The interior of the hatch is linked with the inner frame, showing a door-like design, mimicking the actual cockpit I suppose. ^^
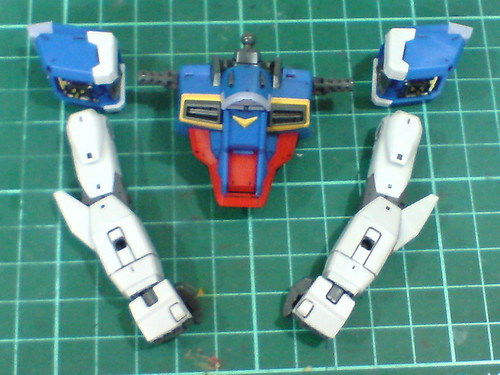
With the arms completed in the previous posting.
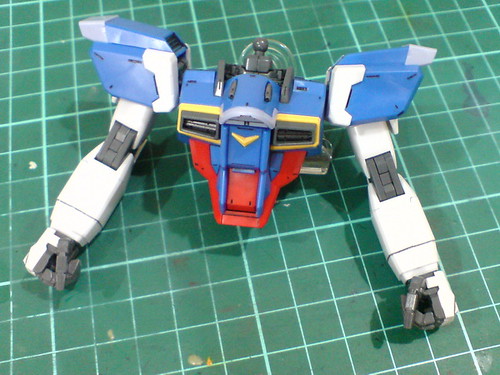
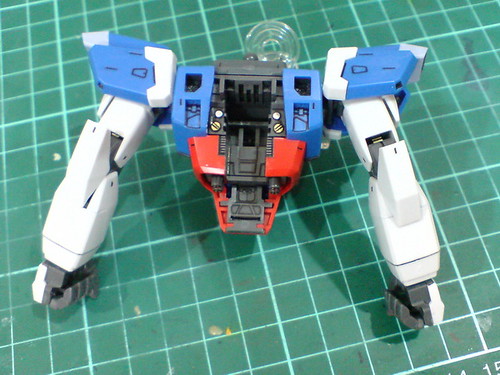
The entire upper body is completed.
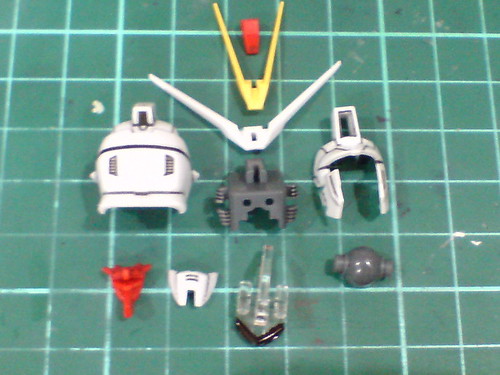
Parts of the head.
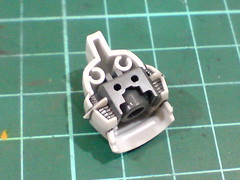
The vents on both sides of the head are from the connector part inside the head, which are delicate details.
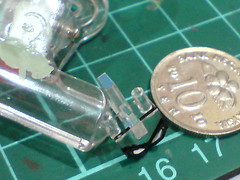
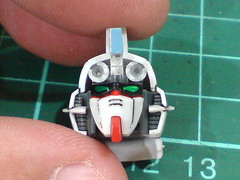
Foil stickers used for the targeting scopes and eyes.
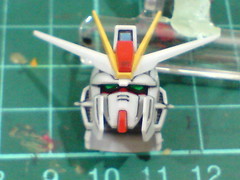
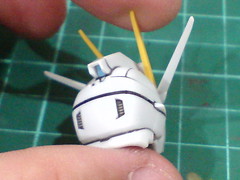
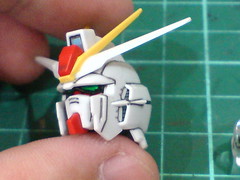
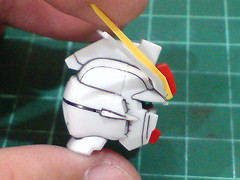
Done for the parts.
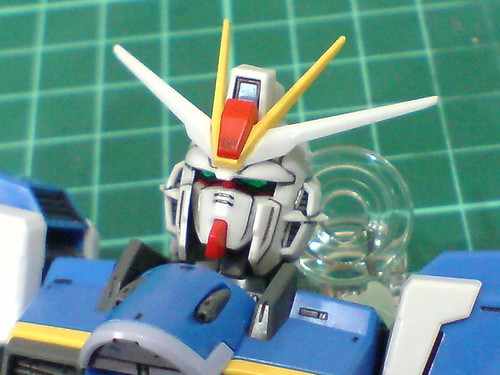
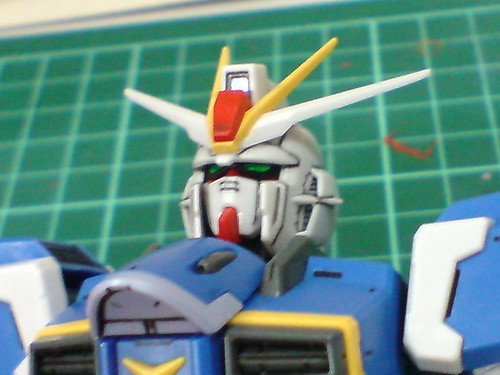
Connected to the upper body.
With the completion of the head, the entire kit is done. ^^ However, unlike previous reviews which saw loads of images of the completed kit right after the head's assembly, it's going to be all about Chest Flyer to sign off this particular posting for Impulse Gundam. ^^
A look at the transformation first: ^^
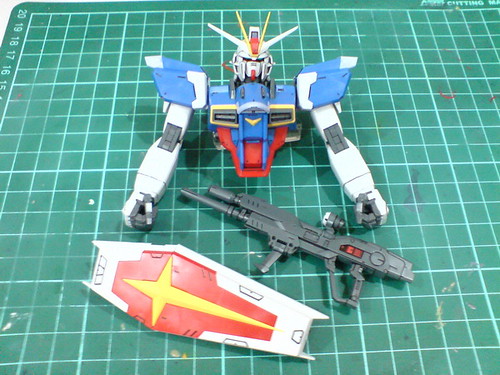
Apart from the upper body, the shield and beam rifle are required as well.
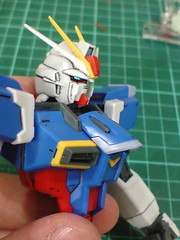
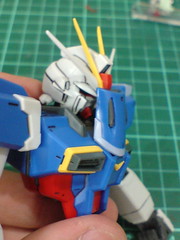
The head is lowered, which is then somewhat hidden by the top chest panel that is flipped upward. ^^;
So yeah, with the head covered up like that, no one will recognize that it's a Gundam eh? XD
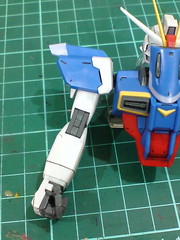
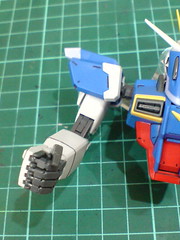
90-degree fold for the right arm at elbow level.
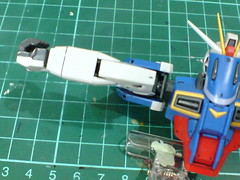
The entire right arm with its shoulder armor is rotated upward until the forearm is facing the front of the body. The arm is then flipped outward at upper arm level.
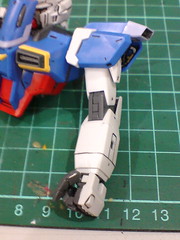
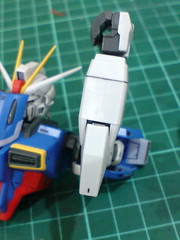
Simpler transformation for the left arm: a repetition of how the right arm transforms, minuses the last step of flipping it outward.
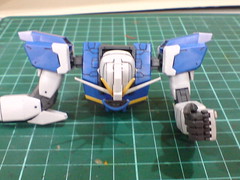
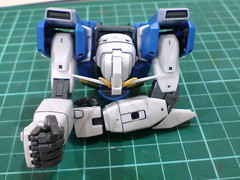
(Left) Both arms are pulled outward at their shoulder joints.
(Right) The shoulders are then bent to the front.
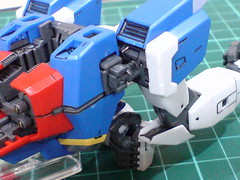
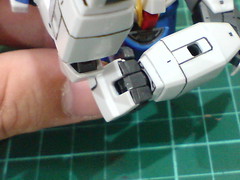
(Left) A look at the not-so-complicated yet very versatile shoulder joints. ^^
(Right) I suppose it's just to utilize more of the kit's articulation design to support the transformation gimmick, the left hand is flipped inward at wrist level.
So yeah, with it being folded like that, no one will recognize that it's a hand eh? XD
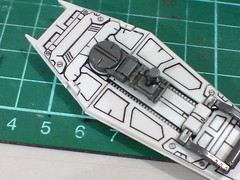
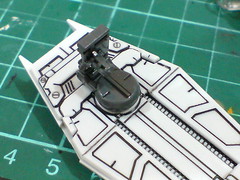
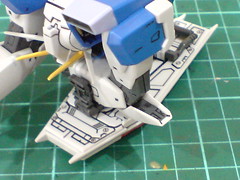
The shield's mount latch is flipped upward to attach it to the transformed left arm.
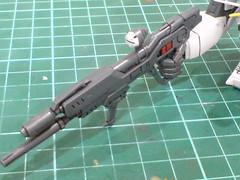
The right hand is equipped with the beam rifle to complete the entire transformation.
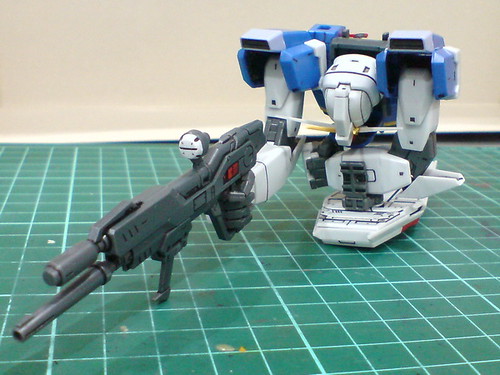
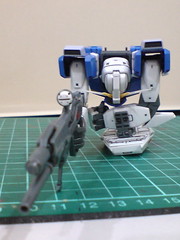
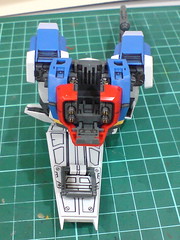
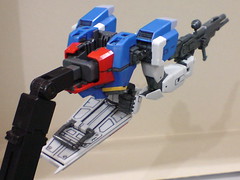
Chest Flyer completed. ^^
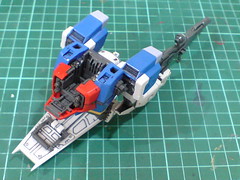
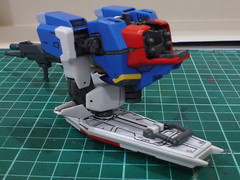
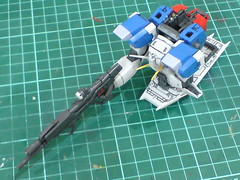
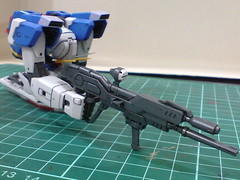
Using the beam rifle's supporting handle, the mecha can balance itself pretty well on the surface without the help of its shield's landing slides.
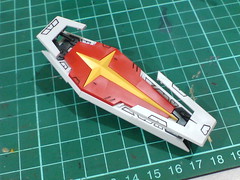
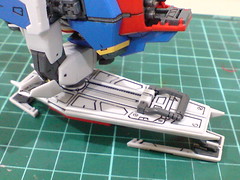
With the landing slides attached to the shield, which was already shown in Part 14.
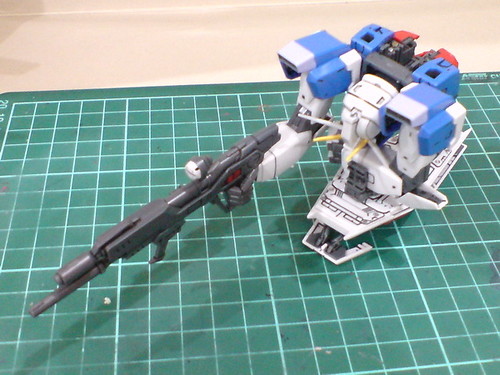
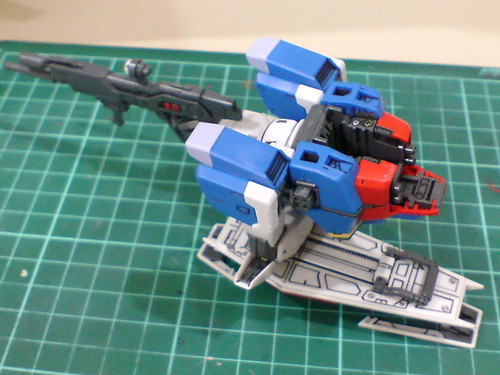
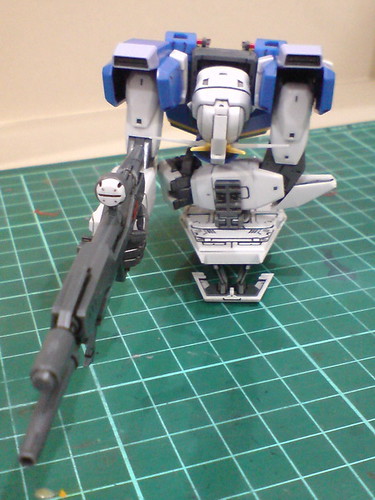
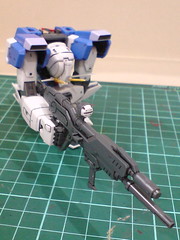
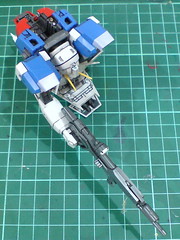
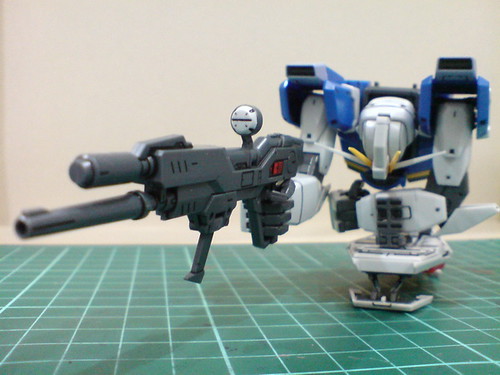
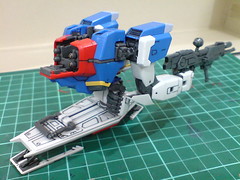
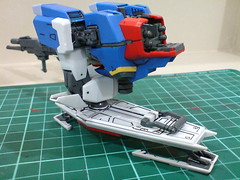
Closer look at the details:
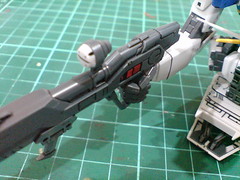
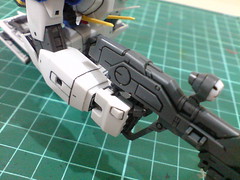
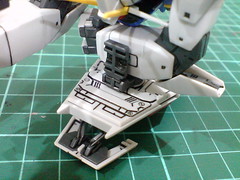
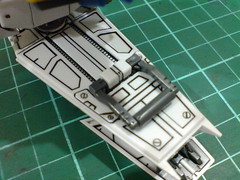
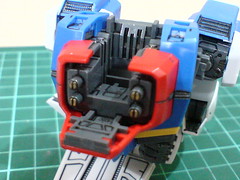
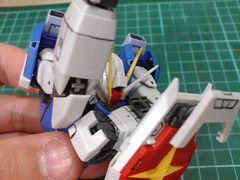
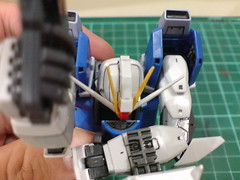
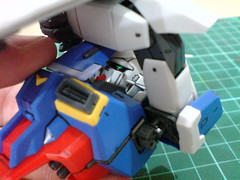
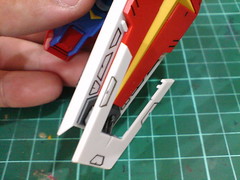
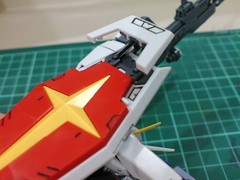
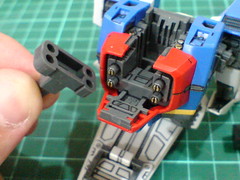
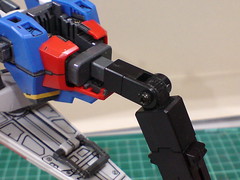
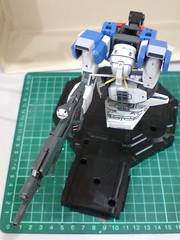
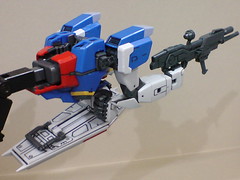
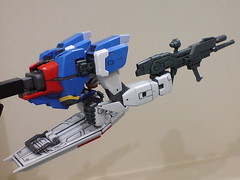
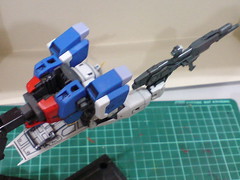
Like Leg Flyer that was completed in the the previous posting, an extra adapter part is included to mount Chest Flyer to Action Base 1.
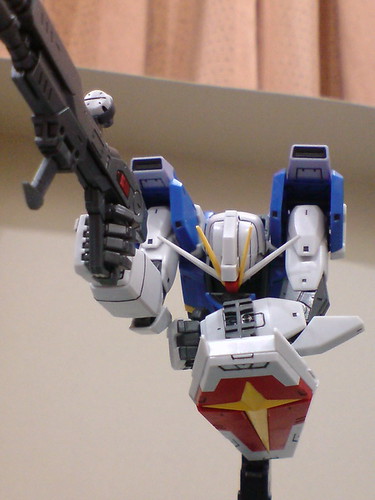
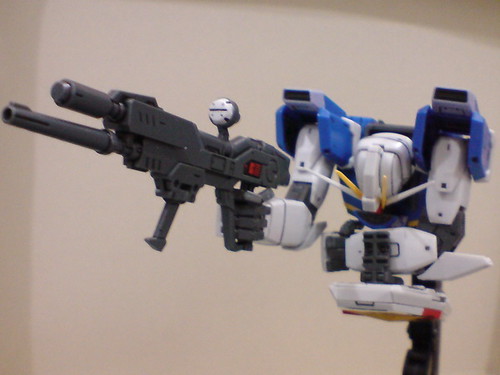
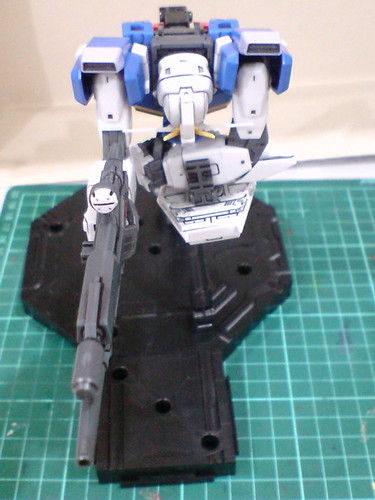
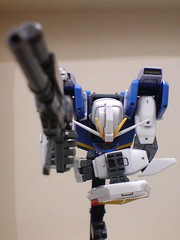
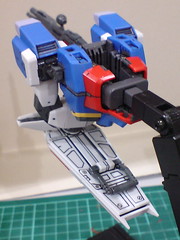
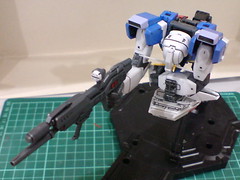
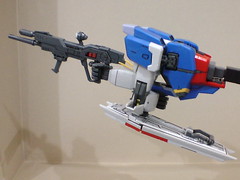
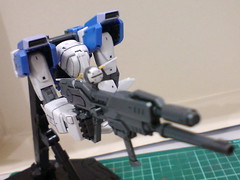
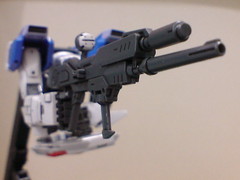
Chest Flyer on Action Base 1.
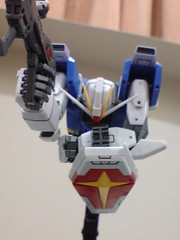
A gathering of all the four mecha that would form Force Impulse Gundam:
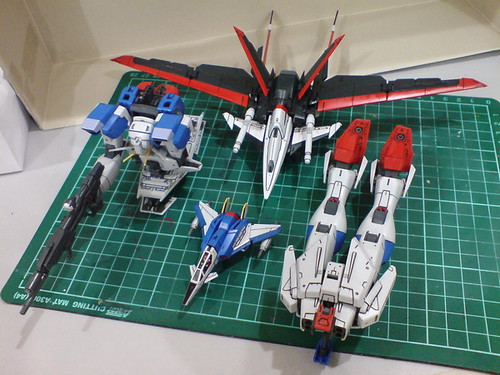
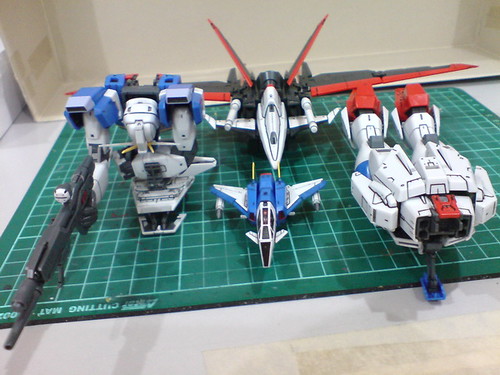
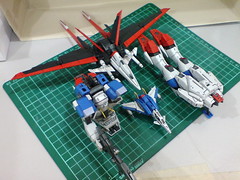
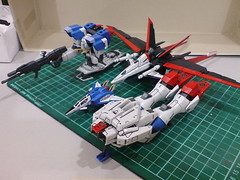
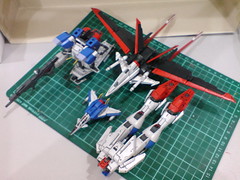
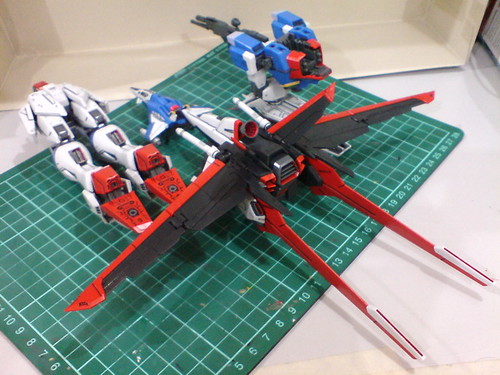
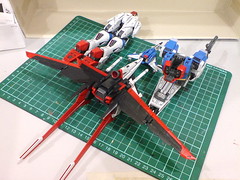
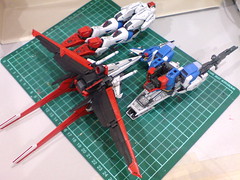
All of them have their own landing gears/slide/base, plus their own special adapter to connect to Action Base 1 as well. ^^ It's a very considerate design that allows you to display them on the surface or in mid air. ^^ For the latter, while that's possible, I don't have that many Action Base 1s to spare for all four to be displayed in one shot, so I'll pass. ^^; The combined size of four Action Base 1s is probably not easy to capture using my phone camera as well. ^^;
Done with every component of the Gundam, it's going to be all about the humanoid form next. ^^


No comments:
Post a Comment