More work on 1/48 Unicorn Gundam Head Display Base after the previous posting. ^^
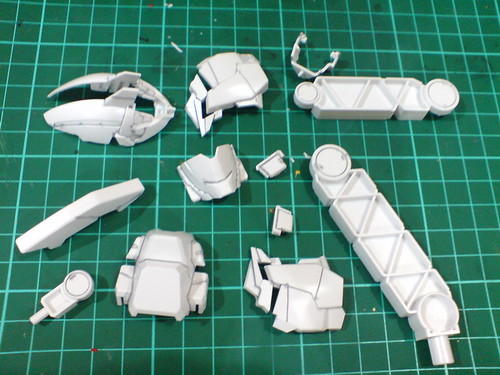
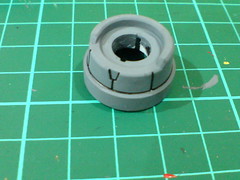
Panel lines applied to all the white parts. ^^


Closeups on the parts.
The line color isn't black, but is gray instead. ^^
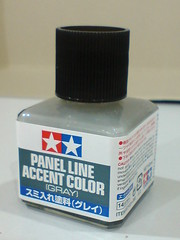
The panel lines are done using this new (sort-of) solution: Tamiya's Panel Line Accent Color (Gray). The other one I have, which was used pretty extensively on quite a few kits recently is in Black. Gray is among the four colors you can pick for this solution, with the other two being red and brown.

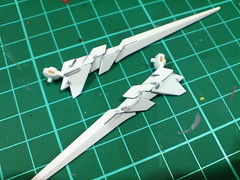
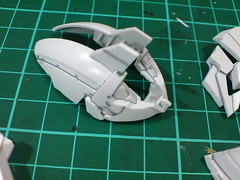
Other white parts with or without prior paintwork are also panel lined using the new solution, including the V-fin parts which were painted in the previous posting. There'll be no conflict between the two paint because Gundam Marker paint is acrylic-based, while Panel Line Accent Color is enamel-based.

Excessive paint is cleaned off using cotton swab soaked with enamel thinner.
Certain line details get rubbed off entirely by the cotton swab as they are on very shallow molded lines, or none at all. ^^; A normal panel liner with gray paint is needed to realize those line details. ^^

Gundam Marker GM02 Gray with fine tip for panel lining can help with the more "normal" panel lining method I'm used to on some of those parts I mentioned earlier on with line details that doesn't take Panel Line Accent Color's paint. ^^

スミいれ用(グレー) - Literally: for Inking (Gray). ^^
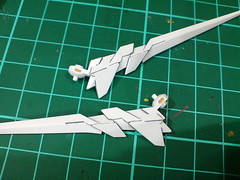

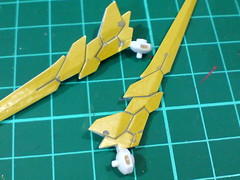
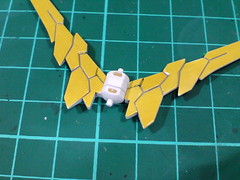
The panel line ink on the V-fin parts is also cleaned off using cotton swap with enamel thinner. ^^
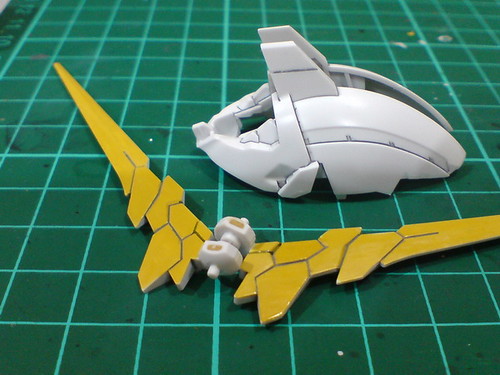
The yellow paint on the V-fin is not affected by the processes of applying and cleaning of Panel Line Accent Color's ink. ^^
Some of the lines on the V-fin as well as the top helmet part are done using Gundam Marker Fine Tip (Gray) as they always got erased by the cotton swap after numerous attempts using the panel lining solution. ^^;
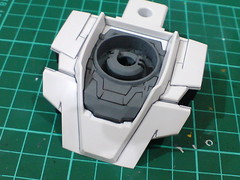
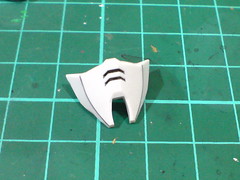
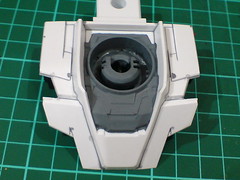
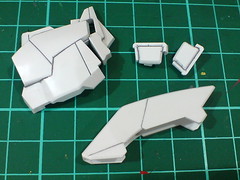
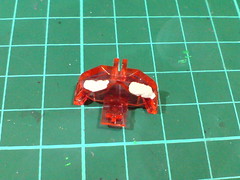
The cleaned chest base and mask part.
The vents are drawn using normal black panel liner. I originally wanted to have red lines for the vents using whiteboard marker ink - I had red vents on my MG Ver. Ka kit. ^^ Looking at the end result now, I'm glad I disagreed with my own decision on that the last minute. ^^;

The mecha part and area painted gray in the previous posting were given black panel lines to show that they are of another category of components unlike the white armors.

As mentioned in the previous posting, the independently movable button part between the V-fin pieces' joints is quite annoying to adjust during transformation. ^^;
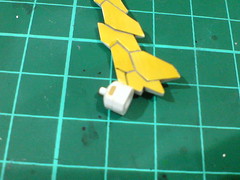
Solving the button part's issue is simple: just glue it to one of the joint part. ^^
That's one movable part eliminated. The next time the V-fin is transformed, only two parts are moving, not three. ^^

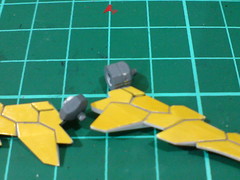
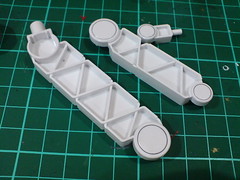
With the putty completely hardened now, the joint area is painted using Tamiya Color Acrylic Paint Mini XF-53 Neutral Grey.
Unfortunately, low space for tolerance between the joint parts during transformation causes the paint on the part's corner to be rubbed off almost effortlessly. ^^;

A bit of paint work is also needed for the forehead block. ^^;


(Left) The frontal face of the forehead block is painted gray using Tamiya Color Acrylic Paint Mini XF-53 Neutral Grey to indicate the mecha attribute of the head's interior.
(Right) The front and rear sensors are painted with fluorescent green paint.
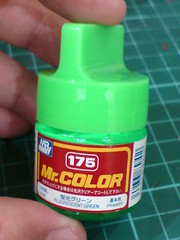
The paint used is this one: Mr. Color No. 175 Fluorescent Green Flat.

Mr. Hobby White Surfacer is applied to the eyes first to create a base layer for the subsequent fluorescent green paint.

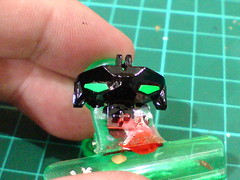
(Left) After the surfacer paint has dried, the edges are panel lined before the eyes are painted using Mr. Color No. 175 Fluorescent Green Flat. The areas around the eyes are painted black using normal marker until they are wide enough to minimize the risk of subsequent hand painting touching the painted eyes.
(Right) The rest of the eye part is painted black using Gaia Color 022 Semi Gloss Black.
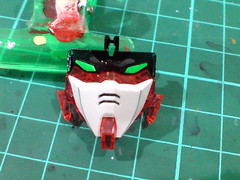
Test fitting the painted parts to see how Unicorn Gundam's face would turn out when assembled. ^^
While the painted parts seem alright, the face does look a bit deformed in the image above. That's because I didn't secure the face to the eye part tightly, for obvious reason. ^^
With the completion of the eye part's paint job, the work on this head display base model is done. ^^ Still, I always imagine that there's even more effort that can be added to enhance the overall look. ^^ Also, I'll need to look at some parts again to see if their paintwork is good enough before the final assembly. I haven't really decided on anything at this point, so I might just come back and revisit some of the parts again before assembling this model. ^^


No comments:
Post a Comment