Another round of detailing work on MG Gelgoog Ver. 2.0 after the previous posting. ^^
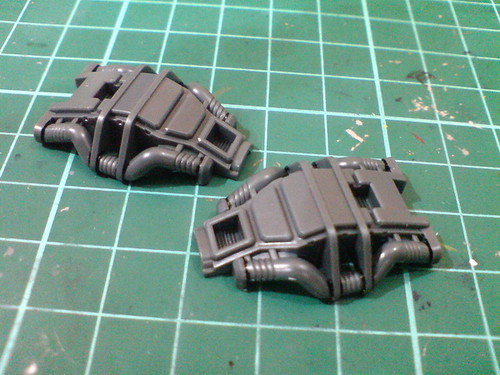
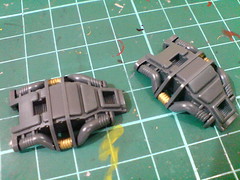
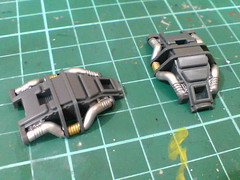
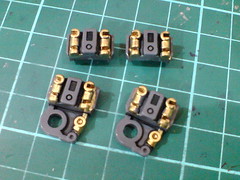
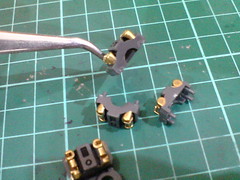
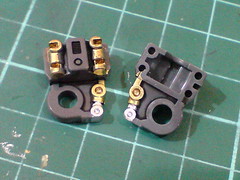
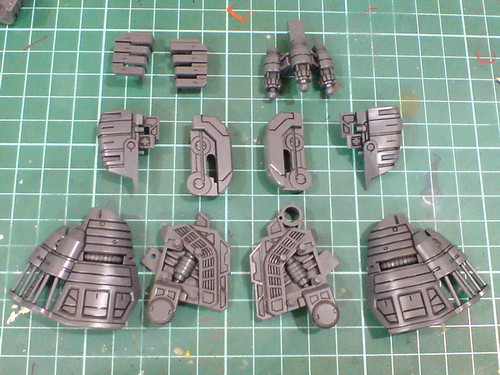
Four sets of fixed hydraulic pipes on the inner frame parts of the shoulder armors are painted using Mr. Metal Color 219 Brass and Mr. Metallic Color Silver for the gold and silver segments respectively.
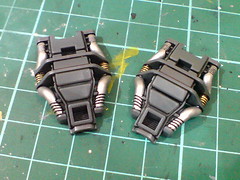
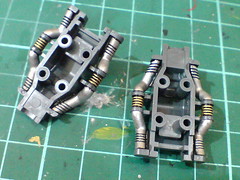
With panel lines applied when the paint has dried.
I remember having rather difficult time with these two parts on the Char's customized version, but as mentioned yesterday, the paint work is made easier now with the sense of familiarity from the previous kit. ^^


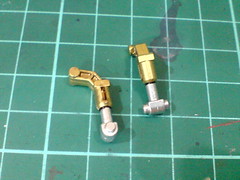
The fixed hydraulic pipes on the upper arm parts are painted using Gundam Marker Gold and Pilot Super Color Silver Extra Fine.
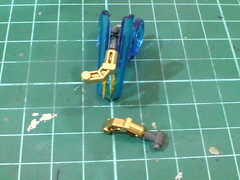

The movable hydraulic pipes connecting the elbow and forearm are painted using Gundam Marker Gold and Tamiya Paint Marker X-11 Chrome Silver.
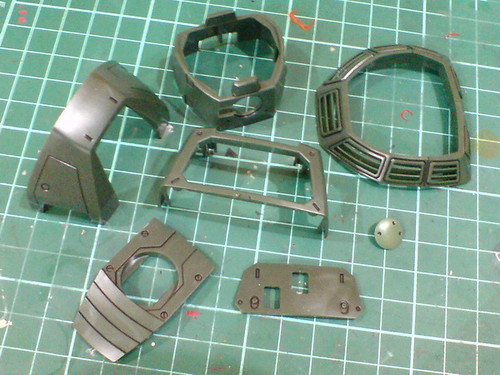
Simple panel lining for the body armor parts.

The frame details behind the armor part on the back are panel lined as well.
Simple panel lining for the inner frame parts of the body.
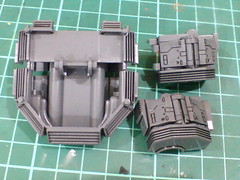
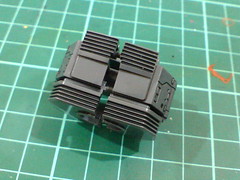
A set of fin parts that sit between the shoulder and body is the prelude for another six with equally elaborate line details to panel line coming up soon. ^^;
Just simple panel lining for the leg's inner frame parts for this variation release.


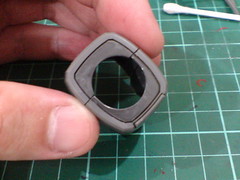
The small stripe of "boxes" on the leg thrusters' connector (left image) and an embedded pipe on the leg's inner frame part are not painted as compared to the same parts on the Char's customized version.
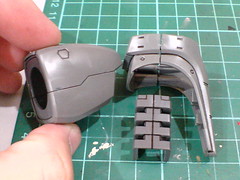
Not shown in the previous image, the rear face of the knee armor part and inner frame cover of the thigh are panel lined as well.


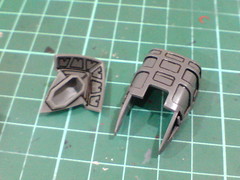
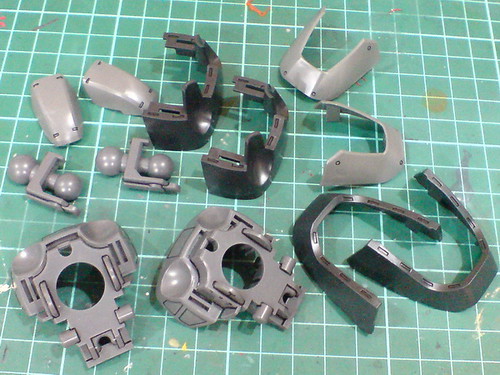
Following the same treatment on the Char's customized version, the top segment of the thigh armors is painted gray using Gundam Marker Gray to separate it as part of the mechanical frame instead of the armor.
Gundam Marker Gray has a darker shade of gray as compared to the lighter molded color of the armor parts, so the color different is still pretty obvious to see. ^^
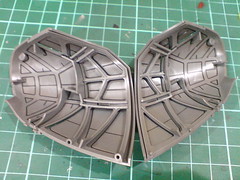
To make things simpler for myself, the cage-like frame details on the lower half of the armor parts are not going to be painted on this kit.

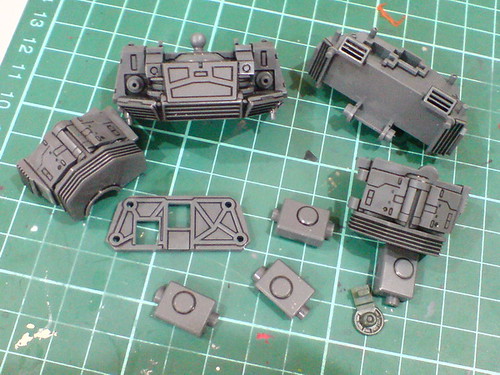
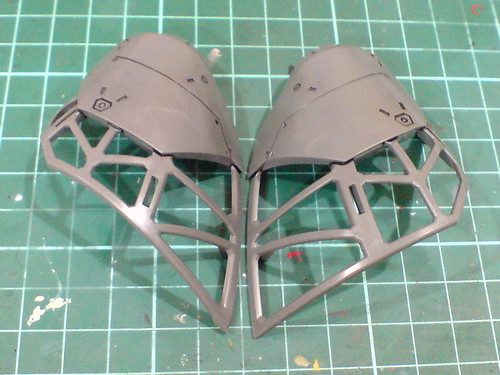
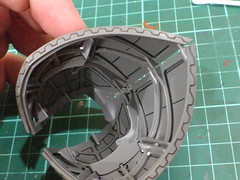
All the line details behind the armor parts are thoroughly panel lined.

Test fitting the parts to see how the frame details would look like when they are assembled. ^^
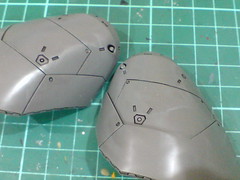
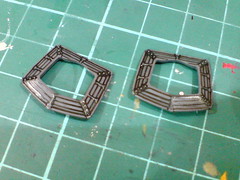
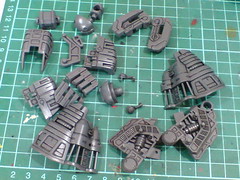
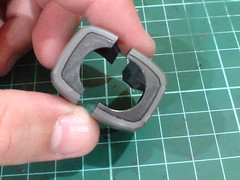
(Left) The line details on the surface of the armors are done easily using Tamiya's Panel Line Accent Color (Black).
(Right) Teeth-like molded details at the edges of the parts are panel lined using normal panel liner.
Painted black for the "borders" between connecting armor parts so that the line separator would be very obvious when assembled.
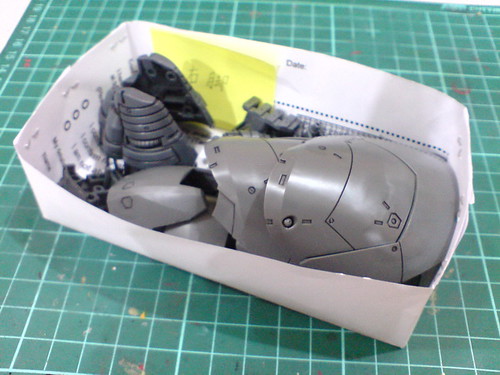
All the completed leg parts are returned to the paper box for storage.

Repetitive panel line and paint work on parts of the other leg.


Just simple panel lining for the inner frame and armor parts of the feet.
With the paint work for the cage-like frame segments omitted, the detailing work for the leg parts was extremely fast. ^^ Making the parts simple-looking is in line with the idea of giving this mass production type Gelgoog the simplicity that a grunt unit should have, but it's also for my own convenience of not wanting to repeat a great deal of work I already did once in the past. ^^
Oops, I kind of spilled the beans there. XD
Moving on to the arm and body parts next. ^^


1 comment:
Hi, may I know the tamiya x11 chrome silver. Will it give the same effect as gundam marker gm100 did? From the pic, I feel it gives not as metal like as the gm100. Is it a good replacement for gm100 (discontinued)? Or otherwise? Ty..
Post a Comment