Starting the paint work on a few selected parts from HG 1/144 Mr. Bushido's Ahead after the introduction in the previous posting. ^^


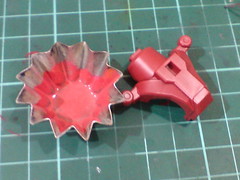
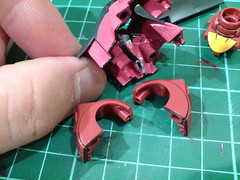
Molded as a single-piece part, there's no separation between the black frontal area of the chest armor and the magenta body on either side of it.
Created my own mixed paint for the magenta area of the chest armor. ^^
The waist part is used as a "color guide" for me to see if the mixed paint is close enough to the kit's molded color. ^^
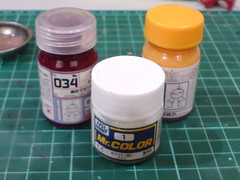
Three paints used to create the mixture: Gaia Color 034 Primary Color Magenta, Mr. Color No. 1 White Gloss and Gaia Color 025 Orange Yellow.
The initial decision to get Gaia Color Magenta is for this HG kit actually, but it received early "deployment" for Kotobukiya's 1/1 HoiHoi-san and BB Senshi Sangokuden Asurao Moukaku Gundam, Syukuyuu Gundam and Kyoshin Elephant Set. ^^
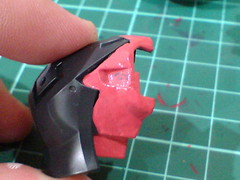
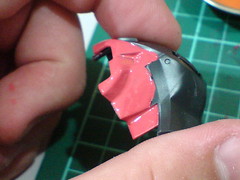
Painted the targeted area with the mixed paint.

Despite having a large part from the kit as my guide, the mixed paint proved to be a little too much on the bright side. ^^;
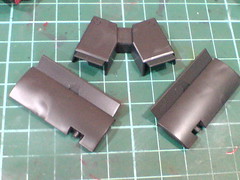

Foil stickers are given for the fins of the backpack and rear skirt armor thrusters, but I reckon painting them would be a better alternative to avoid getting peeled-off sticker around the edges of the parts. ^^;

Painted the parts using Gaia Metallic Color No. 122 Star Bright Gold.

Several targeted areas of the body are painted as well, with a few of them being totally optional too. ^^

All the parts that are painted gold.
The borders between the front and rear body and shoulder block parts are painted black using normal marker.

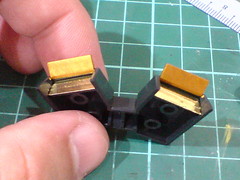
Test fitting the thruster parts to see how the components would turn out when assembled.
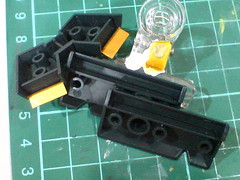
The interior of the thrusters seems a bit too black if left without some extra effort. ^^;
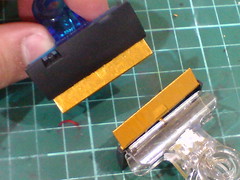
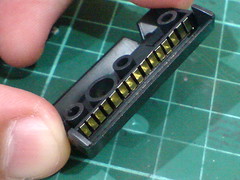
Decided to add in some additional details through as little effort as possible (XD). Tiny stripes of golden foil sticker would do the trick I think.
Quite a lot of golden foil stickers are needed actually, since there are four targeted areas that require them. 1/144 Gundam Double X's foil sticker sheet is chosen for the task of providing all the sticker pieces the parts need since a wide portion of its unused area are in gold.
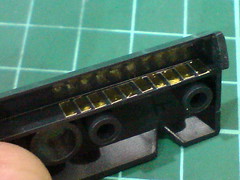
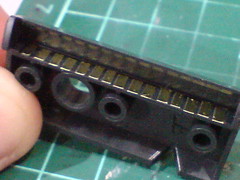
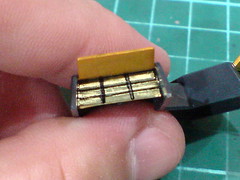
Applied the tiny sticker pieces onto the thruster vent using toothpick and cotton swab.
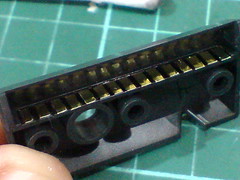
The "gaps" between the sticker pieces are panel lined using a sharp-tipped black marker.
The whole work is repeated for the other thruster part.
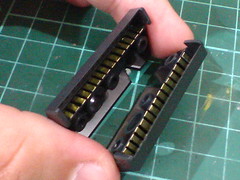
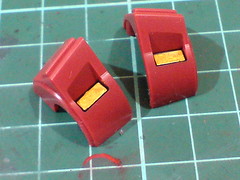
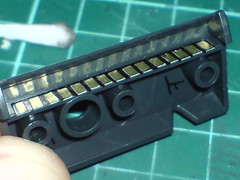
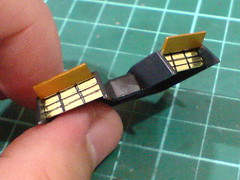
Done for the foil sticker work on the two backpack thruster parts.
Test fitting the thruster parts to see how the components would turn out when assembled. ^^

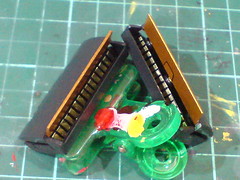
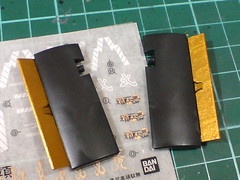
Foil sticker work for the rear skirt armors. Instead of tiny stripes, long thin bars of stickers are layered horizontally on the thruster area.
Done for both sides of the thrusters.
Cuts are being made on the stickers to split the bars into roughly equal-sized areas on the thrusters. Panel lines are added a sharp-tipped black marker to simulate vent details. ^^

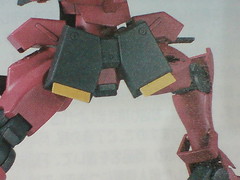
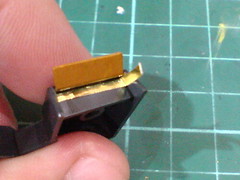
Test fitting the rear skirt armor parts to see how the components would turn out when assembled. ^^

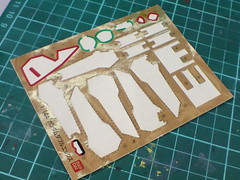
Not done with the optional golden paint work and foil sticker work, a bit of decals can be added to the side panel of the backpack thrusters to further project the MS's samurai image - the backpack thrusters always look like banners that samurai carried into combat that showcased their troop name or emblem to me. ^^
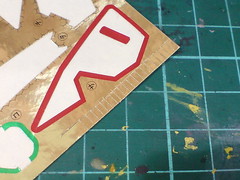
The two Takeshi ("武") from MG Shin Musha Gundam are perfect decals for this kit I think. ^^

The thruster panels with the decals.

The beam cannons' nozzles are painted using normal golden and silver pens.
Simpler paint work and the more regular panel lining coming up next for this kit. ^^


No comments:
Post a Comment