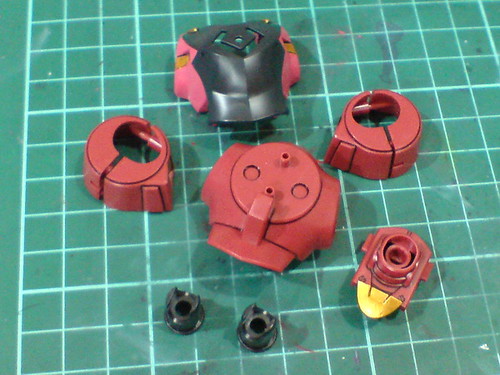
Finishing up the work on HG 1/144 Mr. Bushido's Ahead after the previous posting. ^^ There are more parts with delicate details to handle in this round of work. ^^;
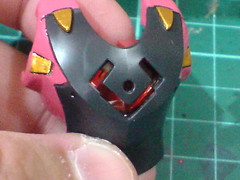
The buttons around the GN Drive's base are painted black using normal sharp-tipped marker.
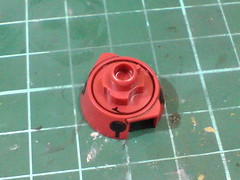

The base's interior is painted black to give it a greater simulated sense of depth.
The paint work is really excessive since most of black paint is going to be covered up by the white cone anyway. ^^;
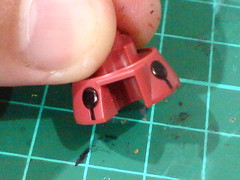
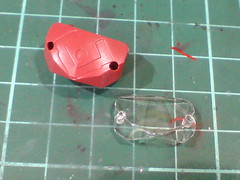
Black lines for the details on the GN Drive may not be very outstanding to look at I believe. I'll replicate the work I did with the same component on HG 1/144 GN-X onto this kit then. ^^


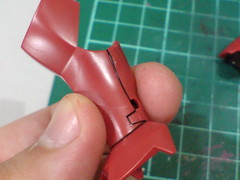
(Left) Panel lined the details using Gaia Color No. 003 Bright Red Gloss.
(Right) With excessive red paint wiped away using cotton swab soaked with paint thinner.

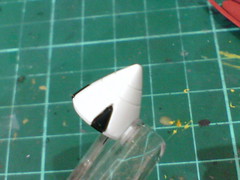
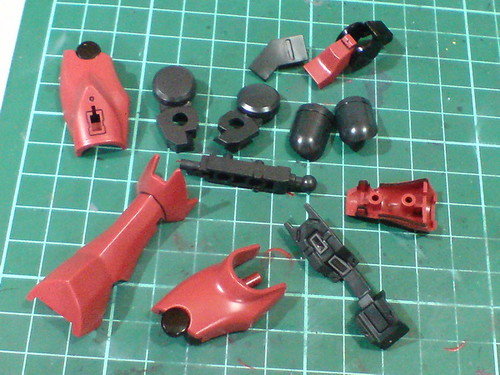
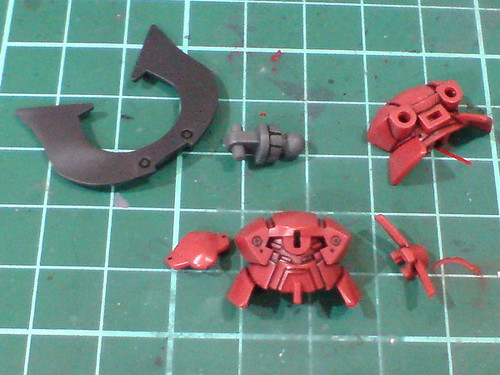
Test fitting the GN Drive parts to see how the components would turn out when assembled.

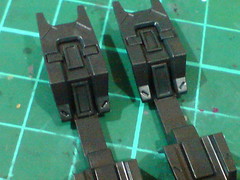
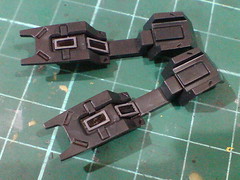
Simple panel lining for the backpack thruster connectors' parts.

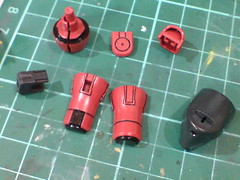
As with the left and right arm parts.

The thrusters on the soles are painted gray using Gundam Marker to distinguish them from the rest of the feet.
Excessive gray paint around the thrusters is been covered up using panel liner when the line details of the parts are applied. ^^


The border between the front and rear leg parts is painted black using normal marker.
The split between the parts looks great as a path of sunken panel line. ^^

Simple panel lining for the leg parts.
Very simple panel lining for the body parts as well, especially when the part count is low. ^^
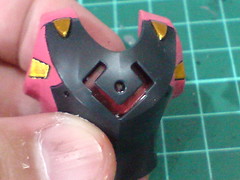
The weird chest pattern is another huge highlight of this kit. ^^ It would be quite a pity to leave it in a bland state without some special details I think. ^^
Since the color of the pattern should still be red, why not metallic red then? ^^

The inner chest part is painted silver first, followed by red (both colors from normal markers) to get a very simple but obvious metallic red effect. ^^
The metallic red effect can be seen clearly through the chest armor's slits and clear part underneath it. ^^
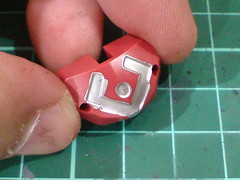
The head parts are detailed using Tamiya's Panel Line Accent Color (Black).

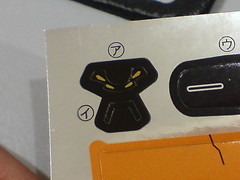
While a piece of foil sticker is included for the eyes, the elevated effect of the molded part might be lost when the sticker is used.


(Left) Painted the sunken area behind the eyes and the "mouth" black using panel liner.
(Right) The eyes are painted using normal golden pen.

Test fitting the face parts to see how this components would turn out when assembled. ^^
All done with the work for HG 1/144 Mr. Bushido's Ahead. ^^ I certainly added a lot of details to some of the parts that aren't according to the official mecha design, from the thruster details and side panel decals in Part 2 to the metallic GN Drive details in this posting. ^^ All of that are done to realize the fierce image of this MS of course. Hopefully the final outcome would look as cool as how I imagined it to be. ^^
As usual, there'll be a bit of offset time between now and when I revisit all the parts again for the final assembly. ^^


No comments:
Post a Comment