Another round of paint work and detailing on selected parts from BB Senshi Zeta Gundam and Nu Gundam Set after the previous posting.
Finally, it's time for black to come in as the last color to be applied to certain parts. Because of that paint "order", the refinement and detailing for certain parts can be done right after this round of paint work. ^^
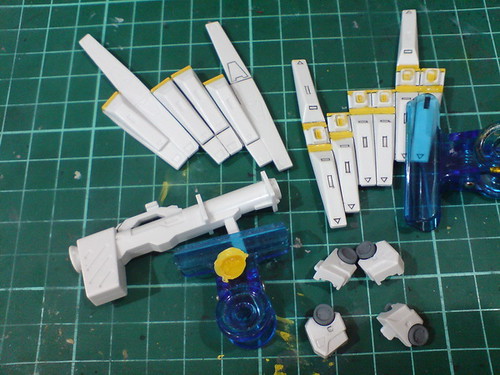
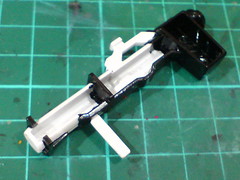
Quite a few large parts to be painted black, all which are from Nu Gundam it seems.

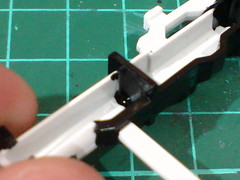
The wrist area and part of the bazooka to be painted black.
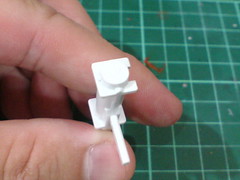
The completely blank and flat surface of the bazooka's launcher irks me. ^^; I was thinking of adding a nozzle to the part, but I had to call off the plan when I saw in the instruction manual that the bazooka seems to be touching the surface when the model is shown in a normal standing pose. ^^; An additional part in front of the bazooka is going to make the weapon a problem for Nu Gundam to carry around I think. ^^;

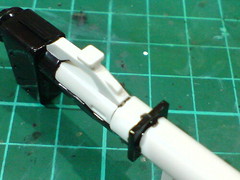
There's plenty of clearance behind the bazooka (on the end cap) for some kind of nozzle to be added for some extra details. ^^

The tool/option parts to get the extra nozzle details: Kotobukiya's Modelling Support Goods (M.S.G.) Pla Unit P-106. ^^
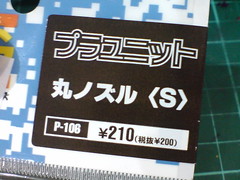

Closeups on the package and its content.
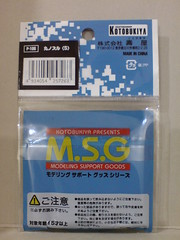
Rear view of the package.
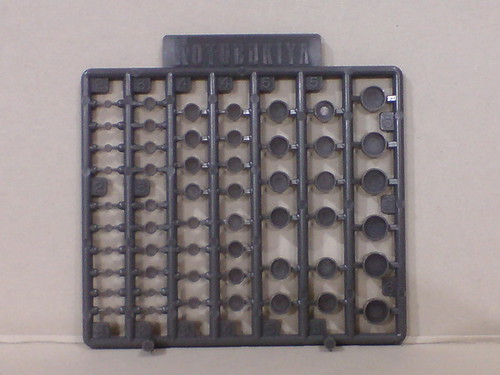

Front and rear views of the single runner.
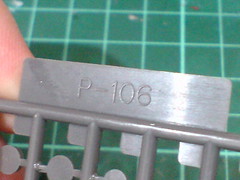
"P-106" label molded on the runner.

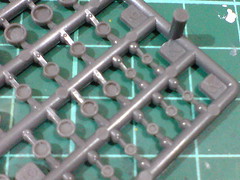
Containing 54 nozzle parts with inner diameters ranging from 1.0mm to 5.0mm and corresponding base diameters 2.0mm to 6.0mm, this single runner offers tons of options for the nozzles I want to put on the bazooka's end cap.

A rough measurement using the runner itself on the bazooka's tail to find out which of the parts suit it best.
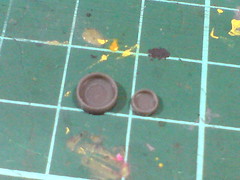
Instead of just one, two nozzles look better and more "convincing" as the tail cap I think.
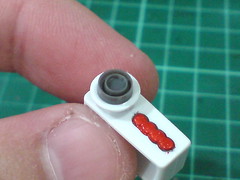
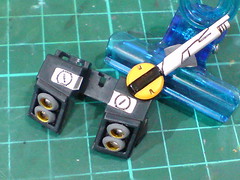
Painted the targeted area on the bazooka black using Gaia Color 022 Semi Gloss Black.
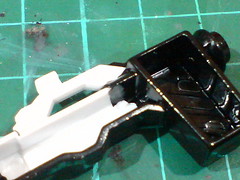
Some spilled paint inside the single-piece part must be taken care of. ^^;
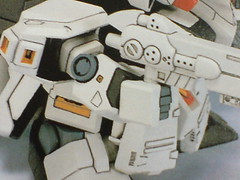
The sensor has no sticker included, not even any molded line to indicate its presence. It'll need to be painted later.
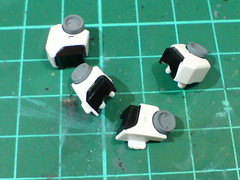
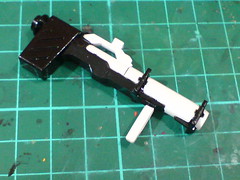
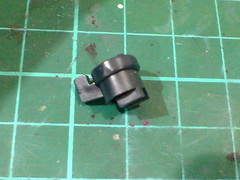
Painted the wrist area black as well.
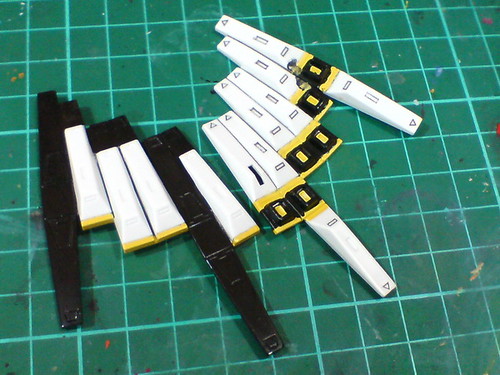
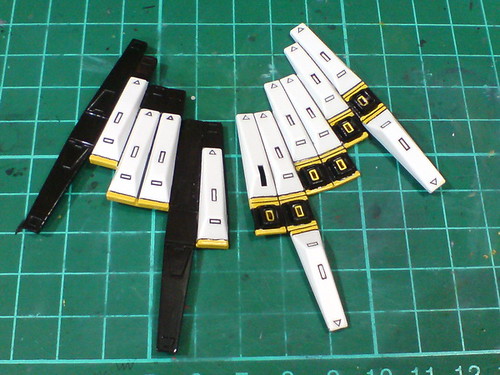
The two Fin Funnel parts are the parts with the heaviest load of painting applied in this particular round of work.
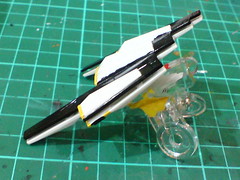
A rough test fit to see how the completed Fin Funnel block would look like when completed, especially from the side, with their clear contrasting black and white parts.

The yellow paint on one of parts is ruined during a really clumsy attempt in painting the black thruster areas. -_-

While the excessive paint has been wiped clean using cotton swab with paint thinner, much of the yellow paint was removed as well. ^^;
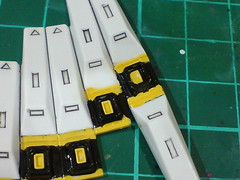
Repainted the yellow and black areas.
Just re-threading the original paint work on this particular part in the attempt to restore the colors, so I won't go into the paint details again. ^^;
Refinement and panel lining applied to the two parts. ^^
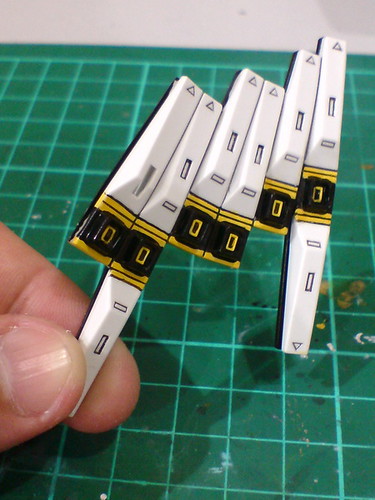
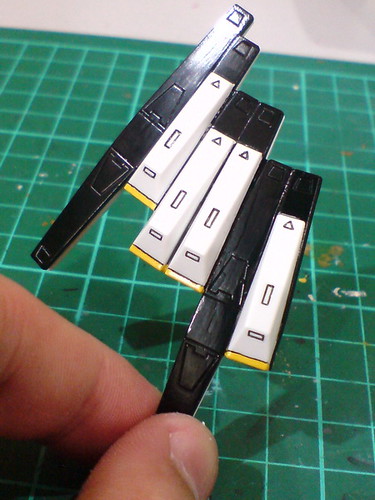
Test fitting the parts to see how the Fin Funnel block would turn out when assembled. ^^
Now it's definitely more colorful than a huge chuck of white plate if not painted. ^^

Tiny vents on the forearm parts to be painted yellow.
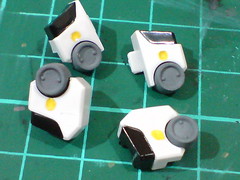
(Left) Painted the parts yellow using Gundam Marker Yellow.
(Right) Excessive yellow paint around the vents is scratched away using a knife. The tiny nozzle "points" are painted using panel liner.

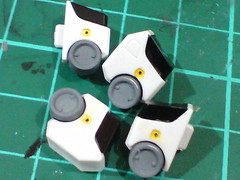
Panel lines added to all four forearm parts of Nu Gundam.
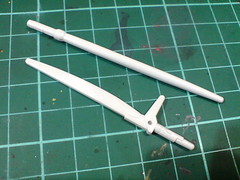
Paint work required for Zeta Gundam and Nu Gundam's beam sabers.

The "border" between the handle and the beam part of Zeta Gundam's beam saber is panel lined first.
Normally for beam sabers, panel lining the "borders" black is not a good move, since beam (light ray) shouldn't have black line separating it from the handle - the beam just "appears". ^^ However, for Zeta Gundam, the black "border" is alright since the handle is going to be painted black.
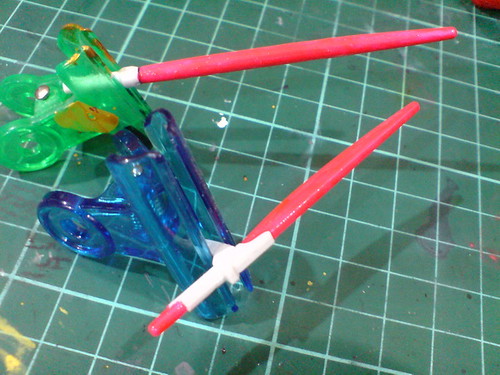
Painted the beam parts using Gaia Color 102 Fluorescent Pink.

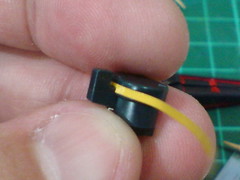
Zeta Gundam's beam saber handle is painted black using Gaia Color 022 Semi Gloss Black. For the other part that joined this round of detailing work - the fixed beam saber rack of Nu Gundam, the black bar on the yellow cap is painted using normal marker with sharp tip.

Excessive black paint on the cap is scratch away using a knife. Panel lines are applied to the whole part, especially the irremovable beam saber. ^^
Test fitting the beam saber rack on the backpack part completed in the previous posting.
The Fin Funnel clip has a yellow stripe that wrapped around the part, as shown in the instruction manual. Unfortunately, no sticker is included for this piece of detail. ^^;
The solution to the missing yellow stripe is found in my collection of spare foil stickers. ^^
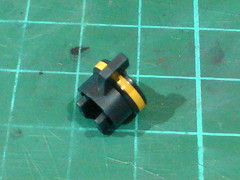
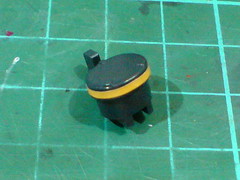
A bit of superglue is applied to the connecting point of the foil sticker stripe's two ends.
Using superglue on foil sticker is something I learn from the same work on Keropla God Keron. ^^


Test fitting all the parts to see how Nu Gundam's completed backpack would turn out when assembled. ^^
Finally, I'm heading somewhere with the work on this BB Senshi Gunpla set. ^^
Then again, many of Zeta Gundam's parts have yet to make their appearance on my work list. There are still evidently tons of work to do before the end. ^^


No comments:
Post a Comment