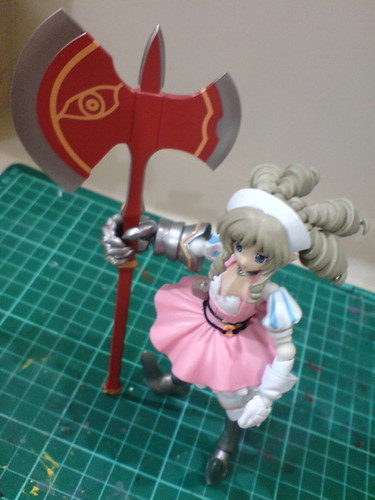
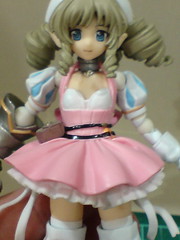
After showing her accessories and option parts in the previous posting, it's time to introduce Revoltech Queen's Blade Ymir's articulation design. ^^
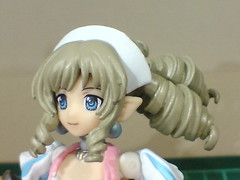
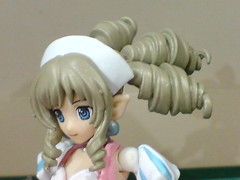
Pretty much unlimited vertical and horizontal tilts for the head since there's nothing around the neck joint to obstruct its movement. As a matter of fact, the neck is actually a Revoltech joint itself. ^^
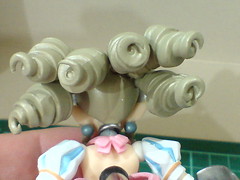
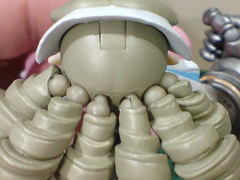
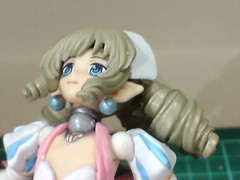
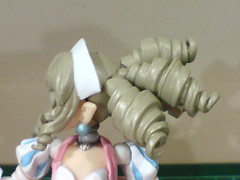
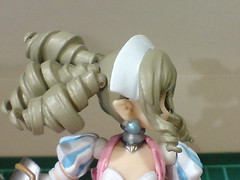
All six curly buns are connected to the head via Revoltech joints.


All the buns can be individually adjusted. ^^
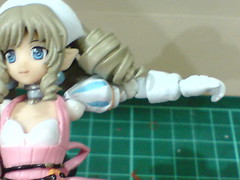
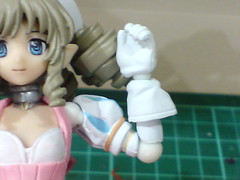
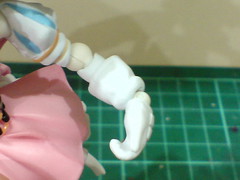
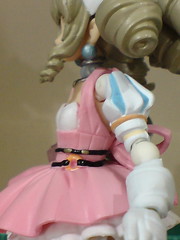
The arm can be lifted from the side for about 90 degrees. The movement will be stopped when the top part of the sleeve hits Ymir's shoulder.
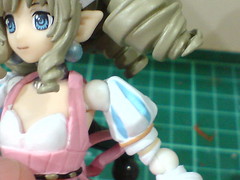
Typical of Revoltech joint design, the base of the sleeve can swivel around the shoulder joint.
It may seem rather minor, this articulation point gives a lot of posability to the arm in wielding/supporting the battle ax.
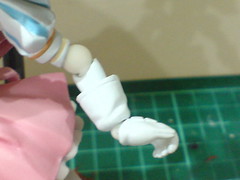
Wide range of bending for the left elbow thanks to the Revoltech joint used.
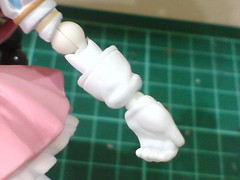
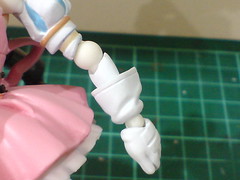
The elbow, and even the forearm can swivel independently around the upper arm and elbow area respectively.
The elbow's movement is shown in the images above.
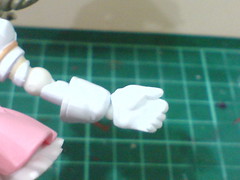
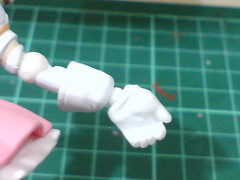
Very wide range of bending for the left wrist joint.
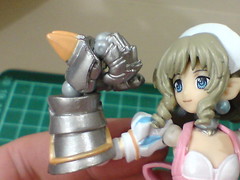
The range of bending for the right elbow is a little less than that of the right elbow due to the humongous gauntlet, but it's still very flexible.

Comparison between the Revoltech joints used for the elbow and wrist on the left and right arms.
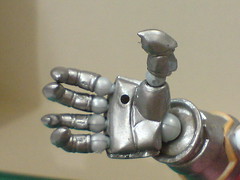
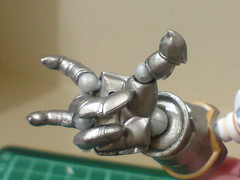

A huge promotional point of this figure: all five fingers are individually movable via Revoltech joints. ^^

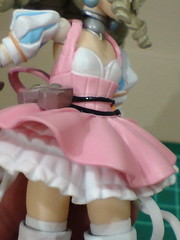

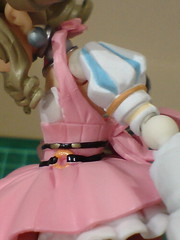
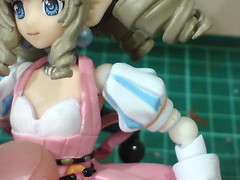
Flexible forward/backward and side-to-side bends for the upper body.
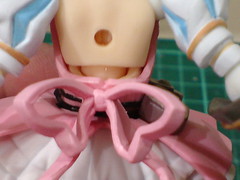
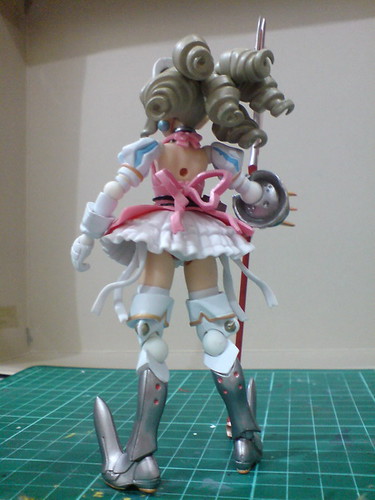
Like many other action figures, there's no waist joint for Ymir. The upper body's movement is enabled by a Revoltech joint between her chest and abdomen, which you take a peek at on her back. ^^

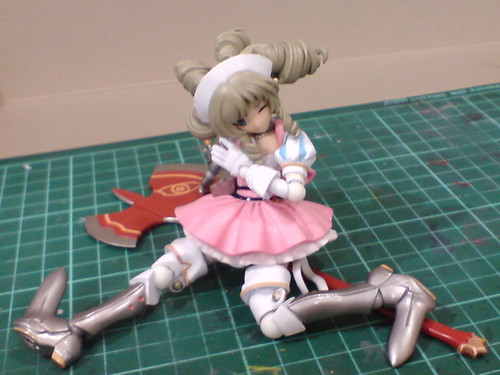
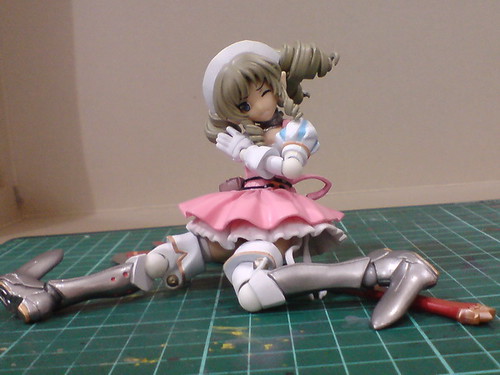
Somewhat poor hip expansion (as compared to Sci-fi Revoltech War Machine), but not to the point where the legs' movement is limited by it.
Rather limited forward/backward swing for the legs as well.

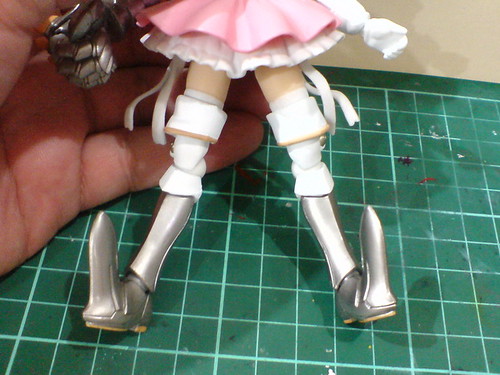
A little over 90 degrees for the knee bend.

Interestingly, Ymir does have a thigh swivel. ^^ The swiveling point is effectively hidden between the thigh and stocking area.
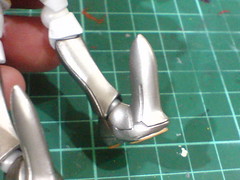

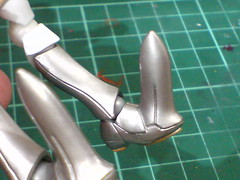
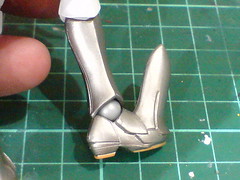
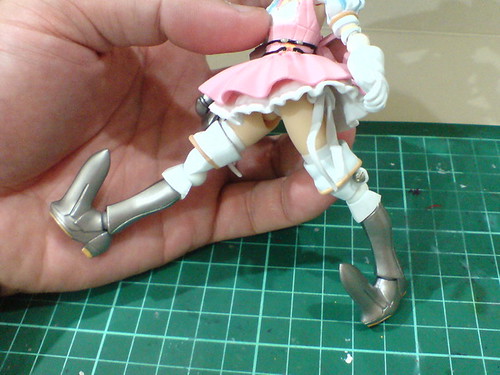
Pretty standard all-range articulation for the ankle joint.
Unlike many other Revoltech figures introduced in the past, all except two of Ymir's articulation points are enabled by Revoltech joints - 26 in total. ^^ The two exceptions being her thigh swivel. That's a record high among all Revoltech figures reviewed so far on this blog I believe. ^^
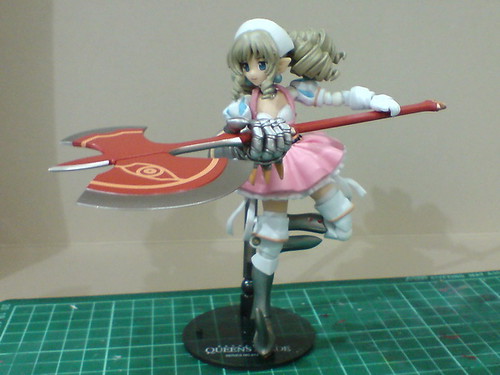
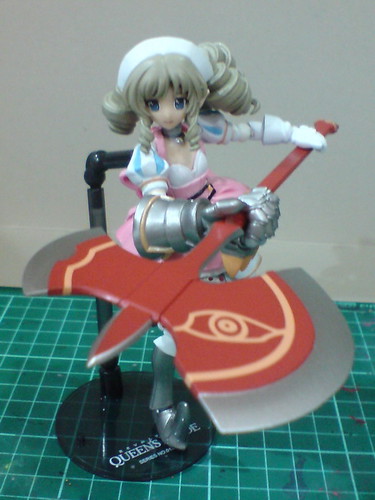
Some action poses of Revoltech Queen's Blade Ymir after the introduction on her articulation design:

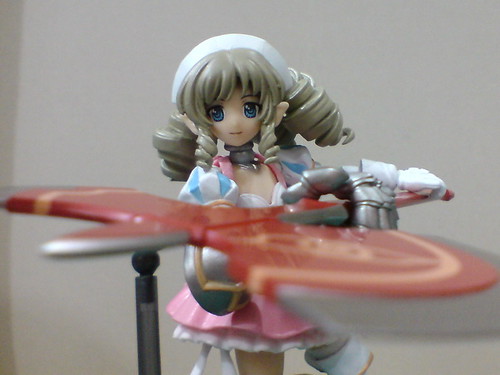

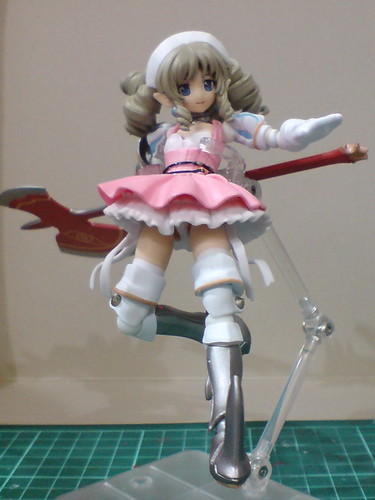


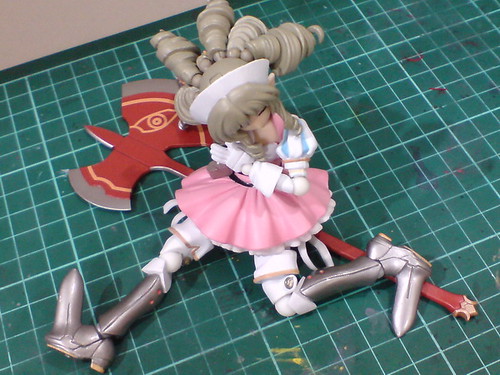
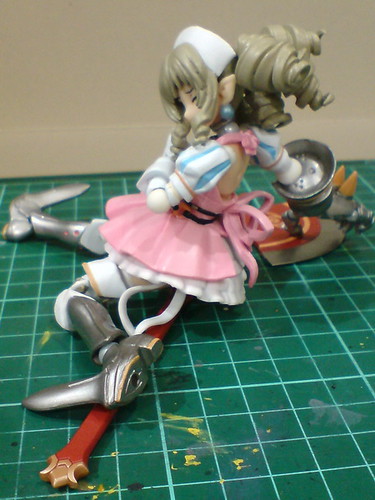
More action poses from Ymir coming up in the next posting, which will be the last one for this review series. ^^


No comments:
Post a Comment