Still not finish with the work on BB Senshi Sangokuden Sonsaku Physalis Gundam after the previous posting. ^^;
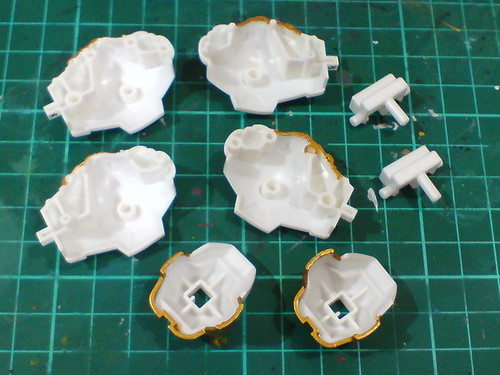
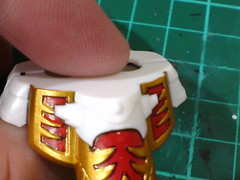
The next major paint work after Part 1: black for the inner side of Kyoshu Gekikokon (強襲激鋼棍) and their handles, and bottom side of the skirt armor parts.
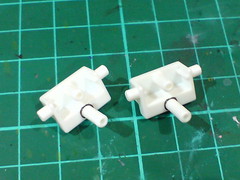
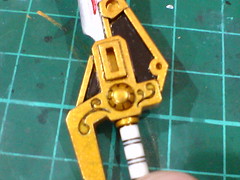
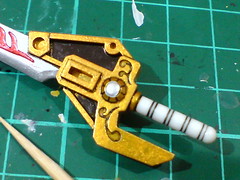
Panel lined the base of the connector pegs to ensure that they are singled out from the paint work. The pegs connect Kyoshu Gekikokon to the shoulder armors, so I'm trying to avoid the risk of them rubbing off the white paint on the shoulder armors by not painting them at all. ^^
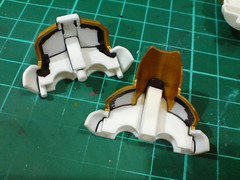
Sharp corners on the skirt armor parts are painted using normal marker first to make the hand painting process simpler. It helps to minimize the risk of spilling black paint onto the golden edges as well.
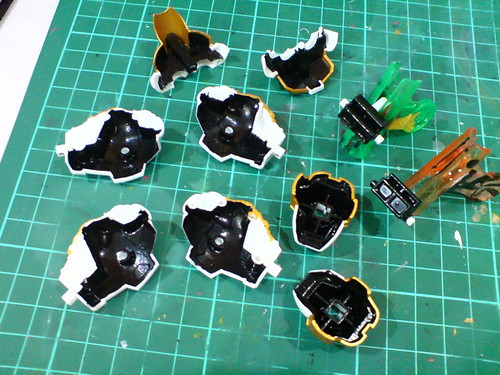
Painted all the parts using Gaia Color No. 002 Pure Black Gloss.

Not mentioned earlier on, there's a second peg on each of the connector parts of Kyoshu Gekikokon that is left unpainted as well. ^^
Minor black paint spilled over onto the edge of the leg armor parts is covered up using Gaia Metallic Color No. 122 Star Bright Gold.
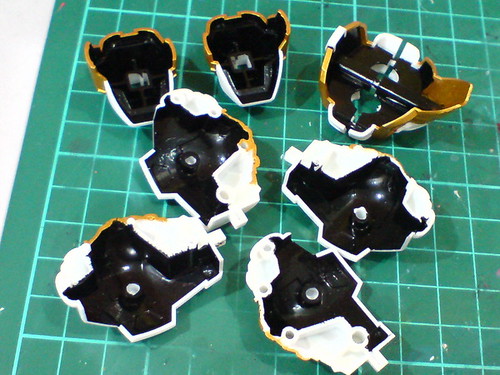
Black paint that is spilled onto the edges of the parts is scratched away using a knife.
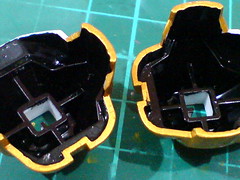
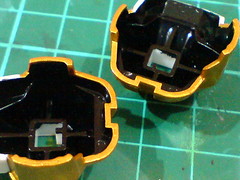
The jewels on Sonsaku Physalis Gundam's forehead and waist, plus another two on the cross guard of Koteitou (虎錠刀) are going to be painted.
Metallic Blue and Green from Gundam Marker BB Senshi Sangokuden set can be used for the work, but I have another plan to give the parts a more outstanding appearance. ^^
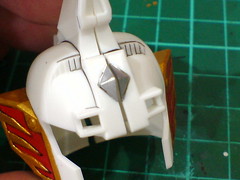

All the jewels are painted silver using Tamiya Enamel Paint X-11 Chrome Silver first.
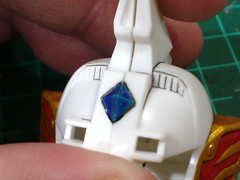
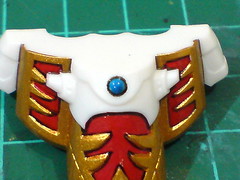
The forehead and waist jewels are then painted using Gaia Color No. 101 Fluorescent Blue.
The glossy, "watery" effect that I initially hope for from the paint is achieved. ^^
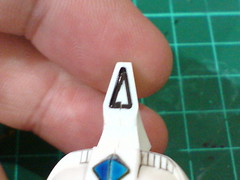

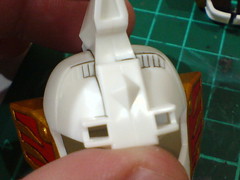
Foil sticker will be used for the top sensor. The edges around the sensor are painted black using normal marker so that the sticker would stand out even more on the completed kit.
This extra paint treatment can be seen on the completed model shown on the side of the box.
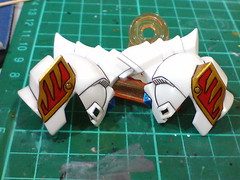

Panel lined all the helmet and skirt armor parts again to complete their detailing.

Excess gold paint on top the skirt armor parts (from Part 2) are scratched away using a knife to make sure they don't pop up in certain poses when the model kit is assembled. ^^
Just a couple more parts to go before the entire work on this kit is done.


No comments:
Post a Comment